ceramics

Ceramics: down the rabbit hole

This year, I have been learning to create using pottery clay.

I have been pleasantly surprised that many techniques and tools are similar to other art forms that I already love.

Many people begin in childhood with coil pots or pinch pots. These hand forming methods are ones that easily come to mind when you think of pottery or ceramics. It is, of course so much more than this. The exploration of glazes alone is seemingly endless.

It is, I have discovered an extremely interesting, challenging, rewarding (and sometimes frustrating) medium that I find very meditative and freeing.

The time it takes to see a piece from conception to completion can be quite long and is more time-consuming than I expected.

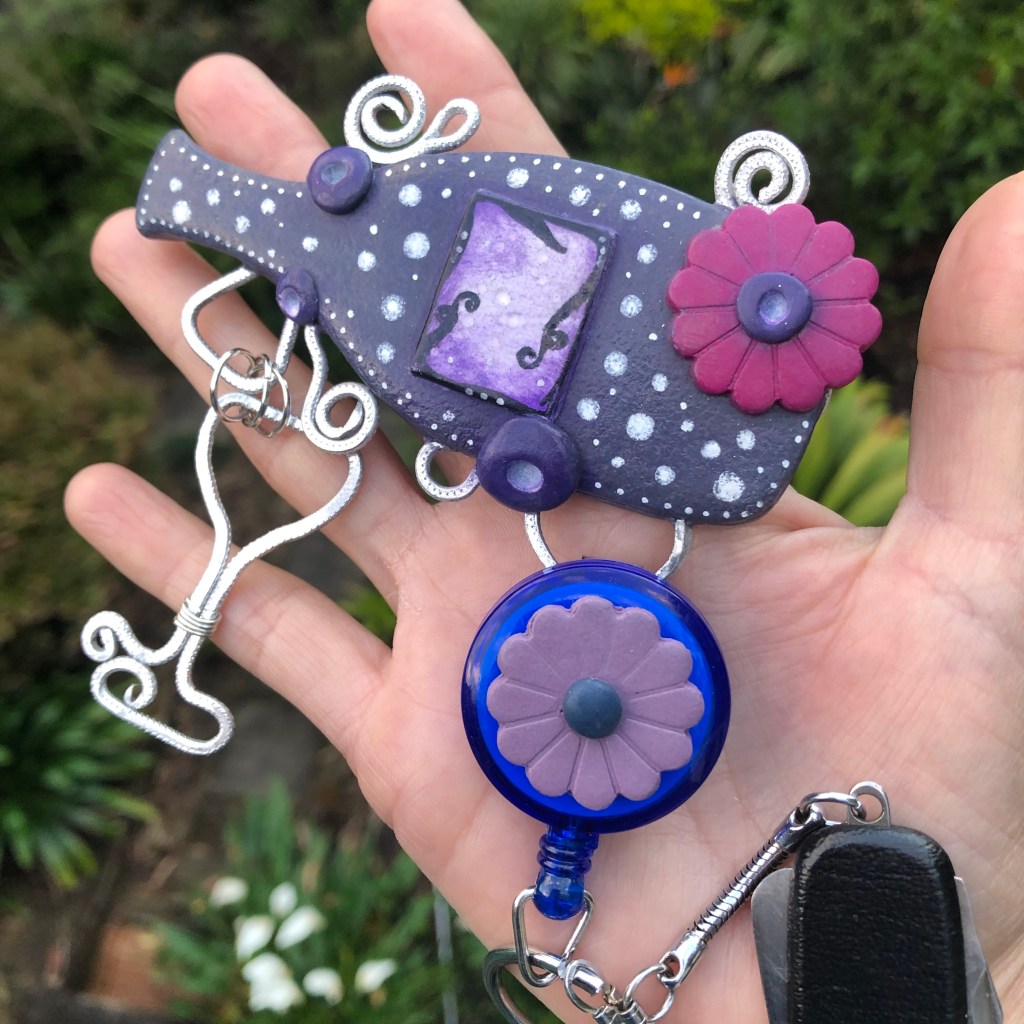
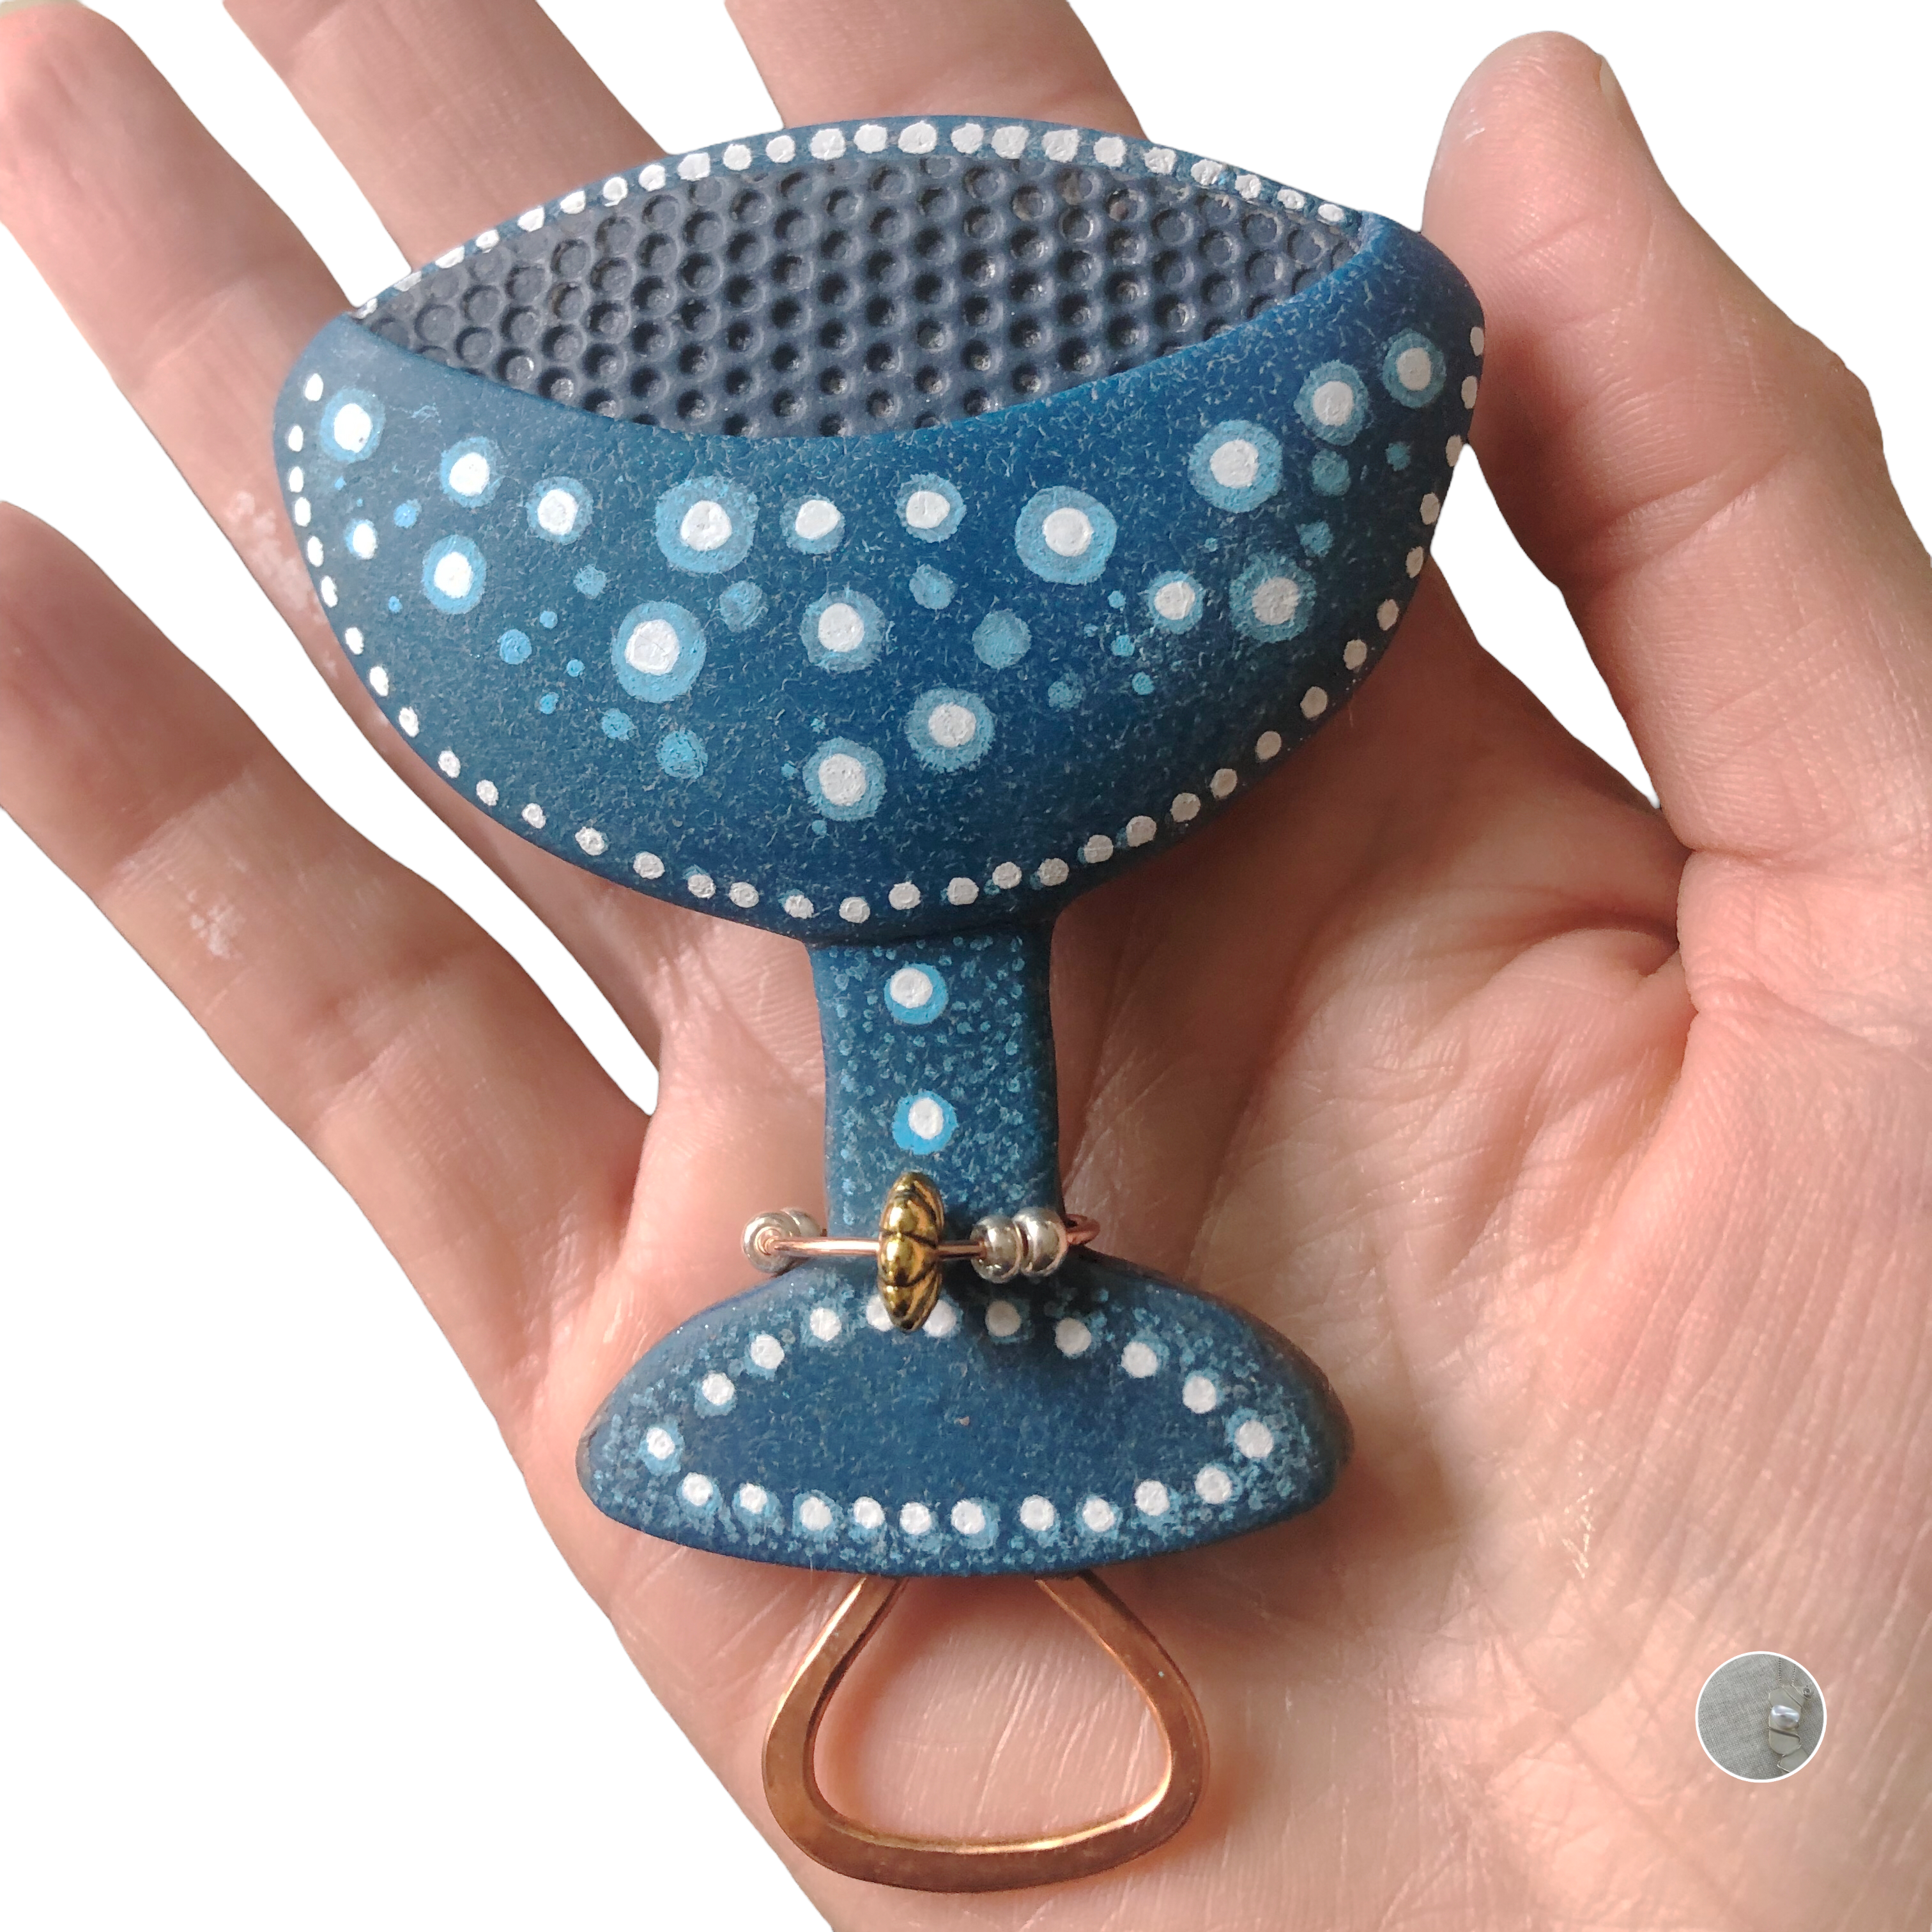
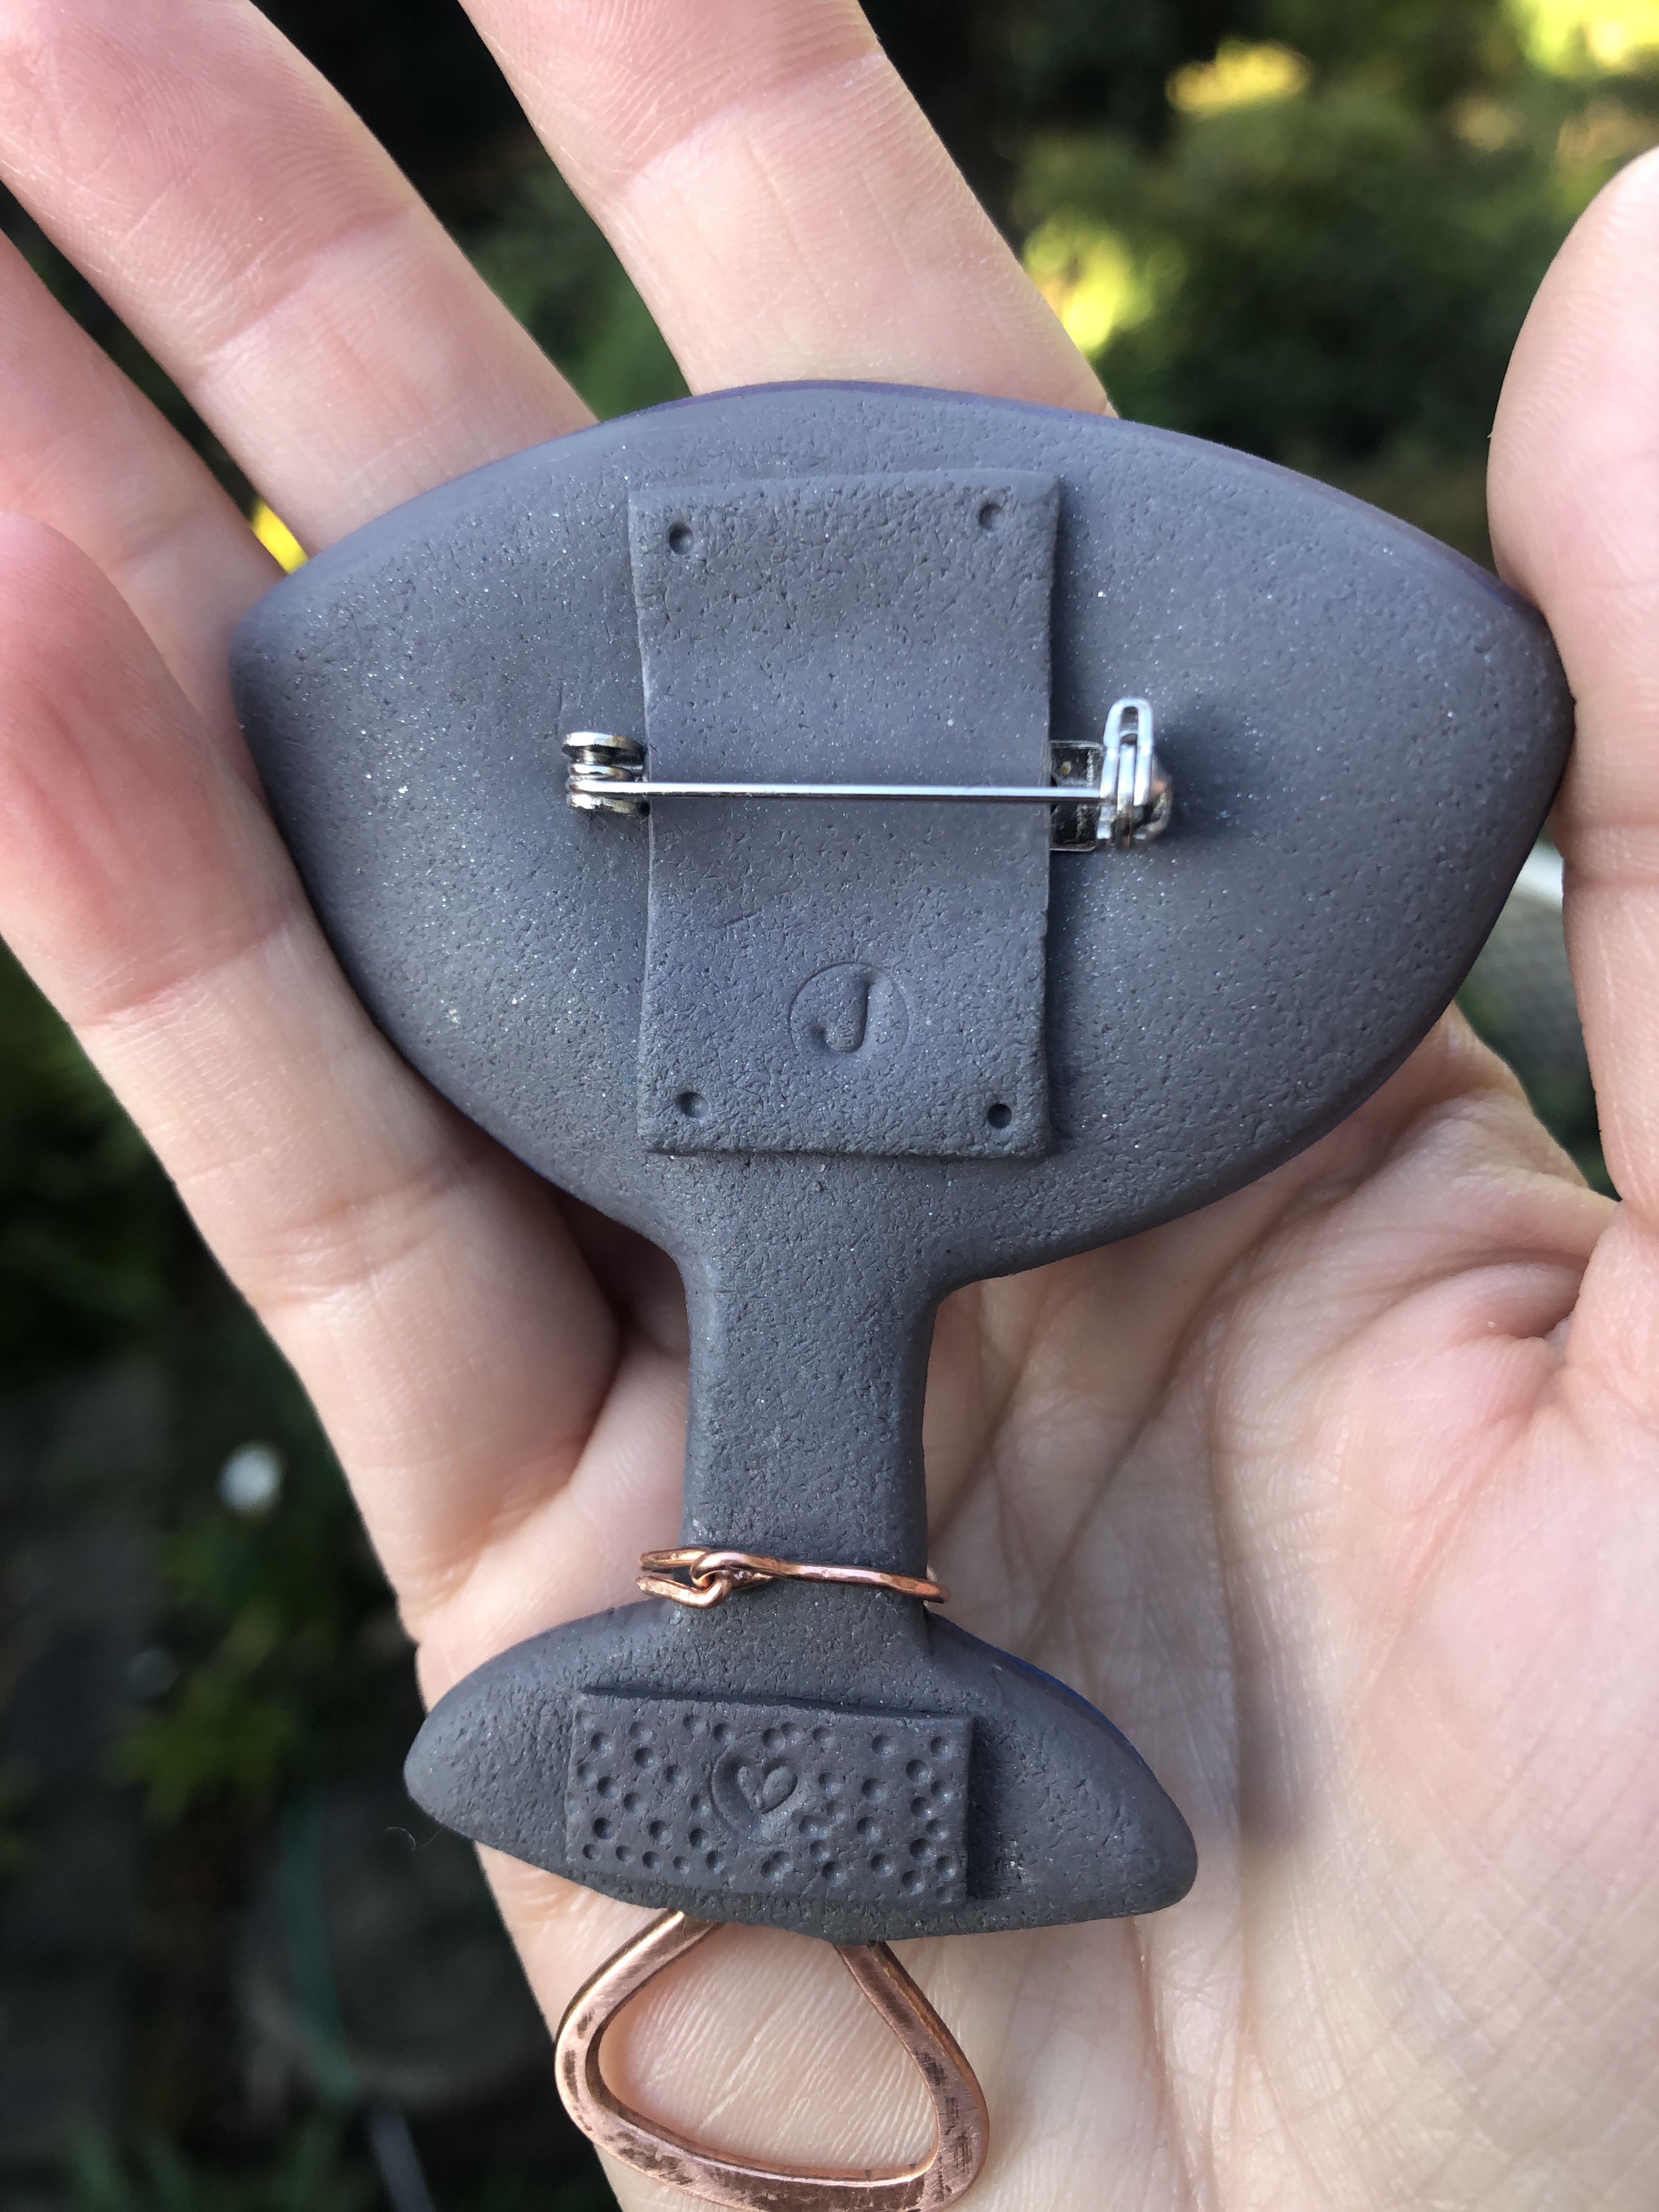
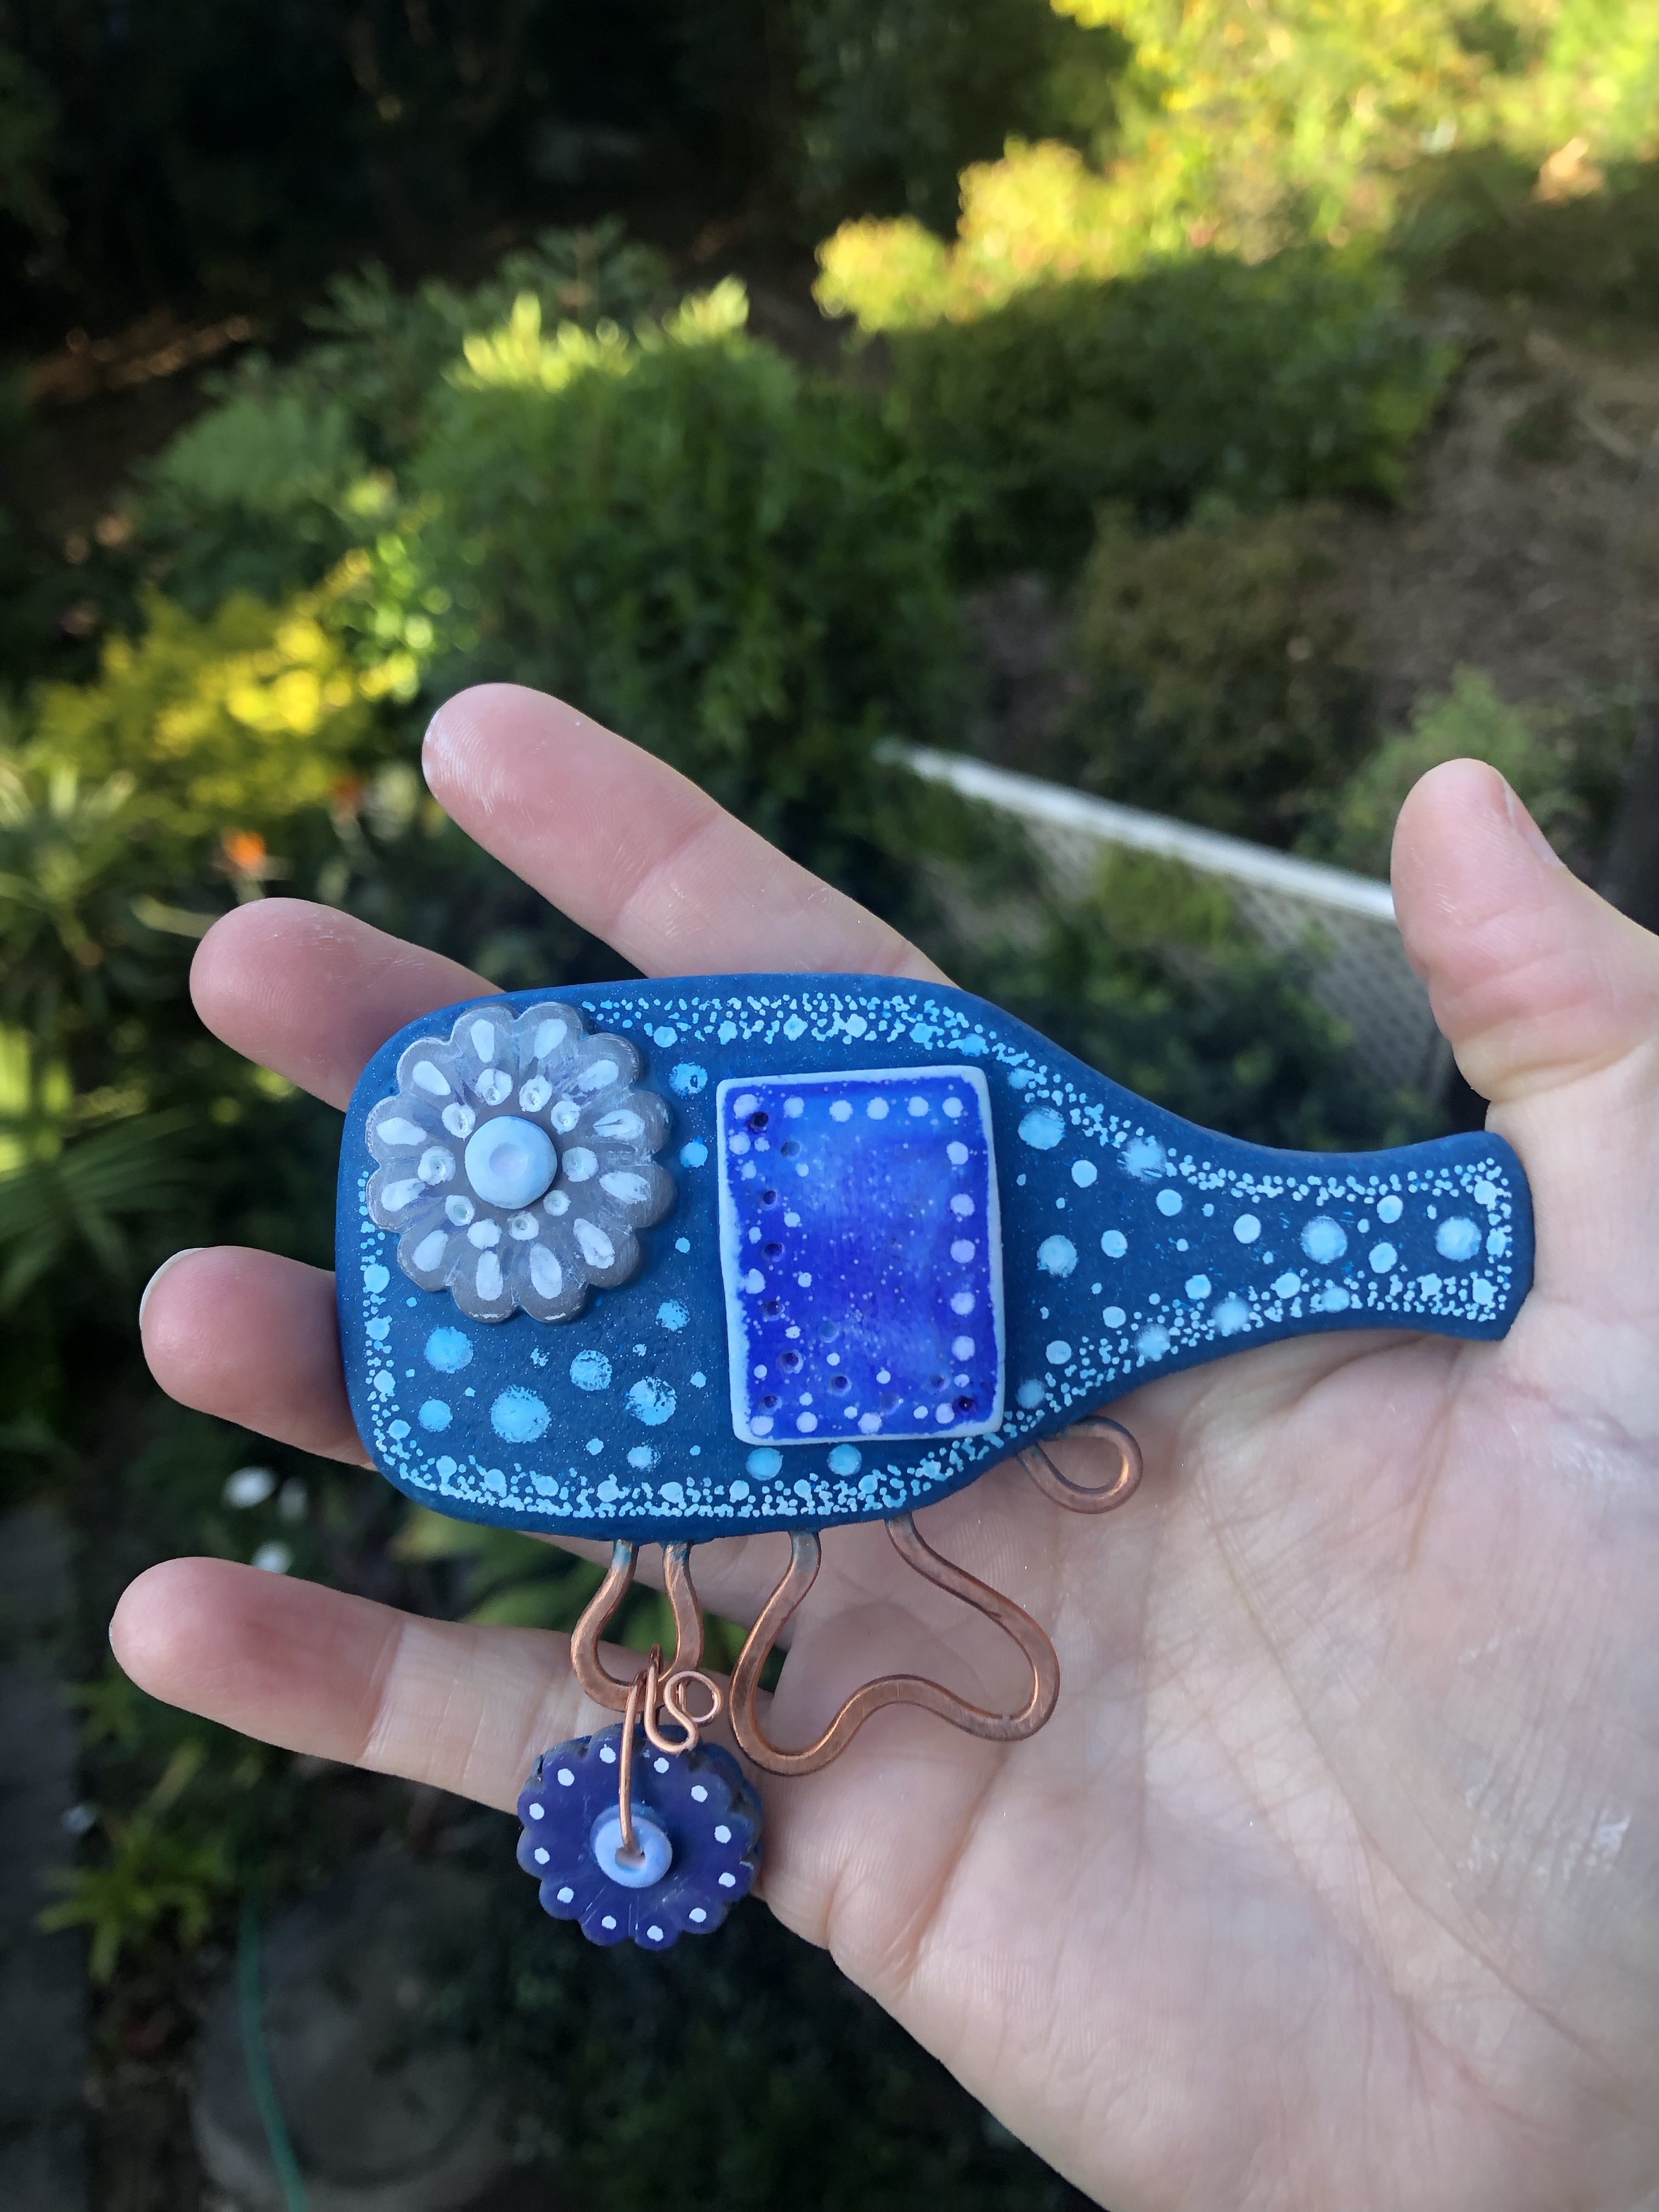
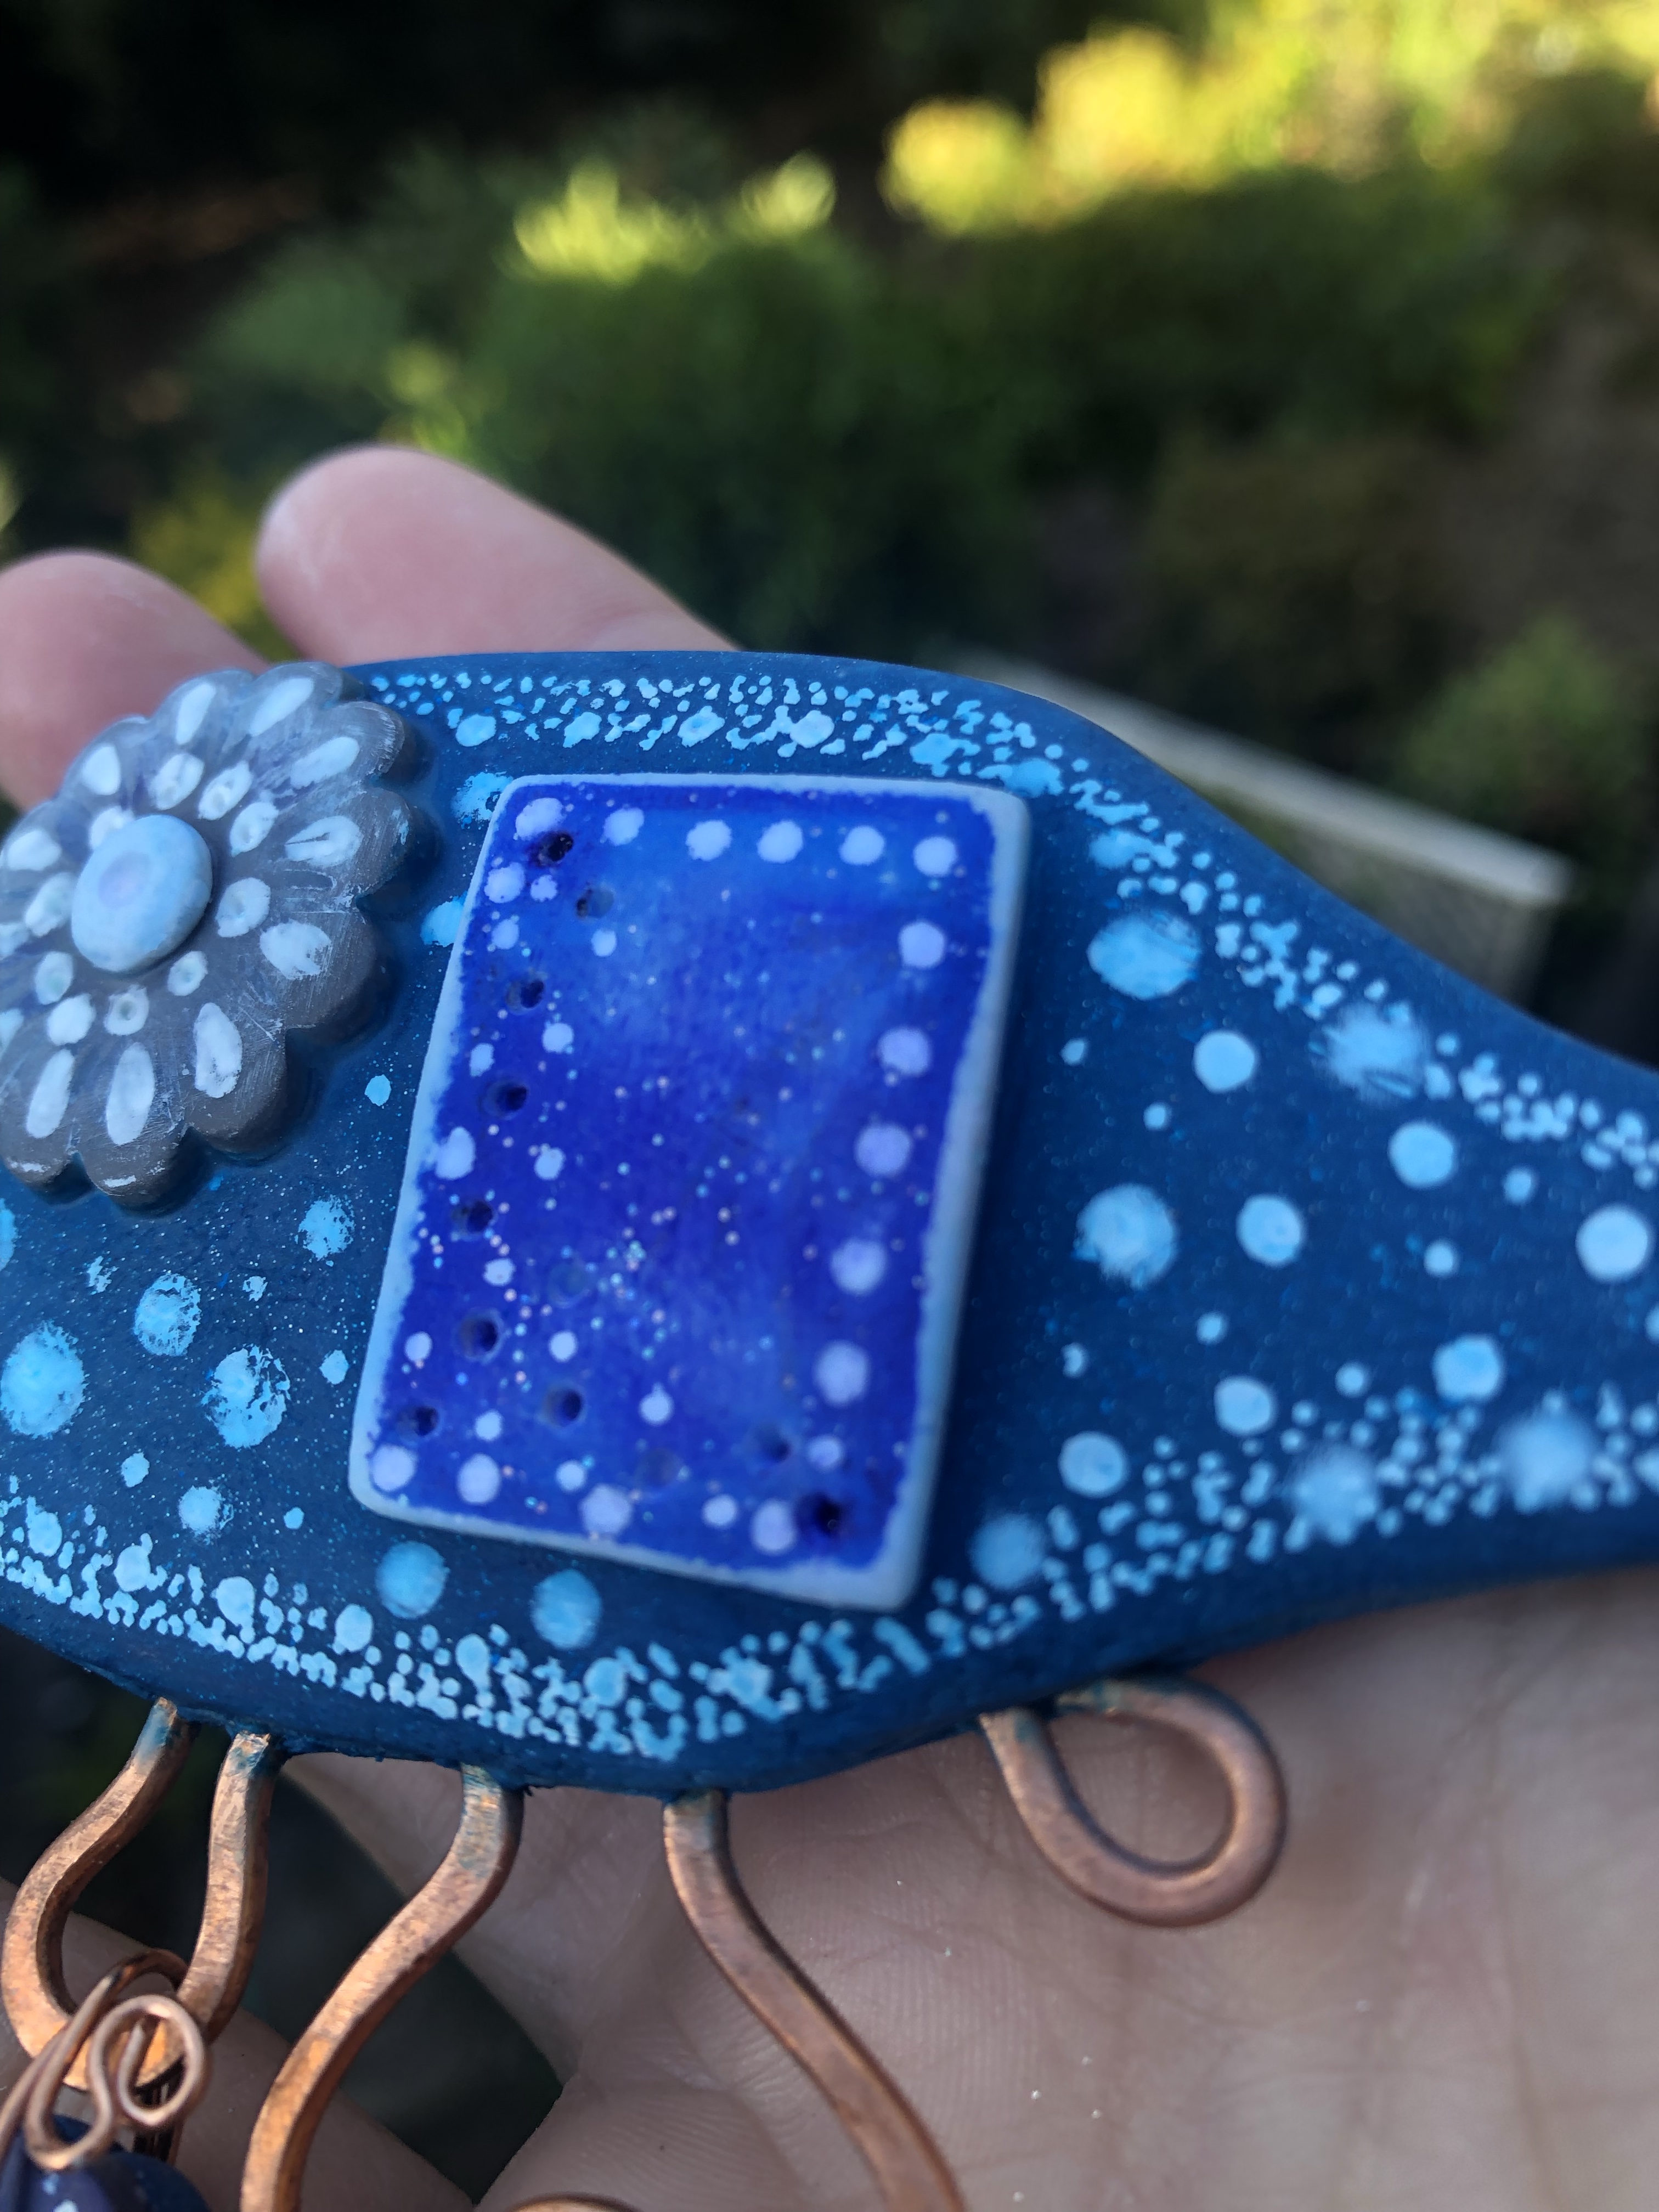
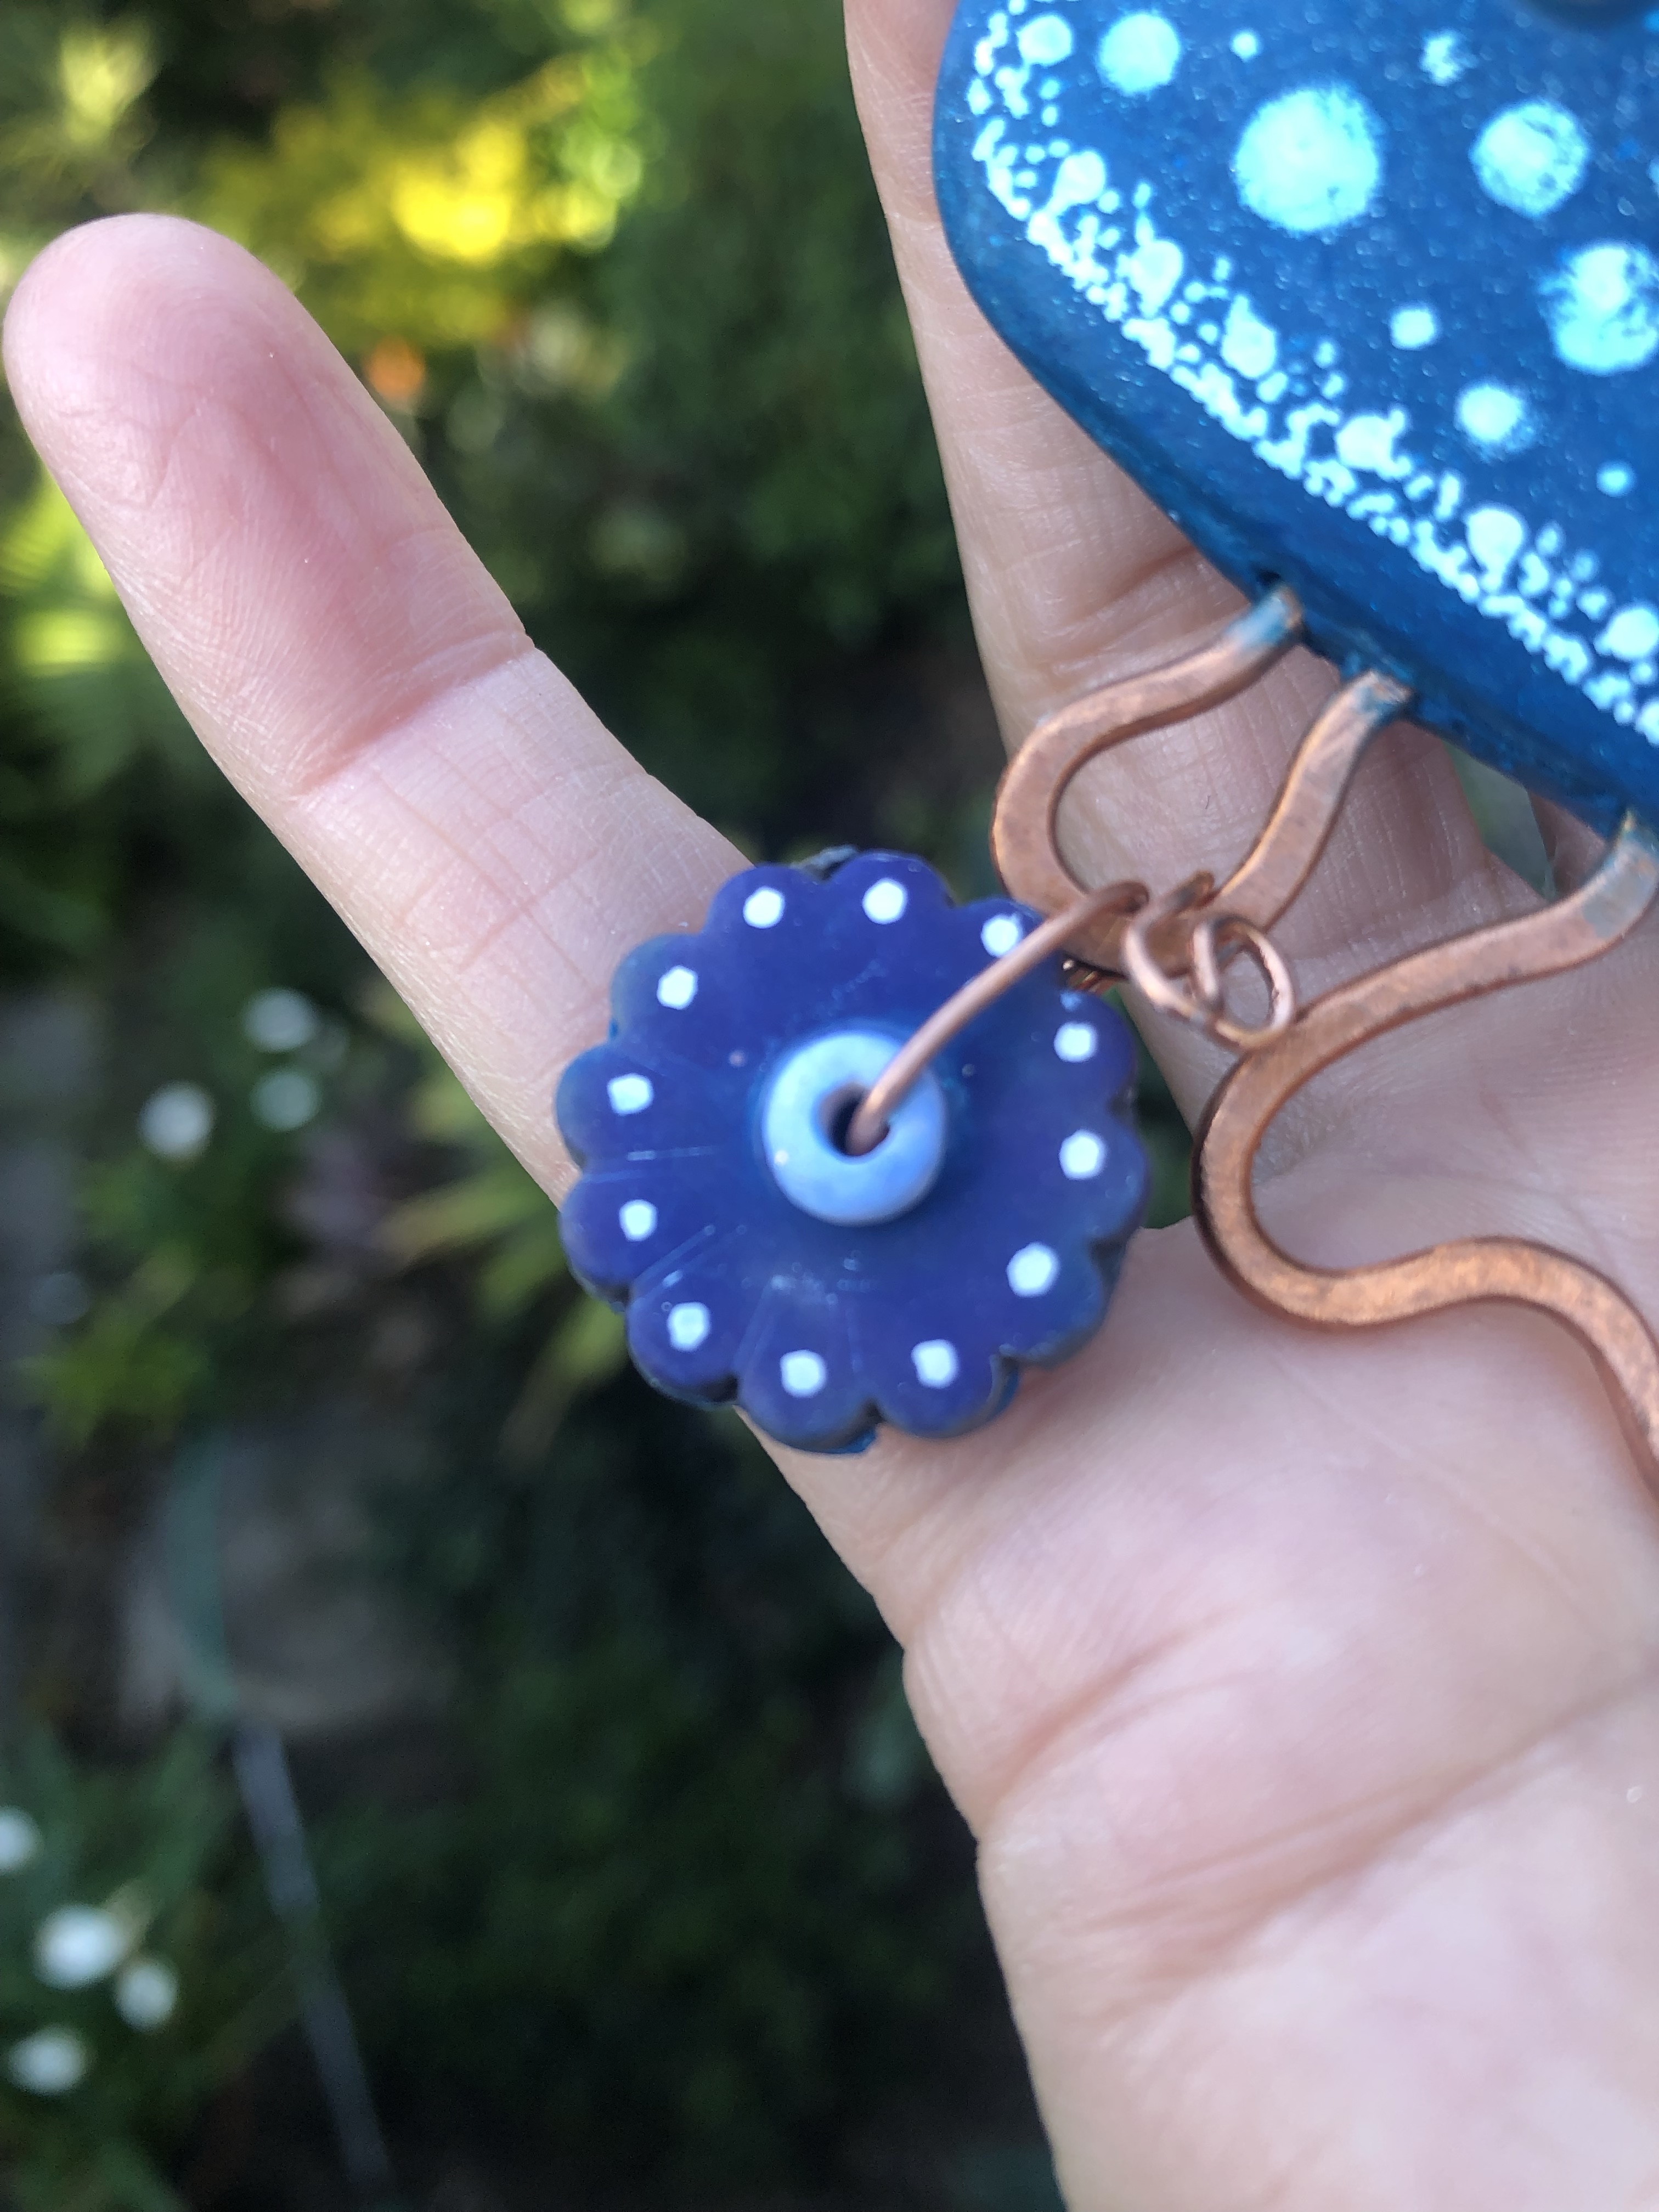
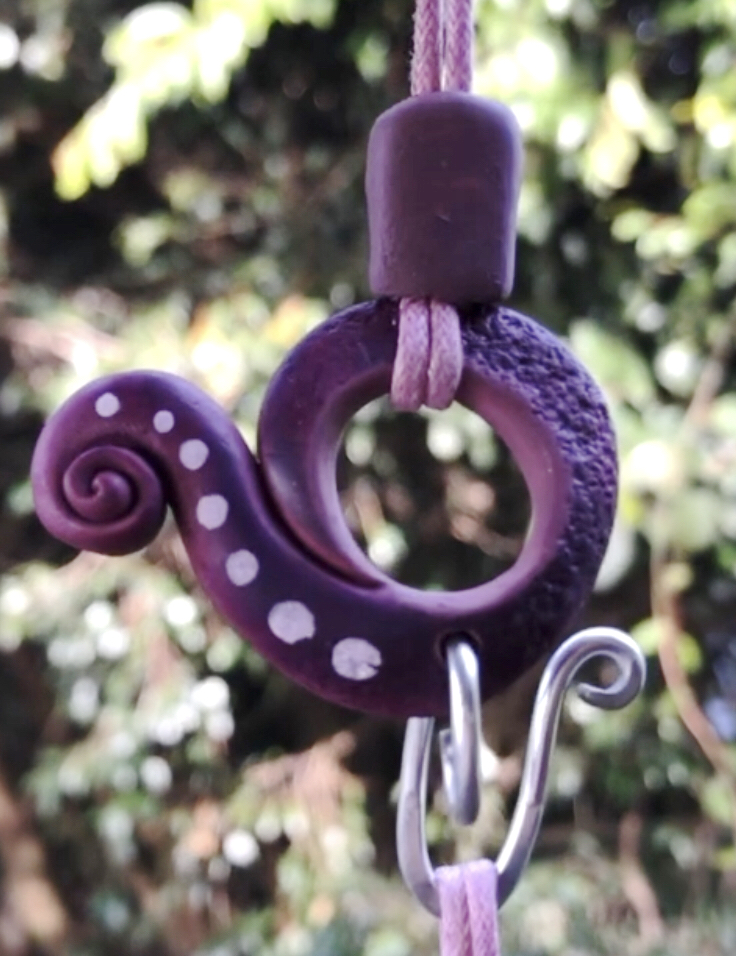
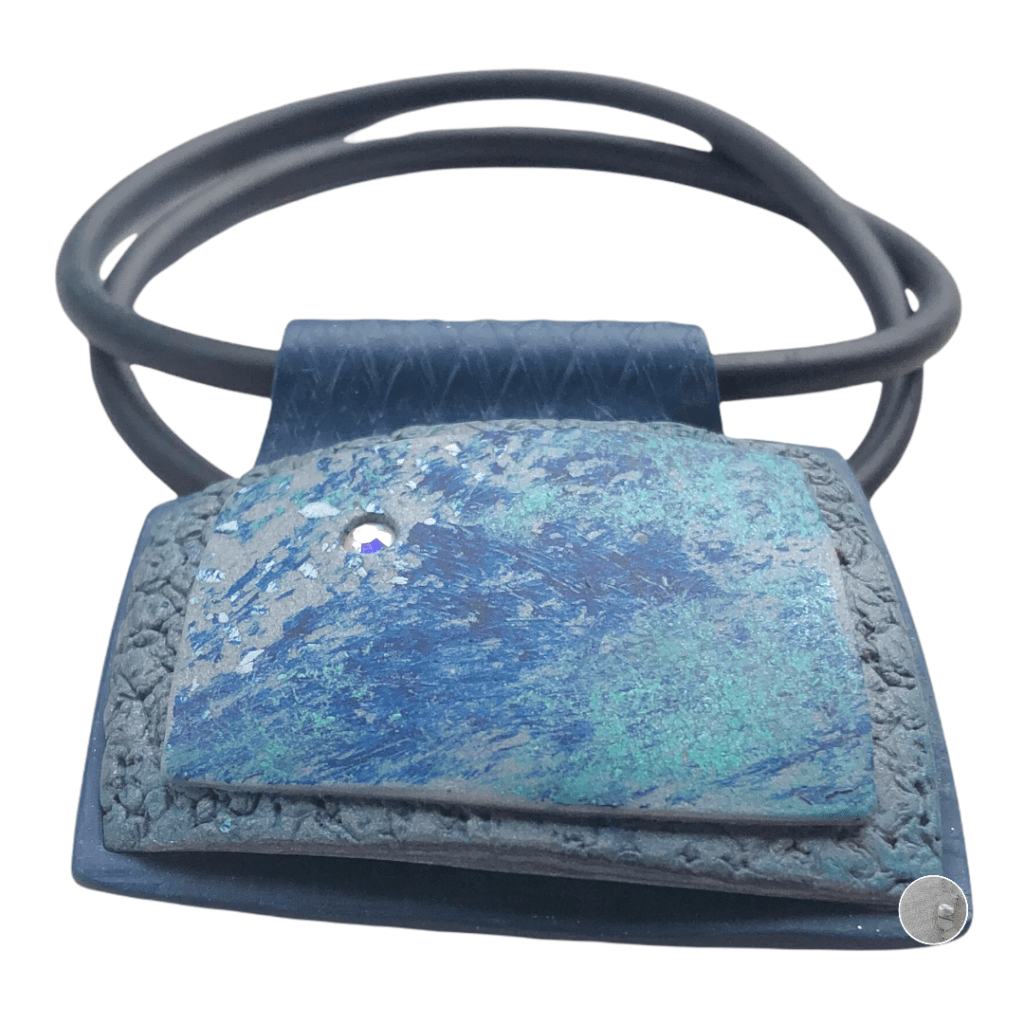
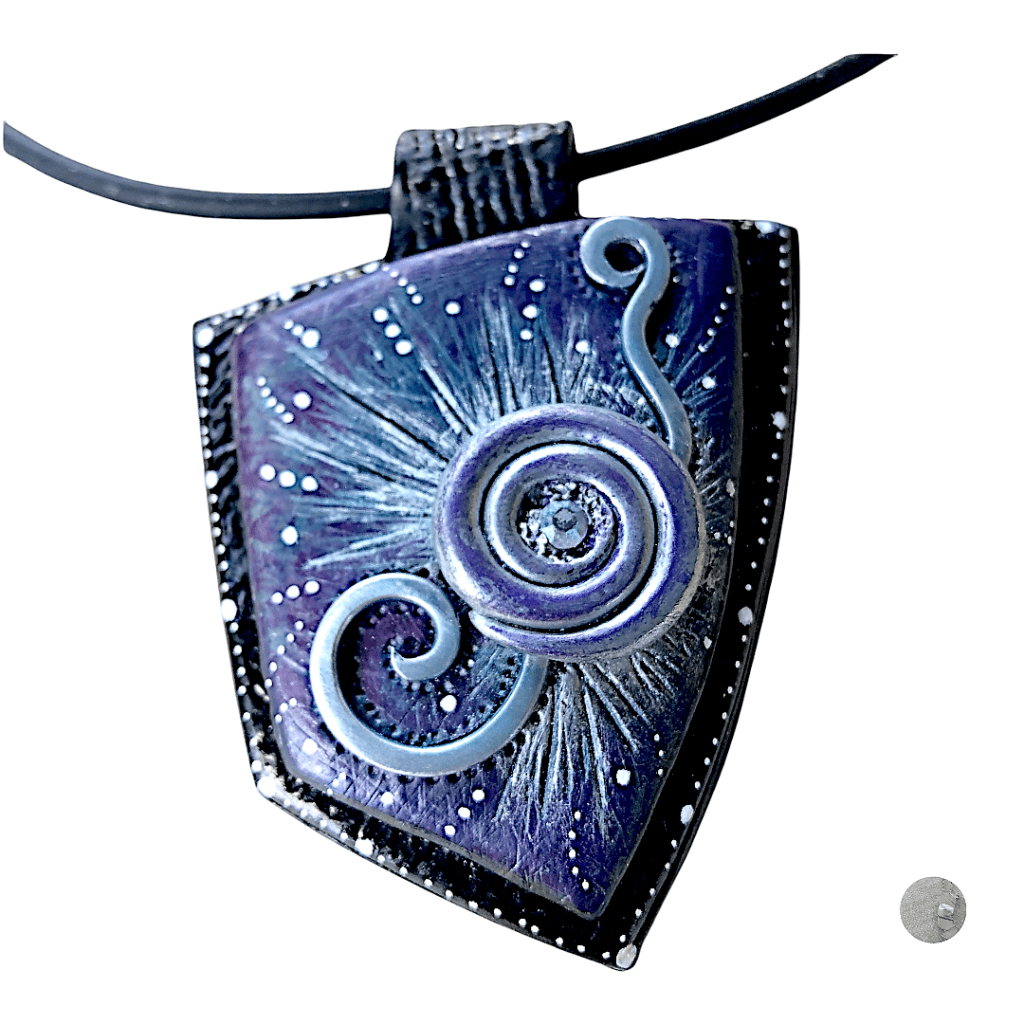
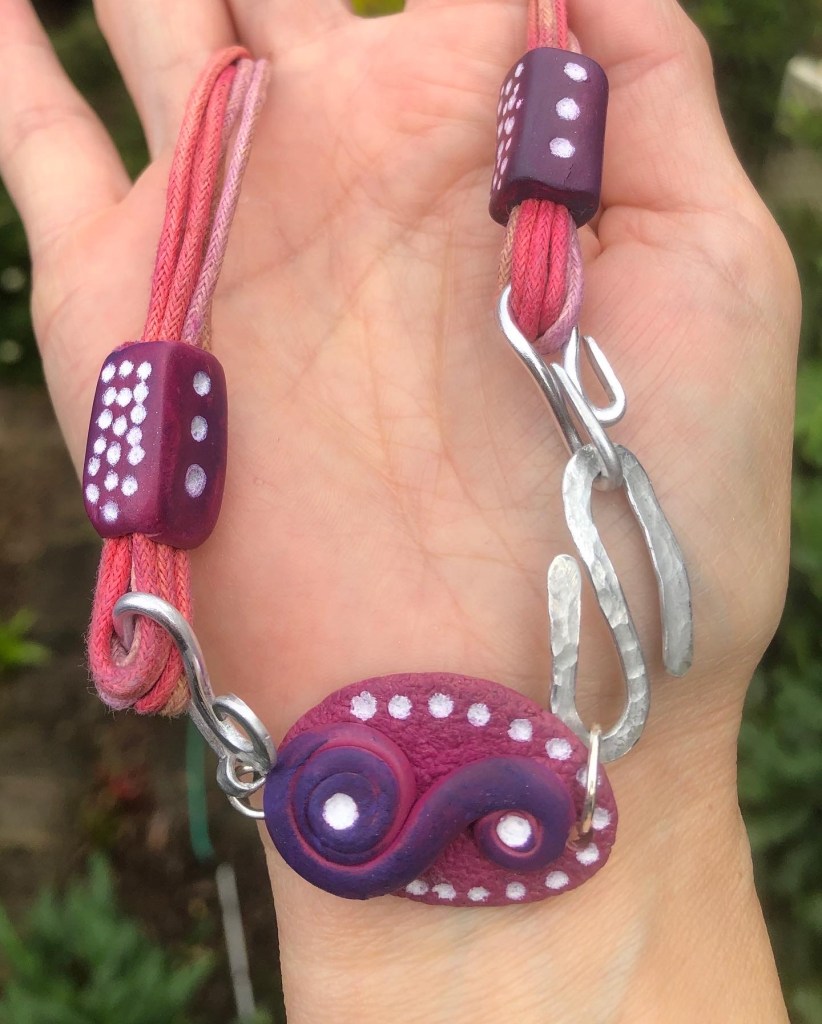
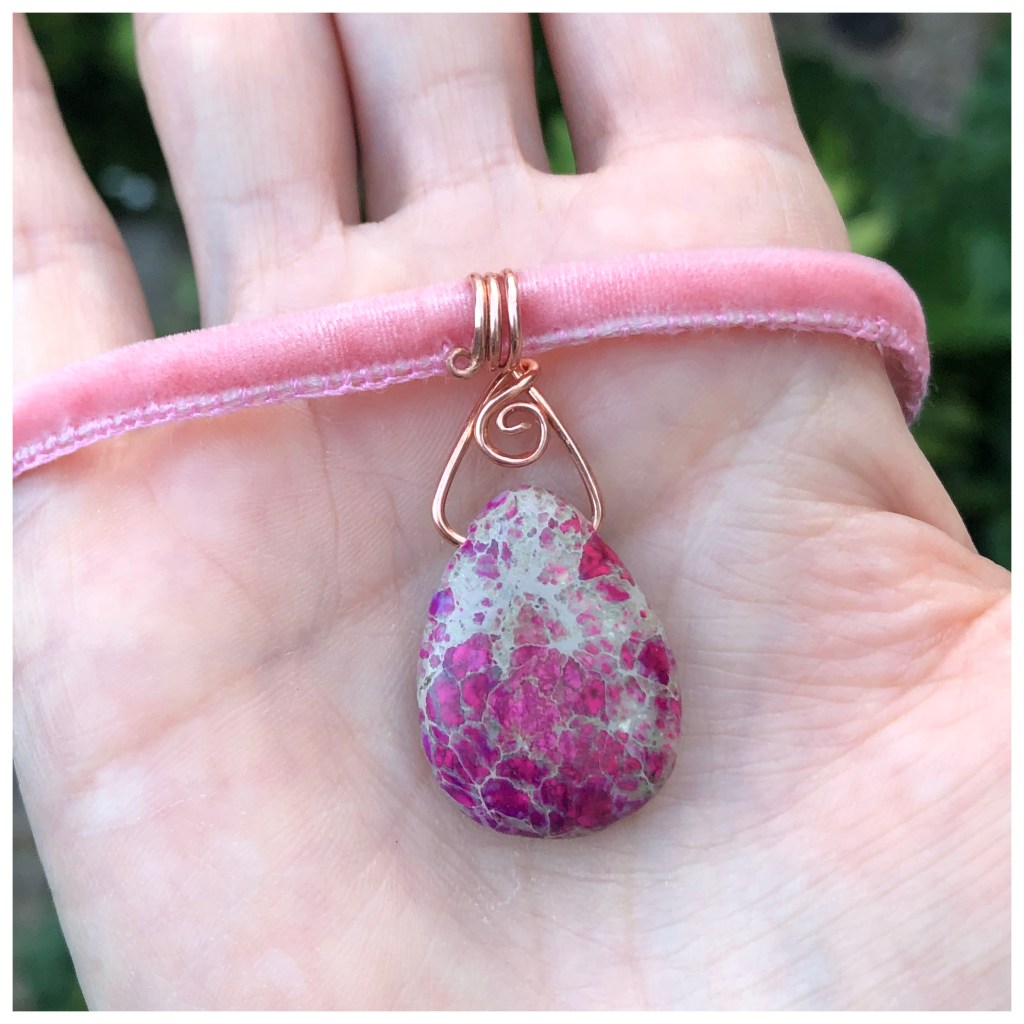
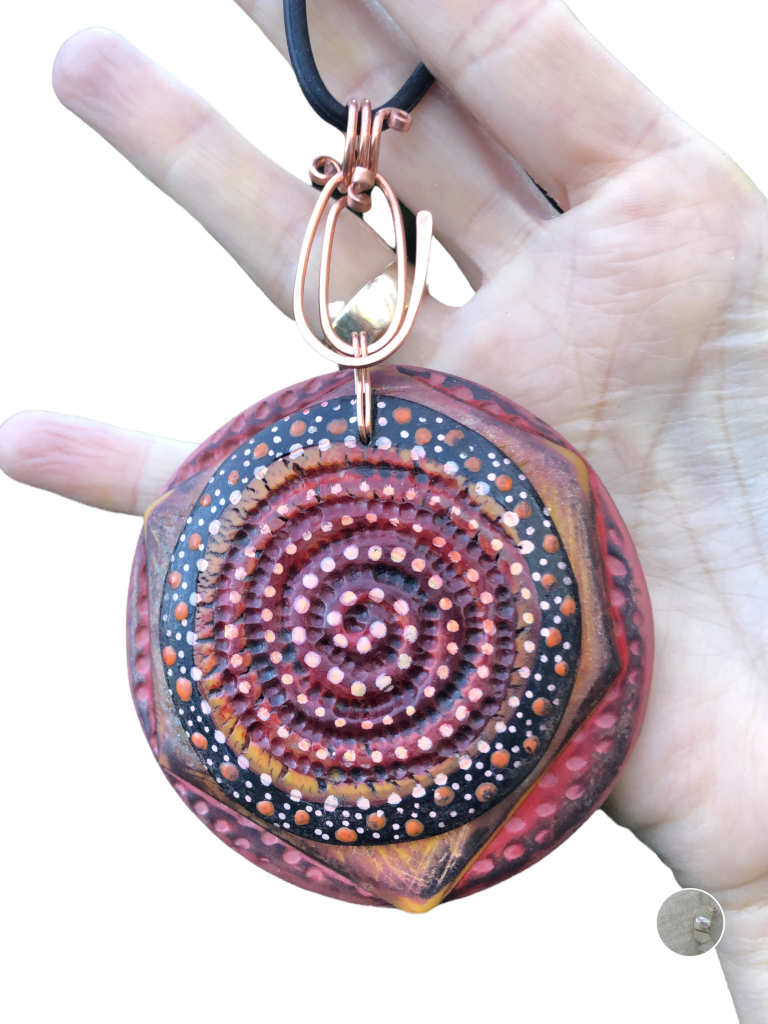
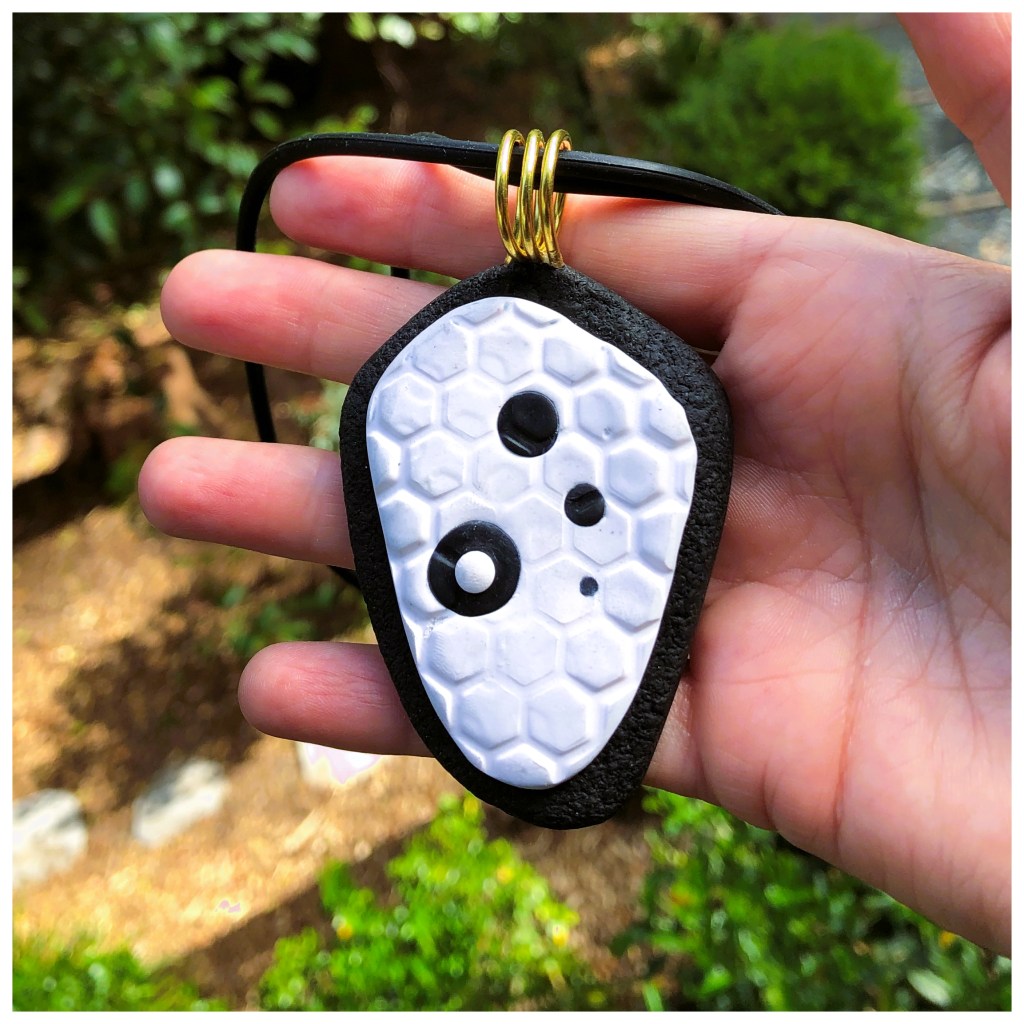
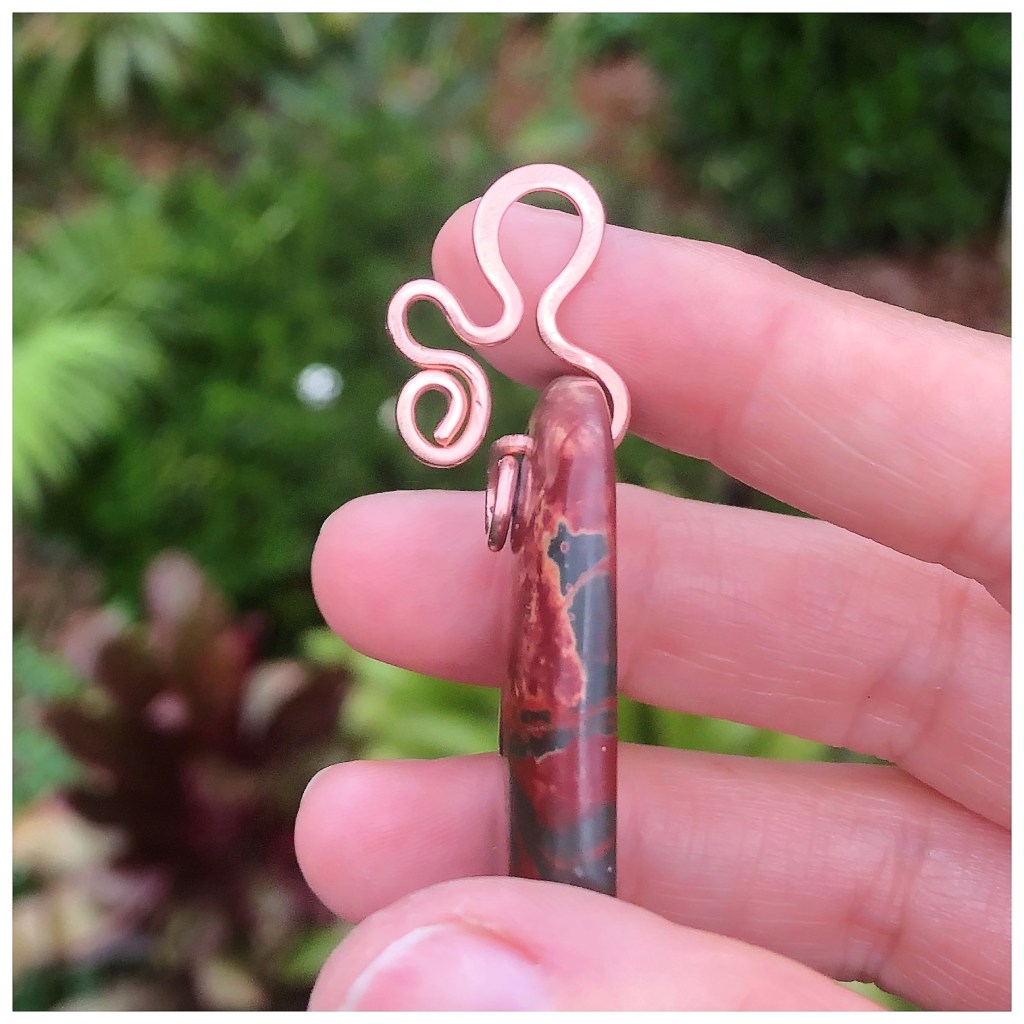
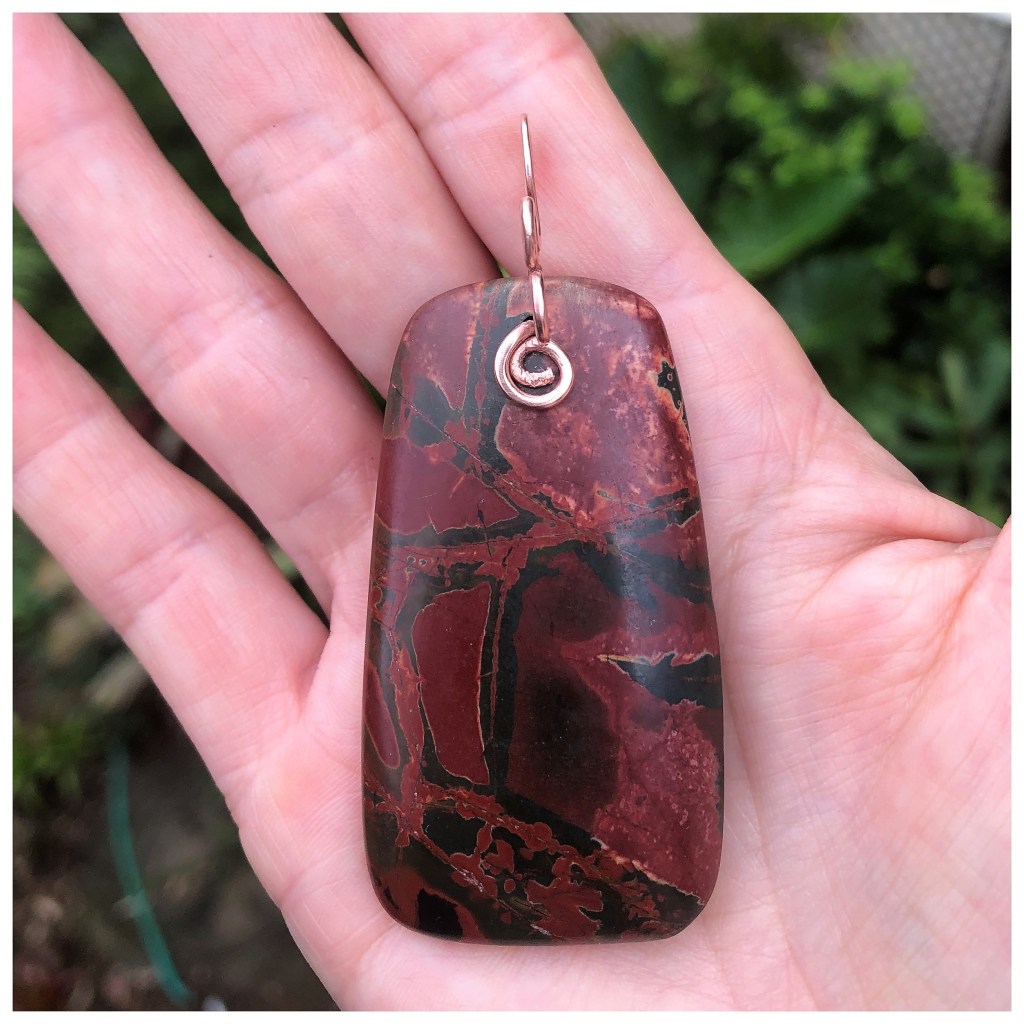
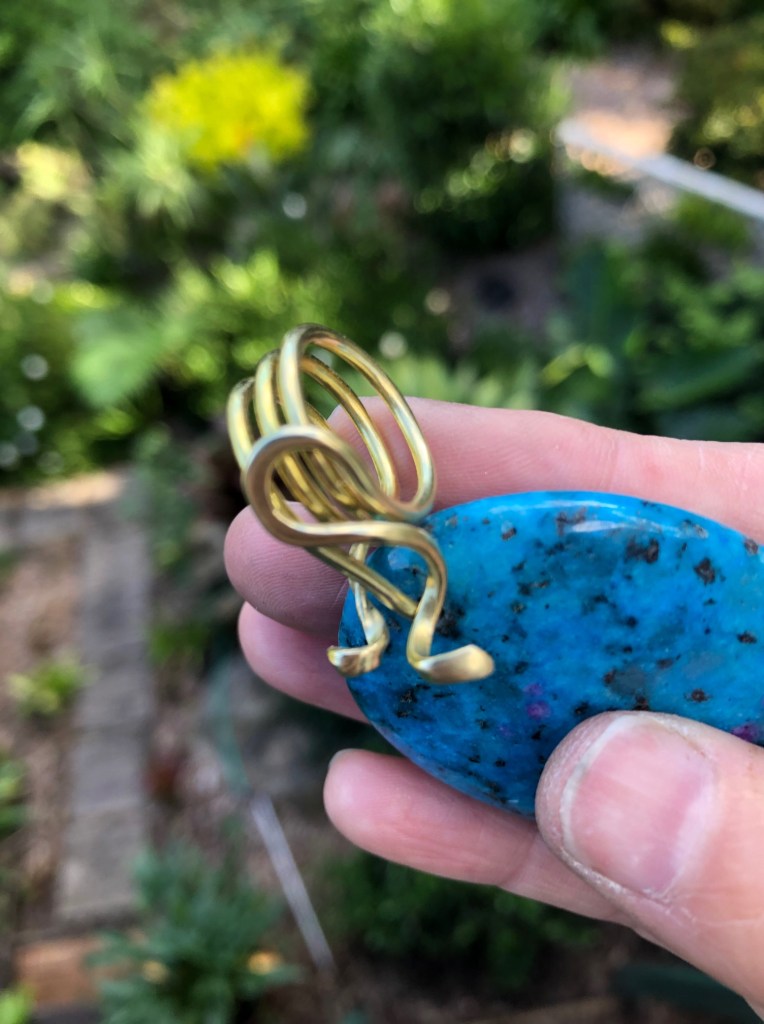
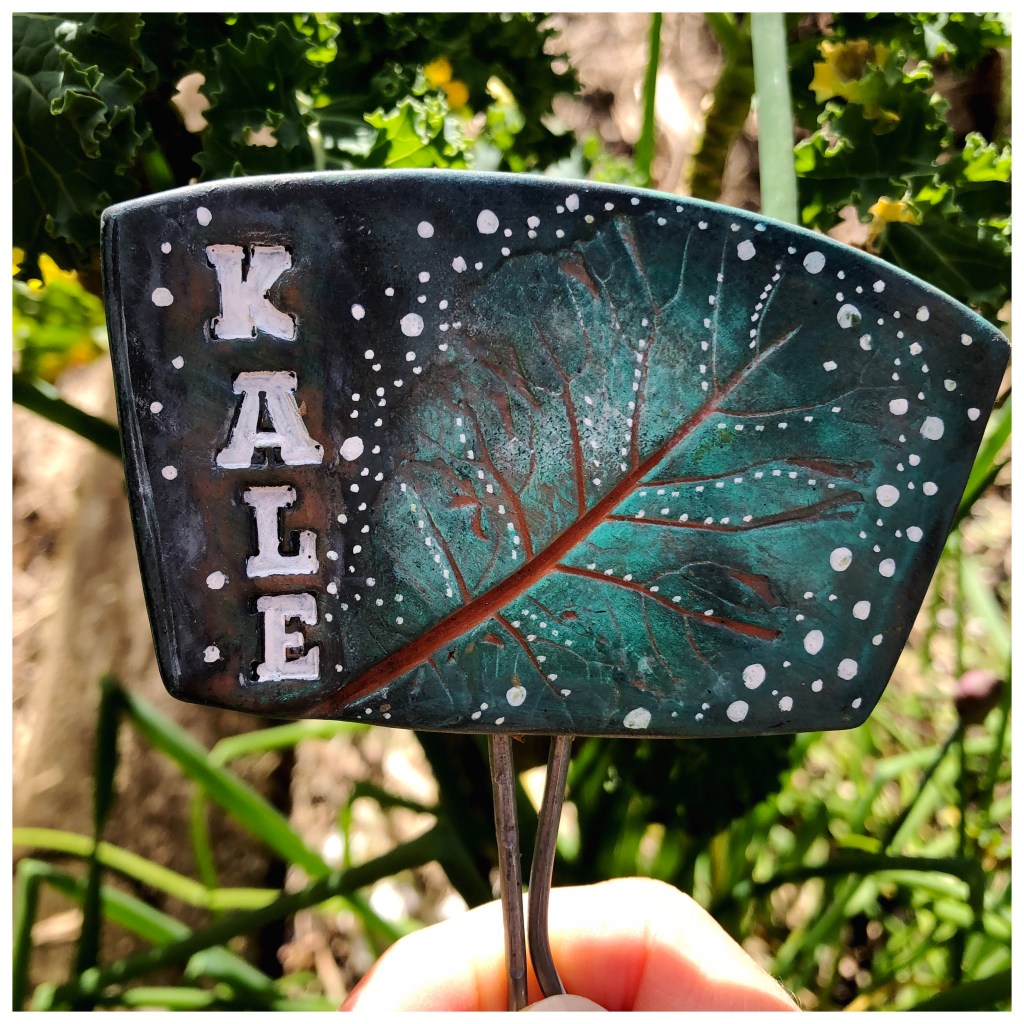
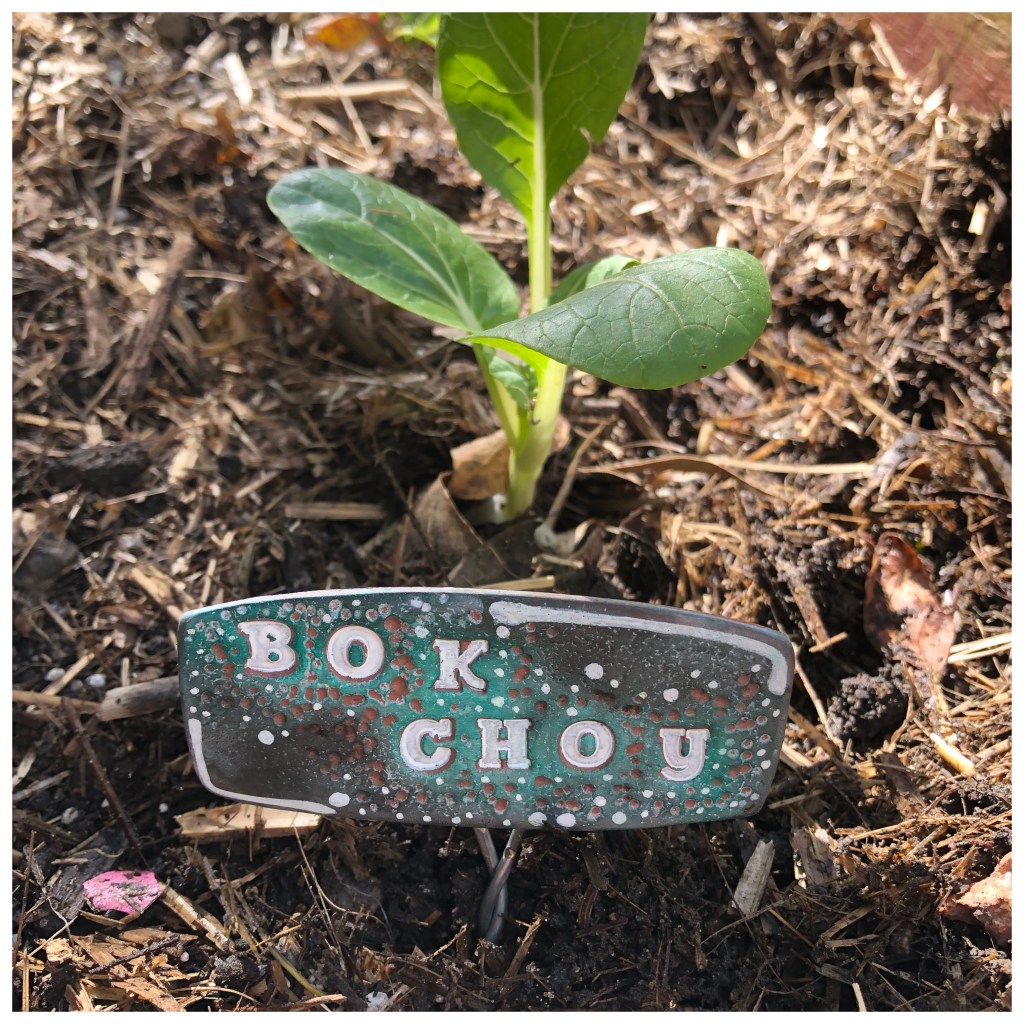
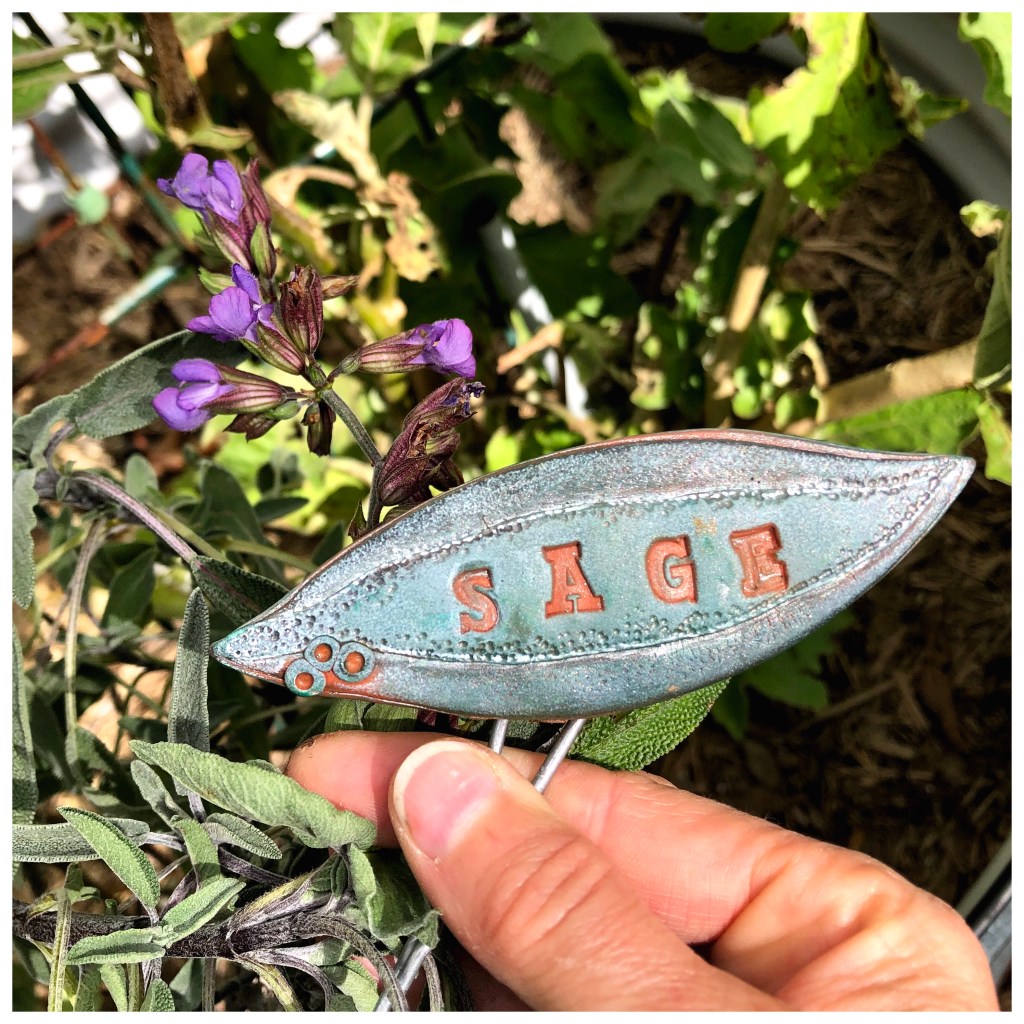
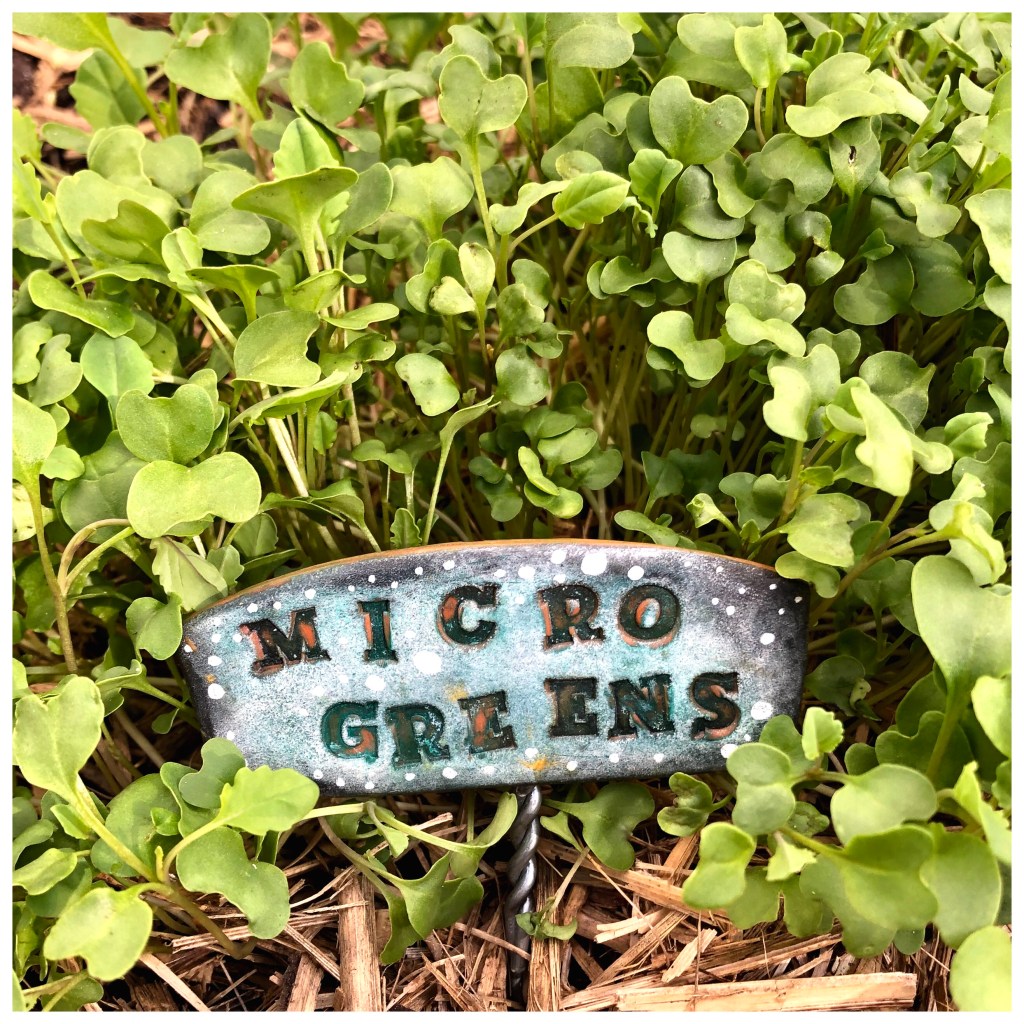
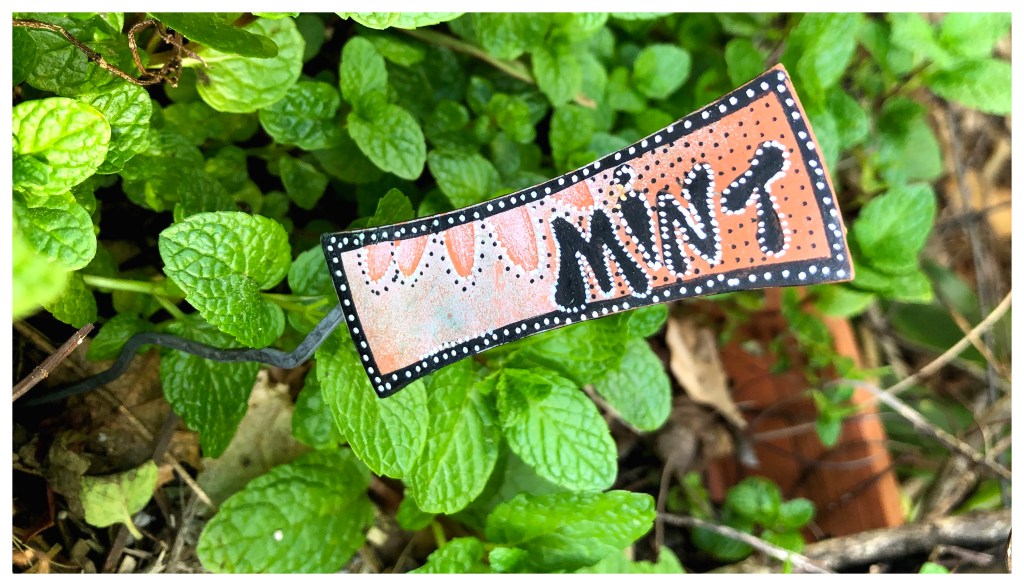
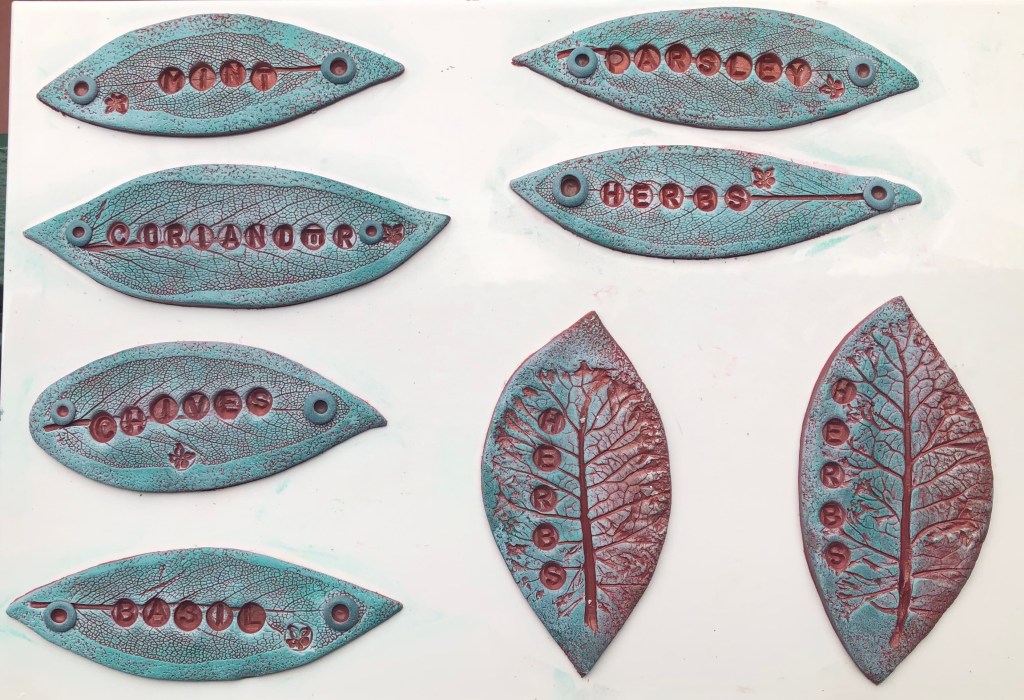
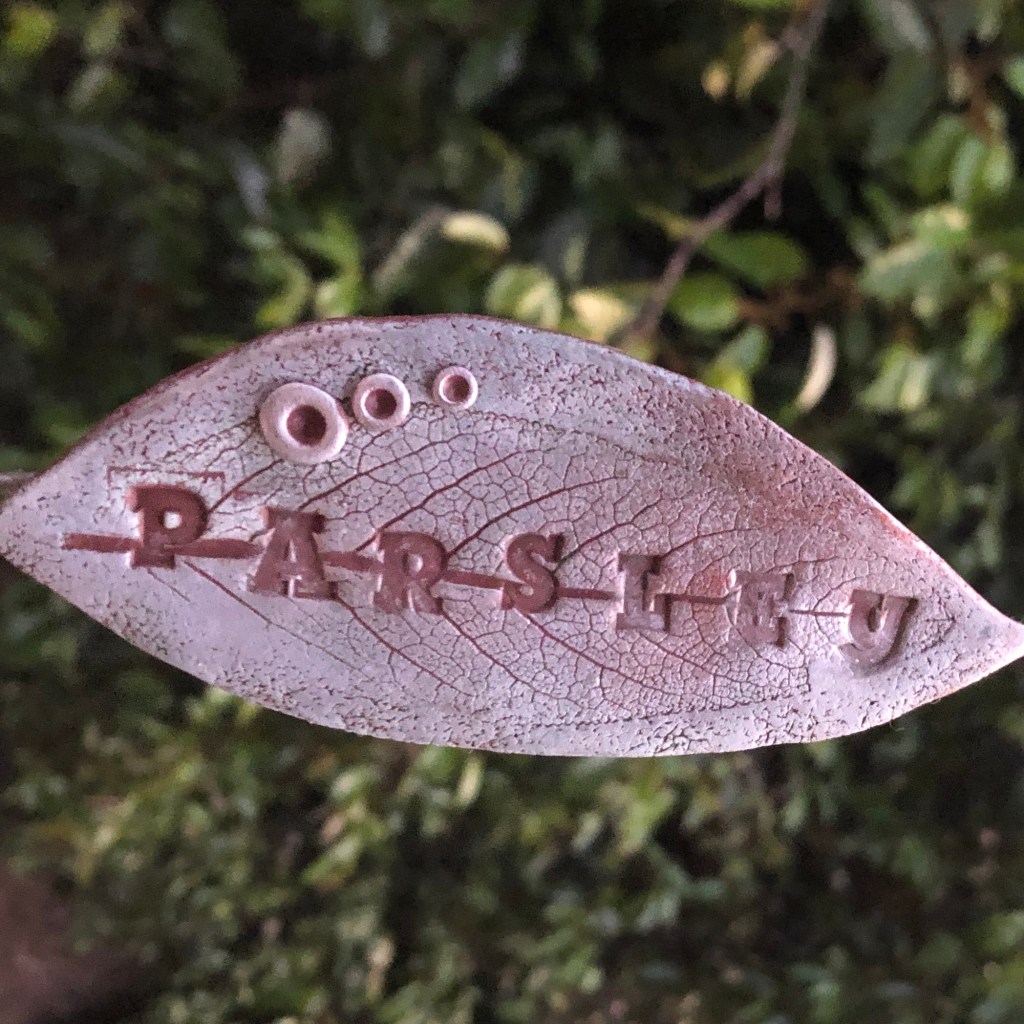
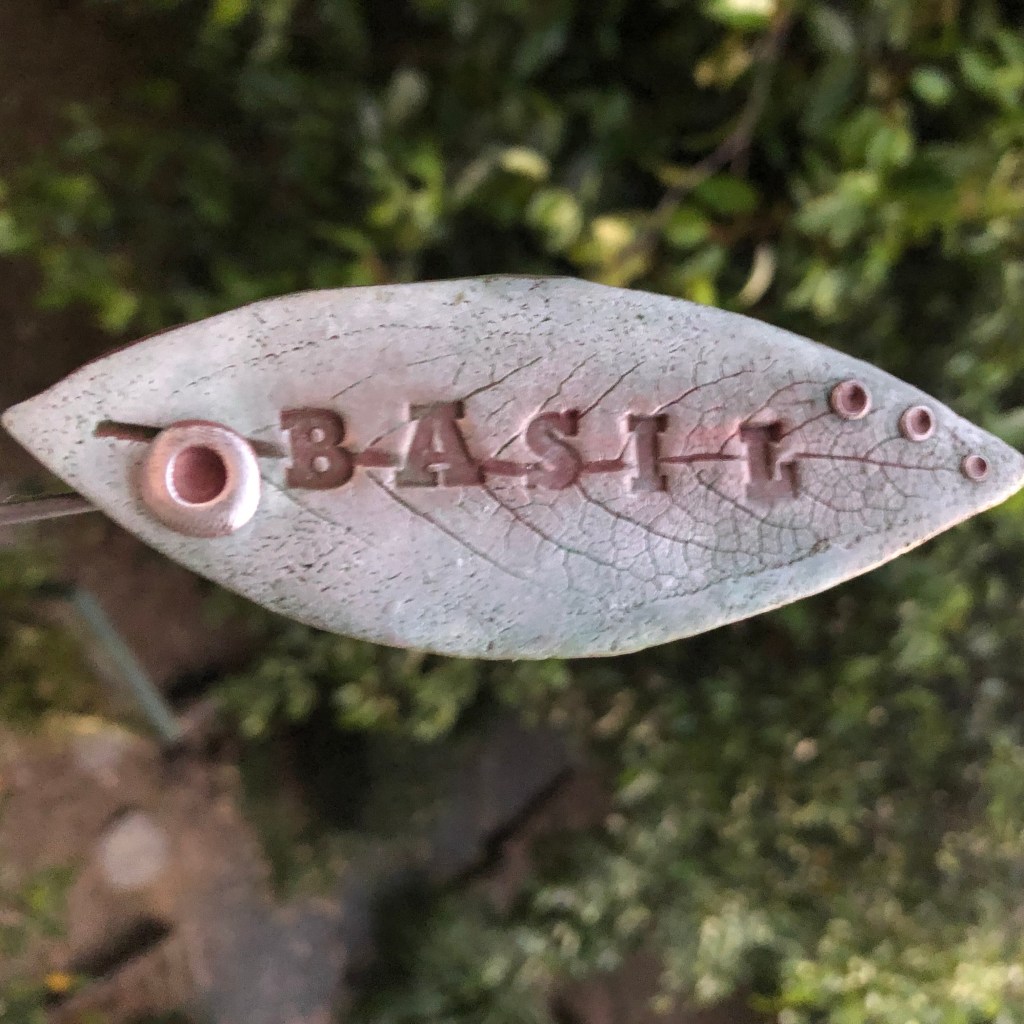
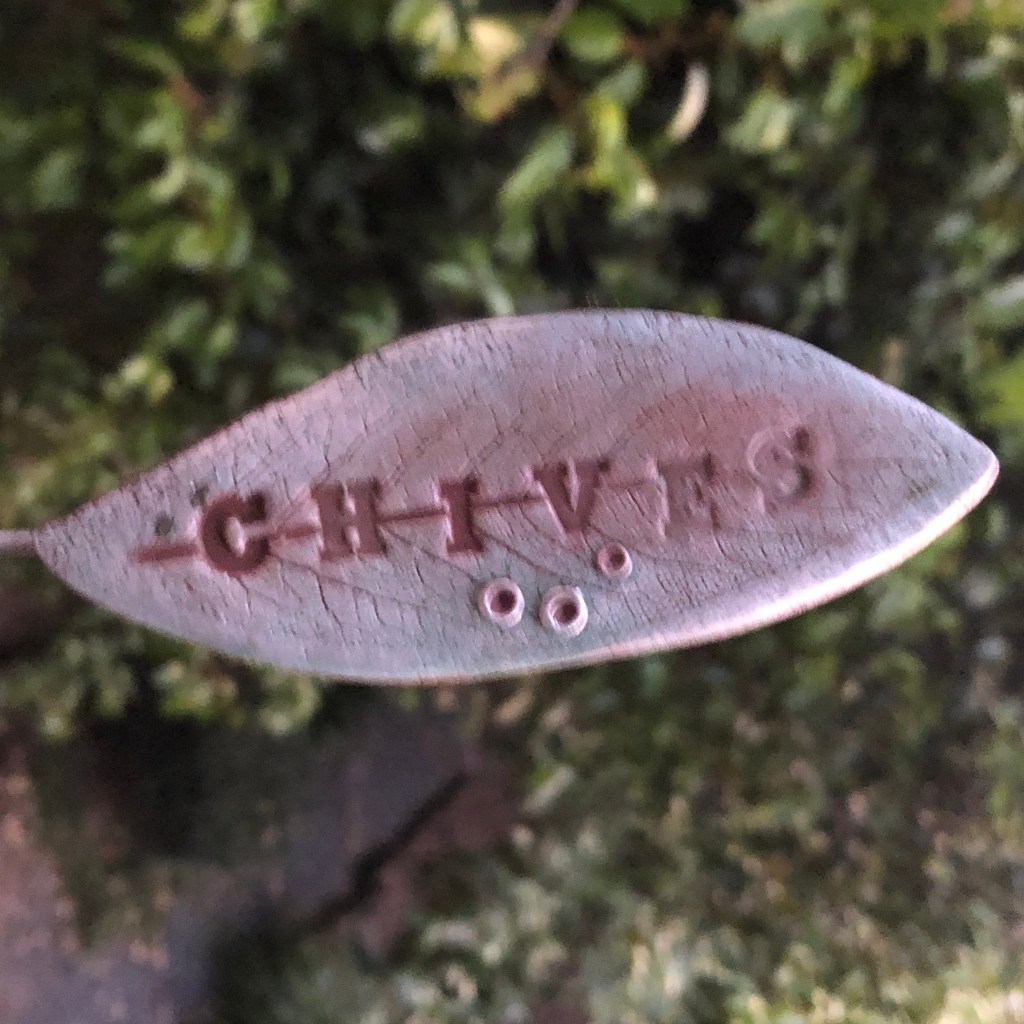
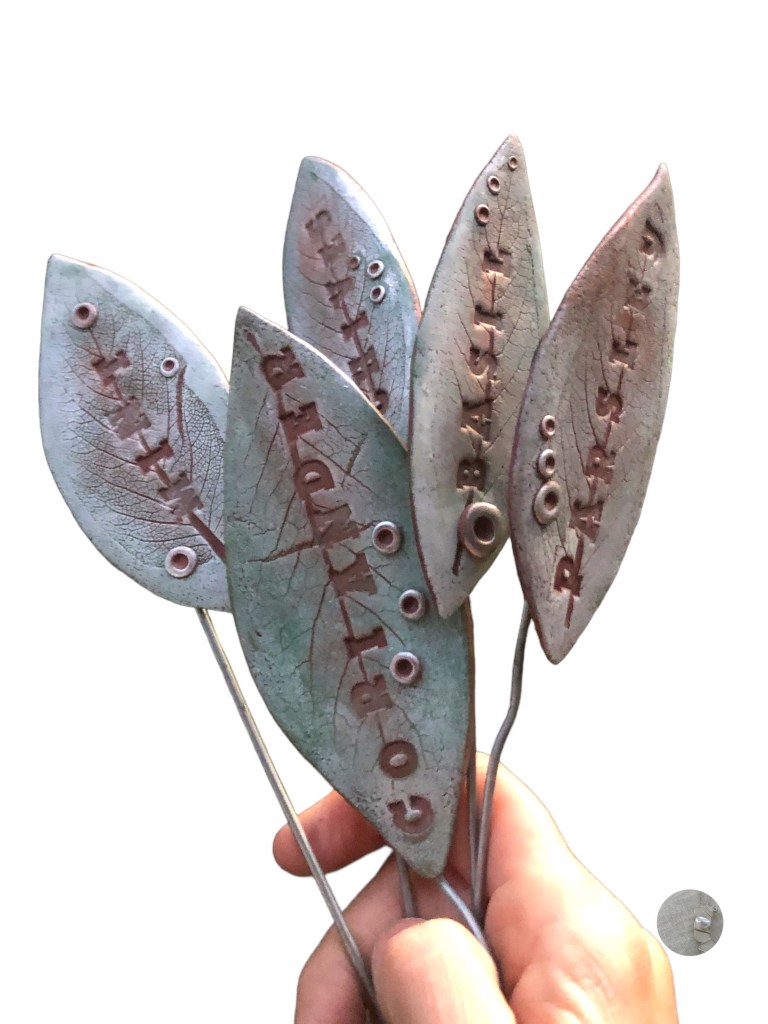
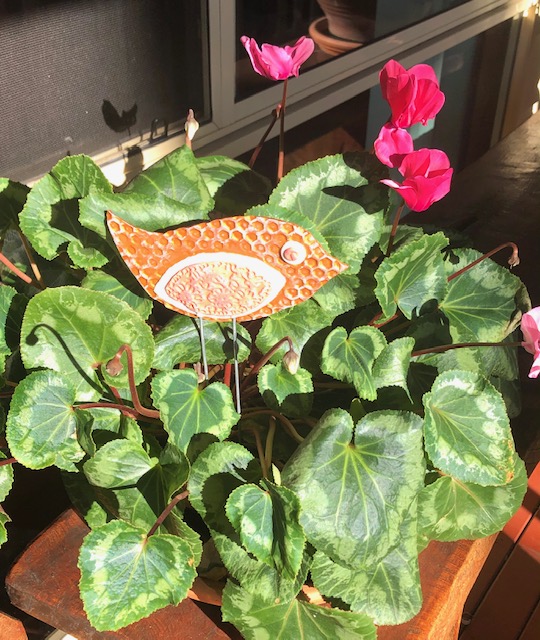
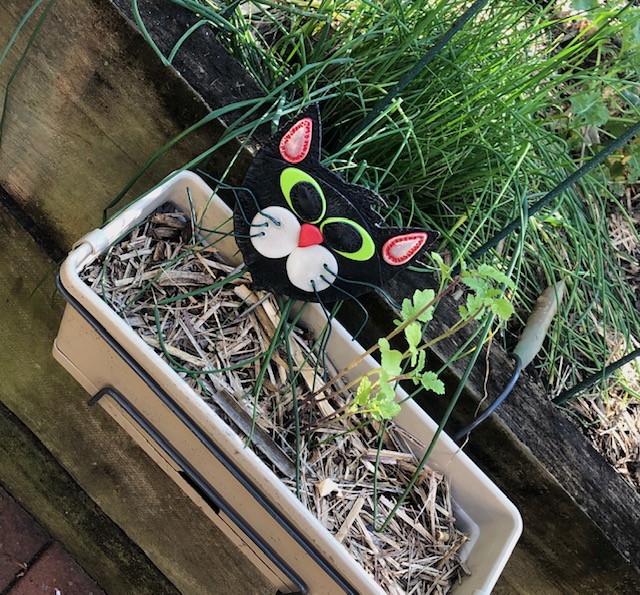
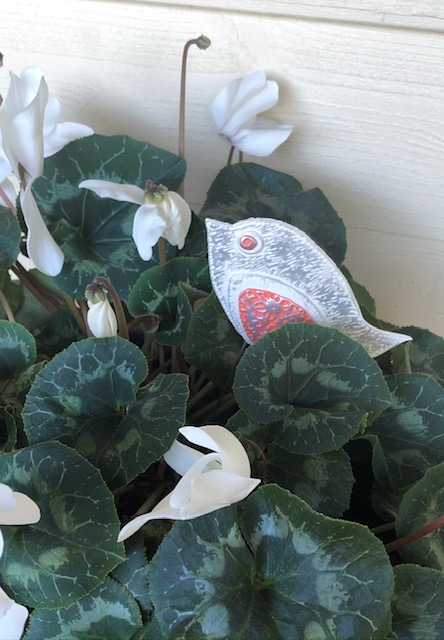
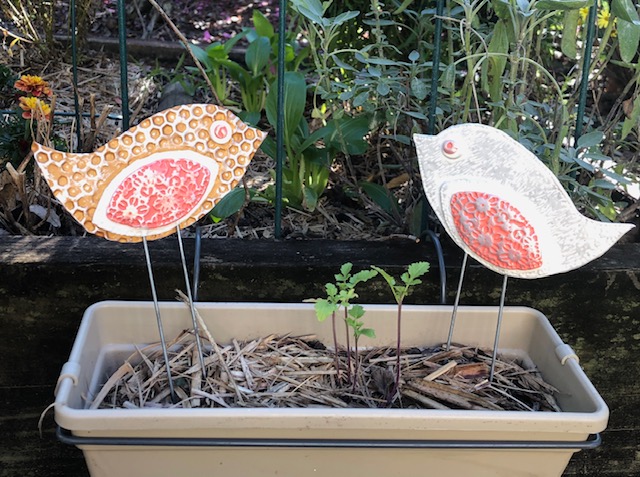
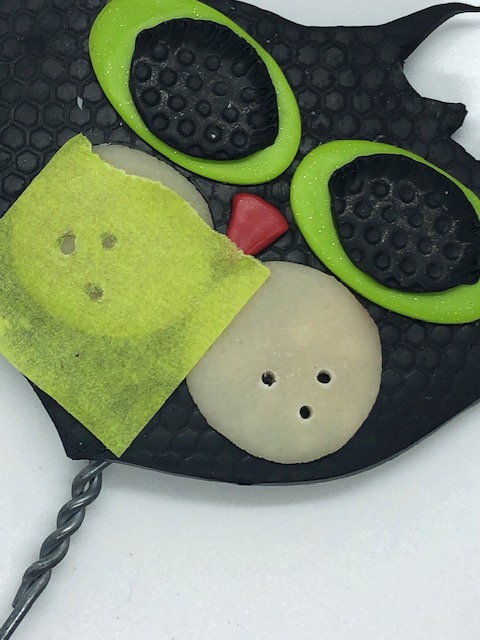
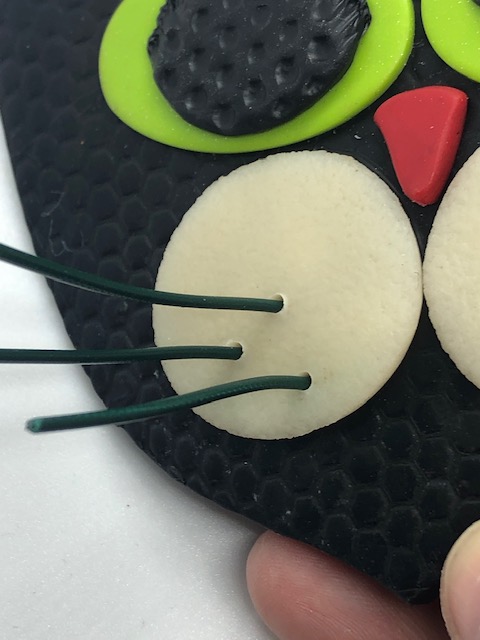
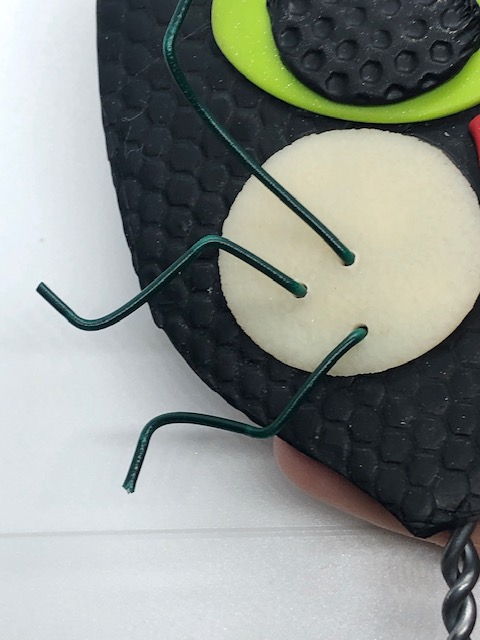
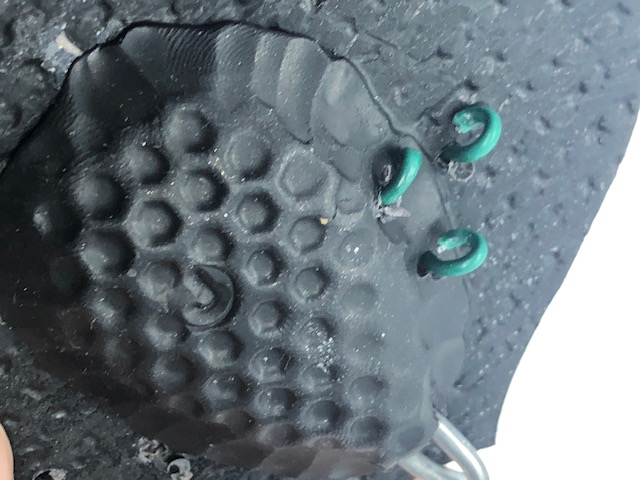
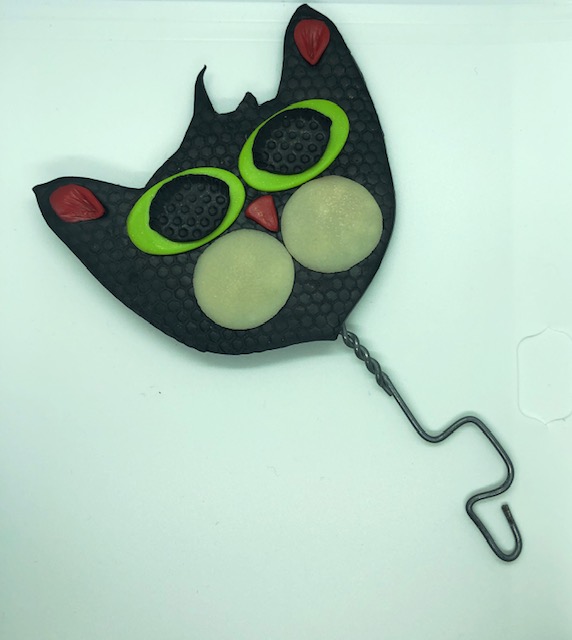
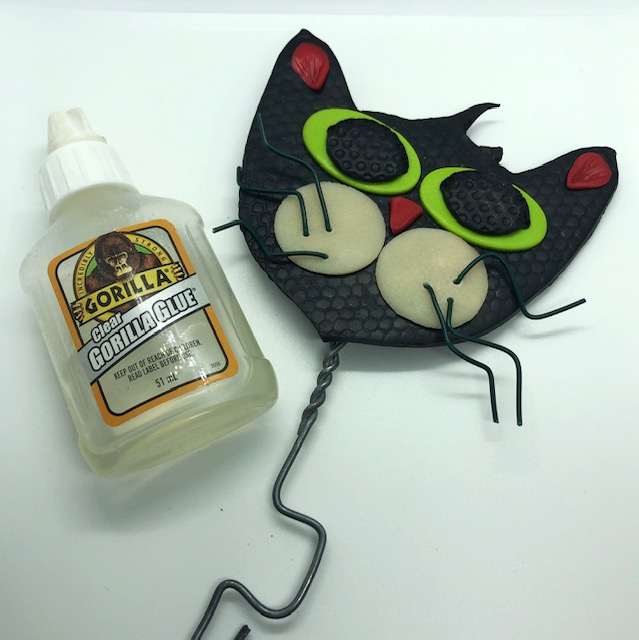
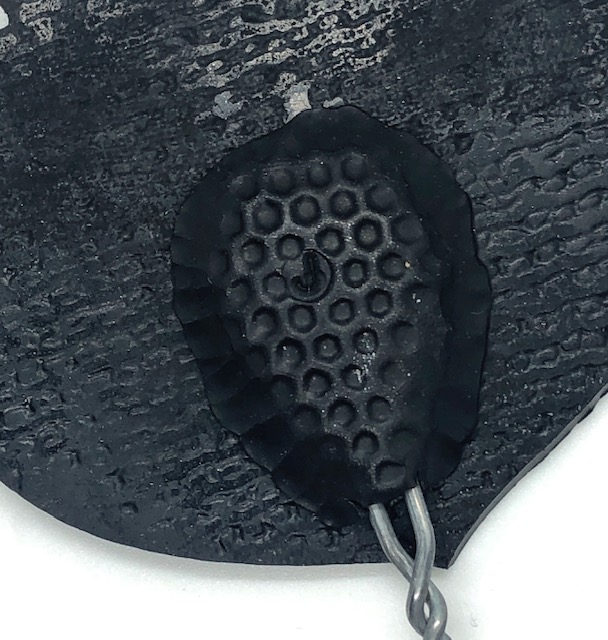
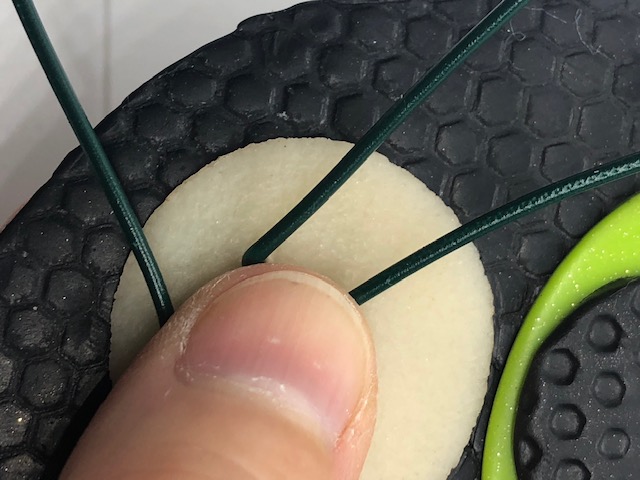
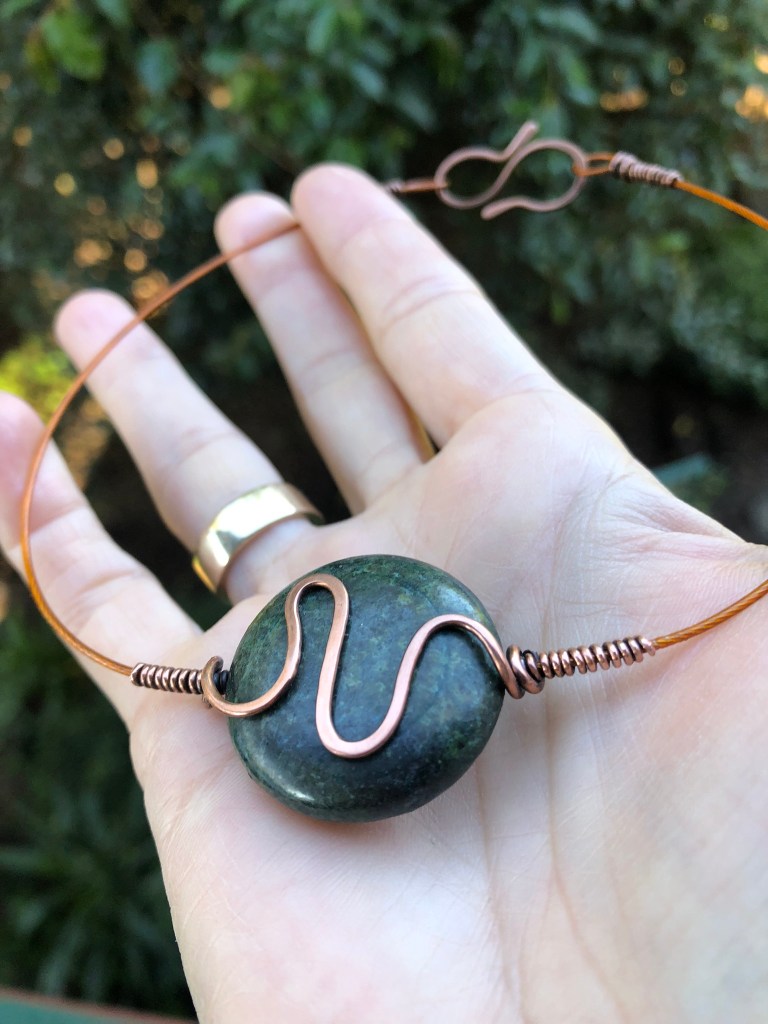
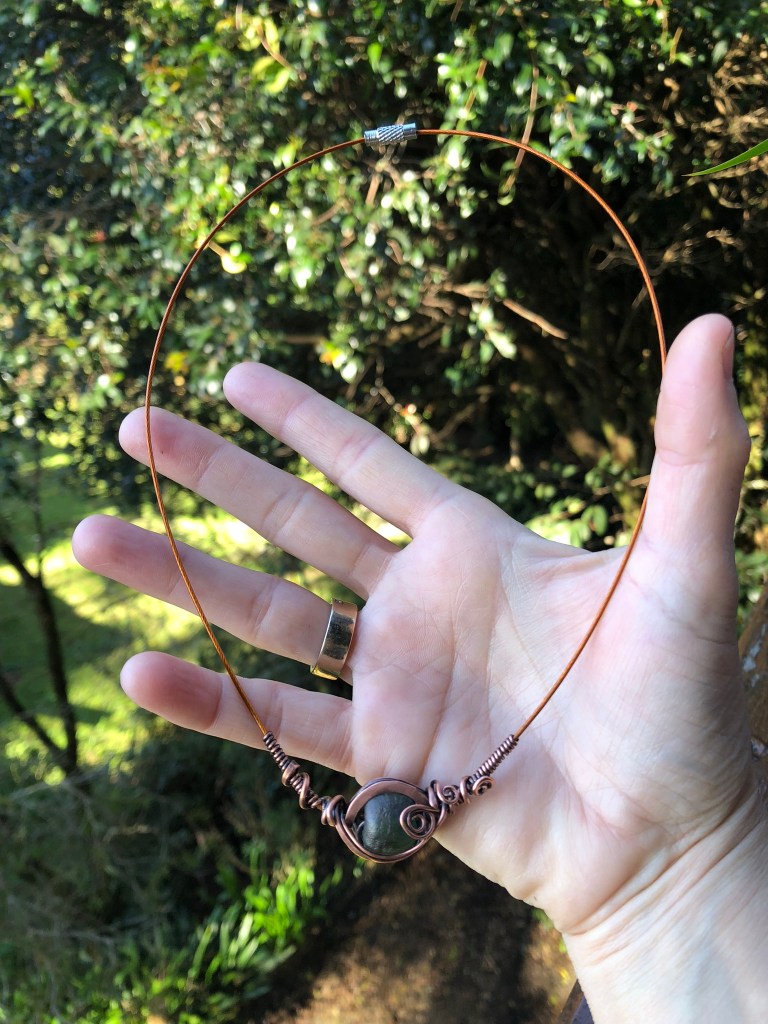
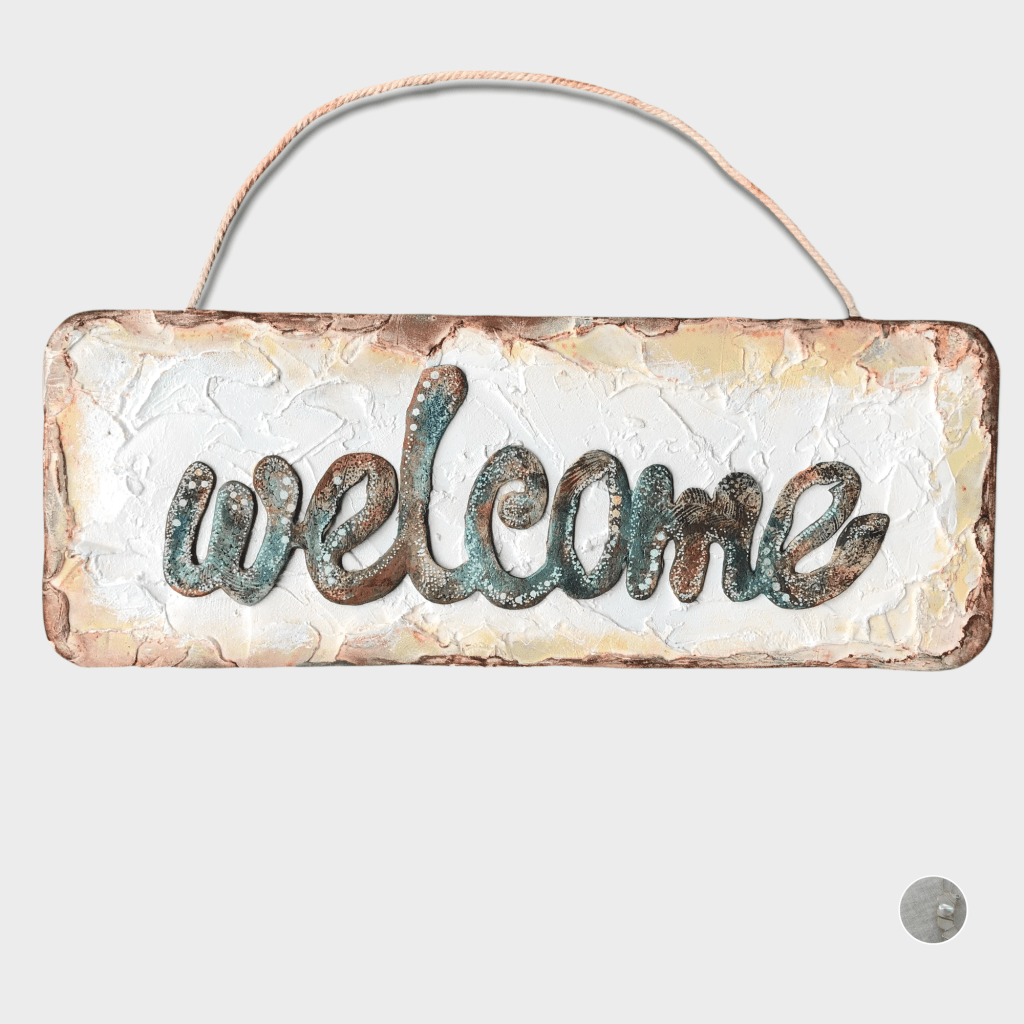
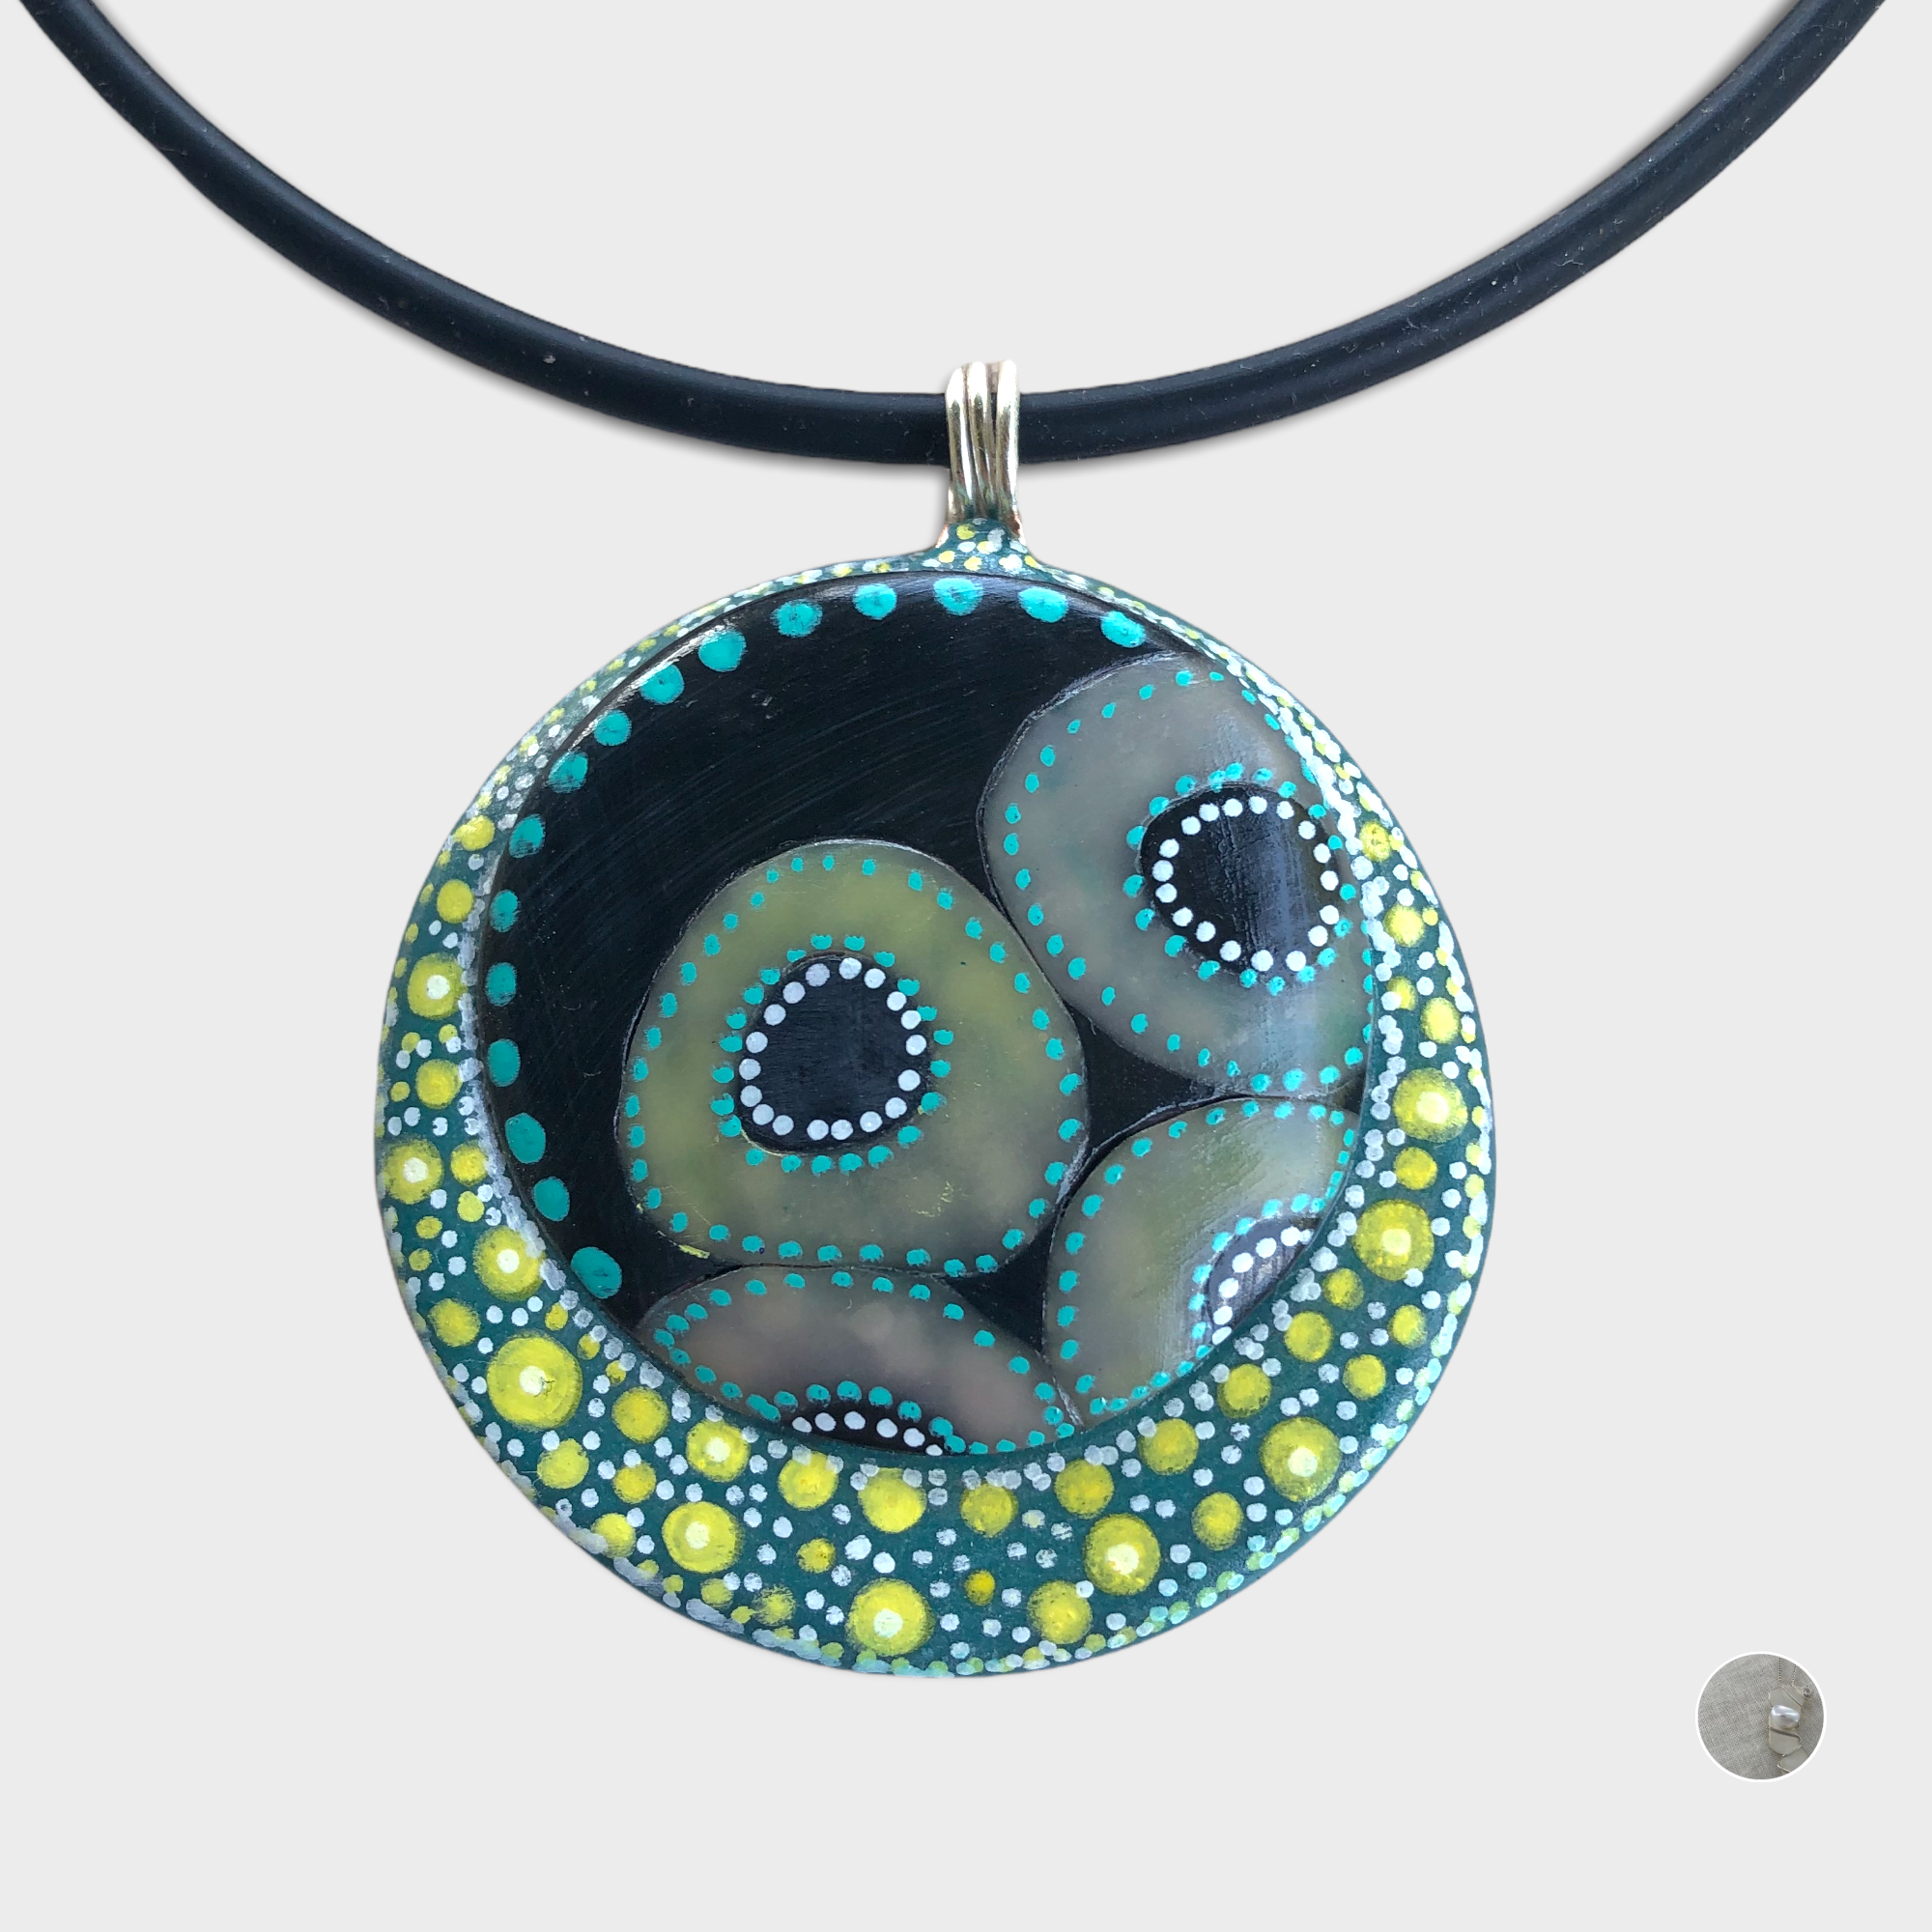
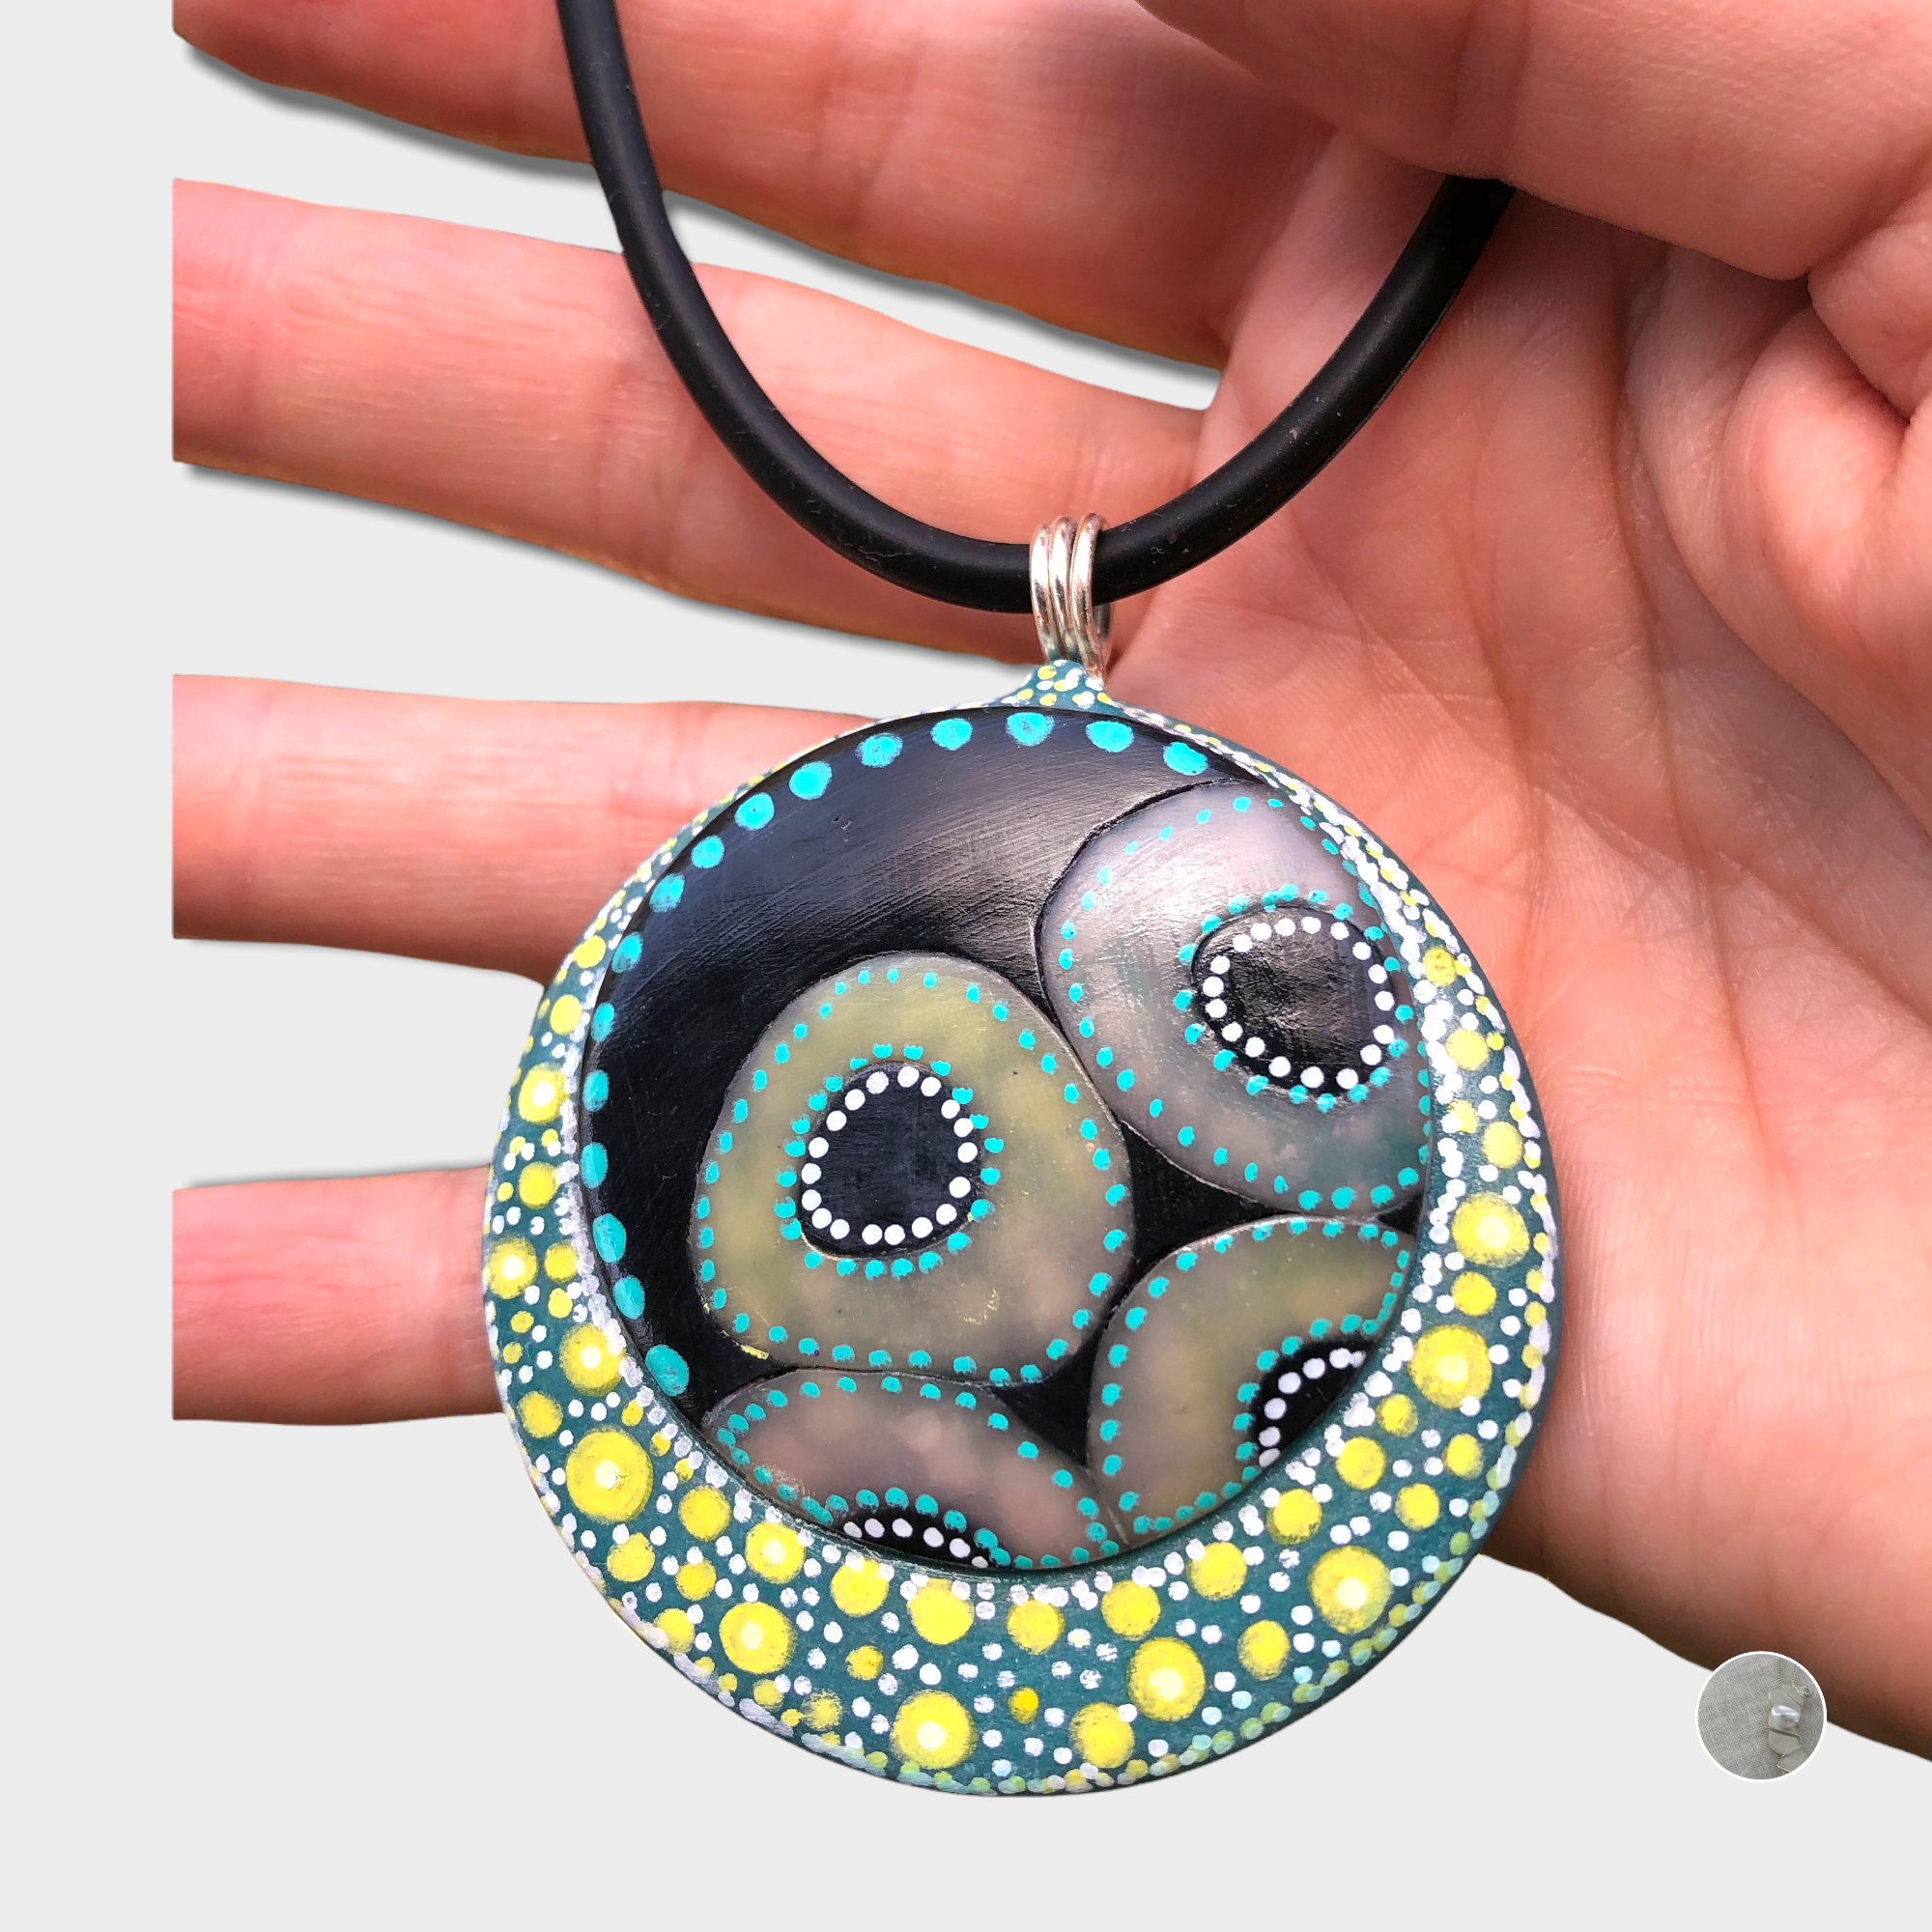
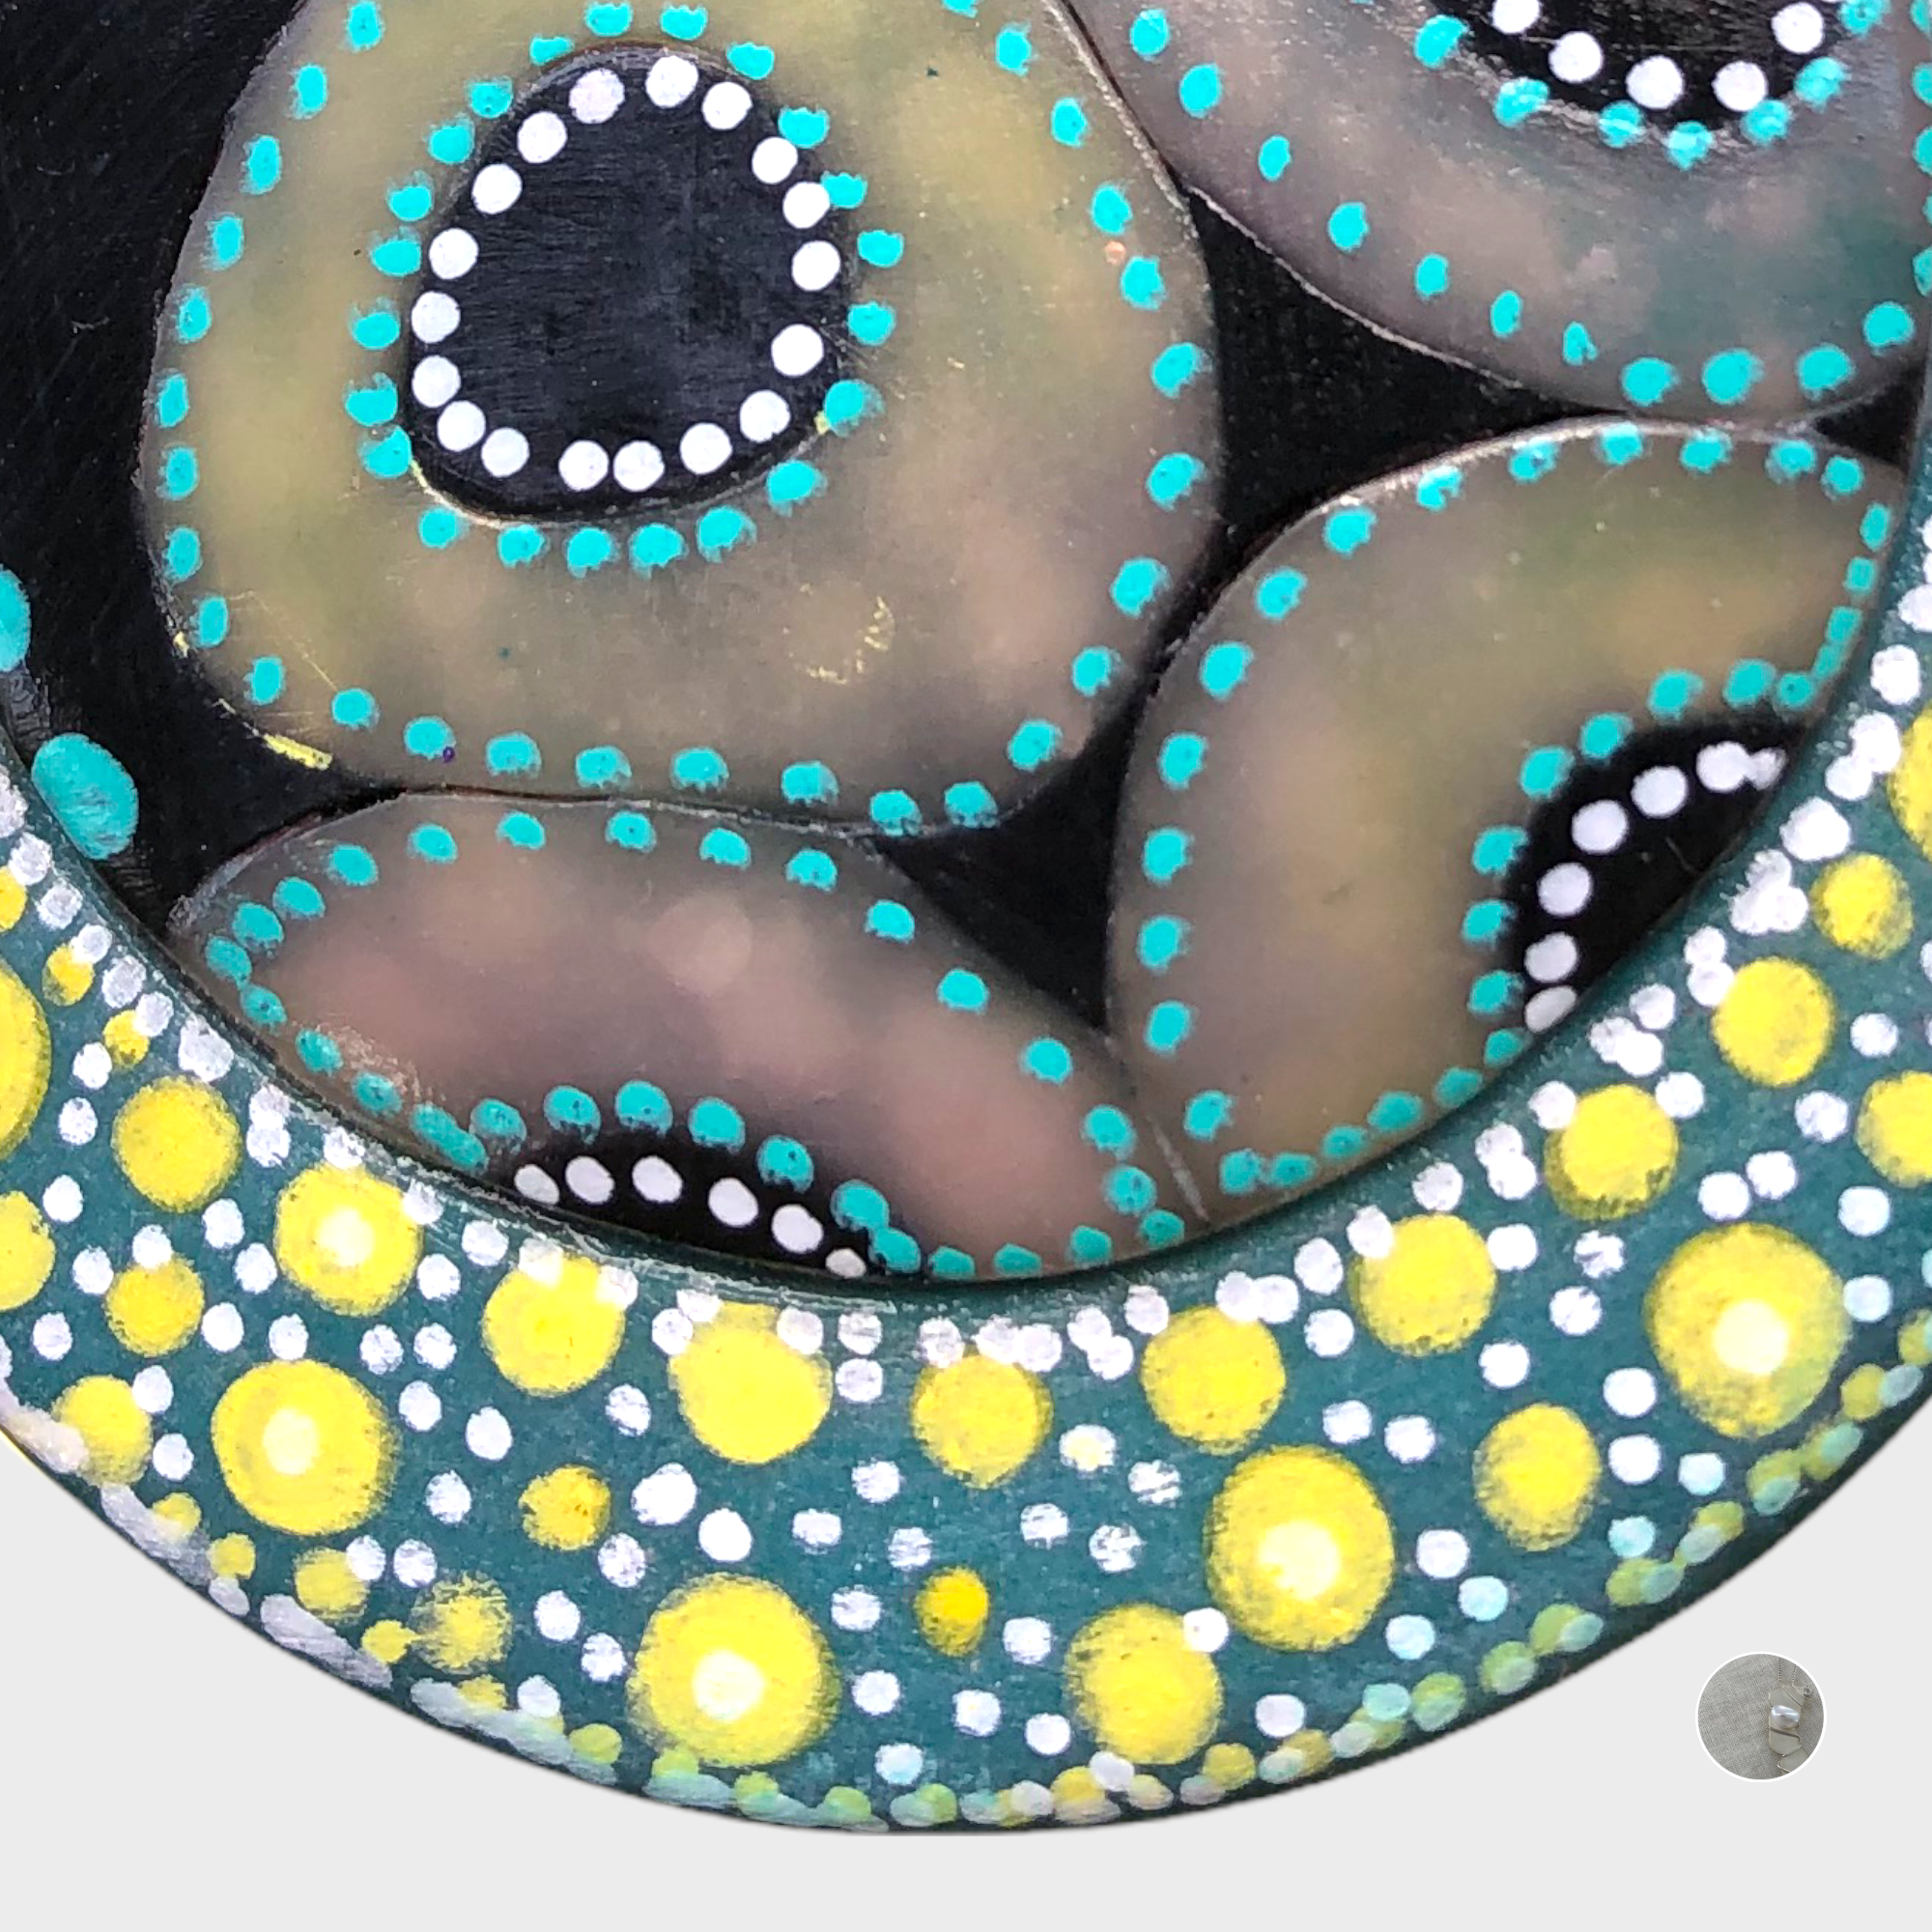
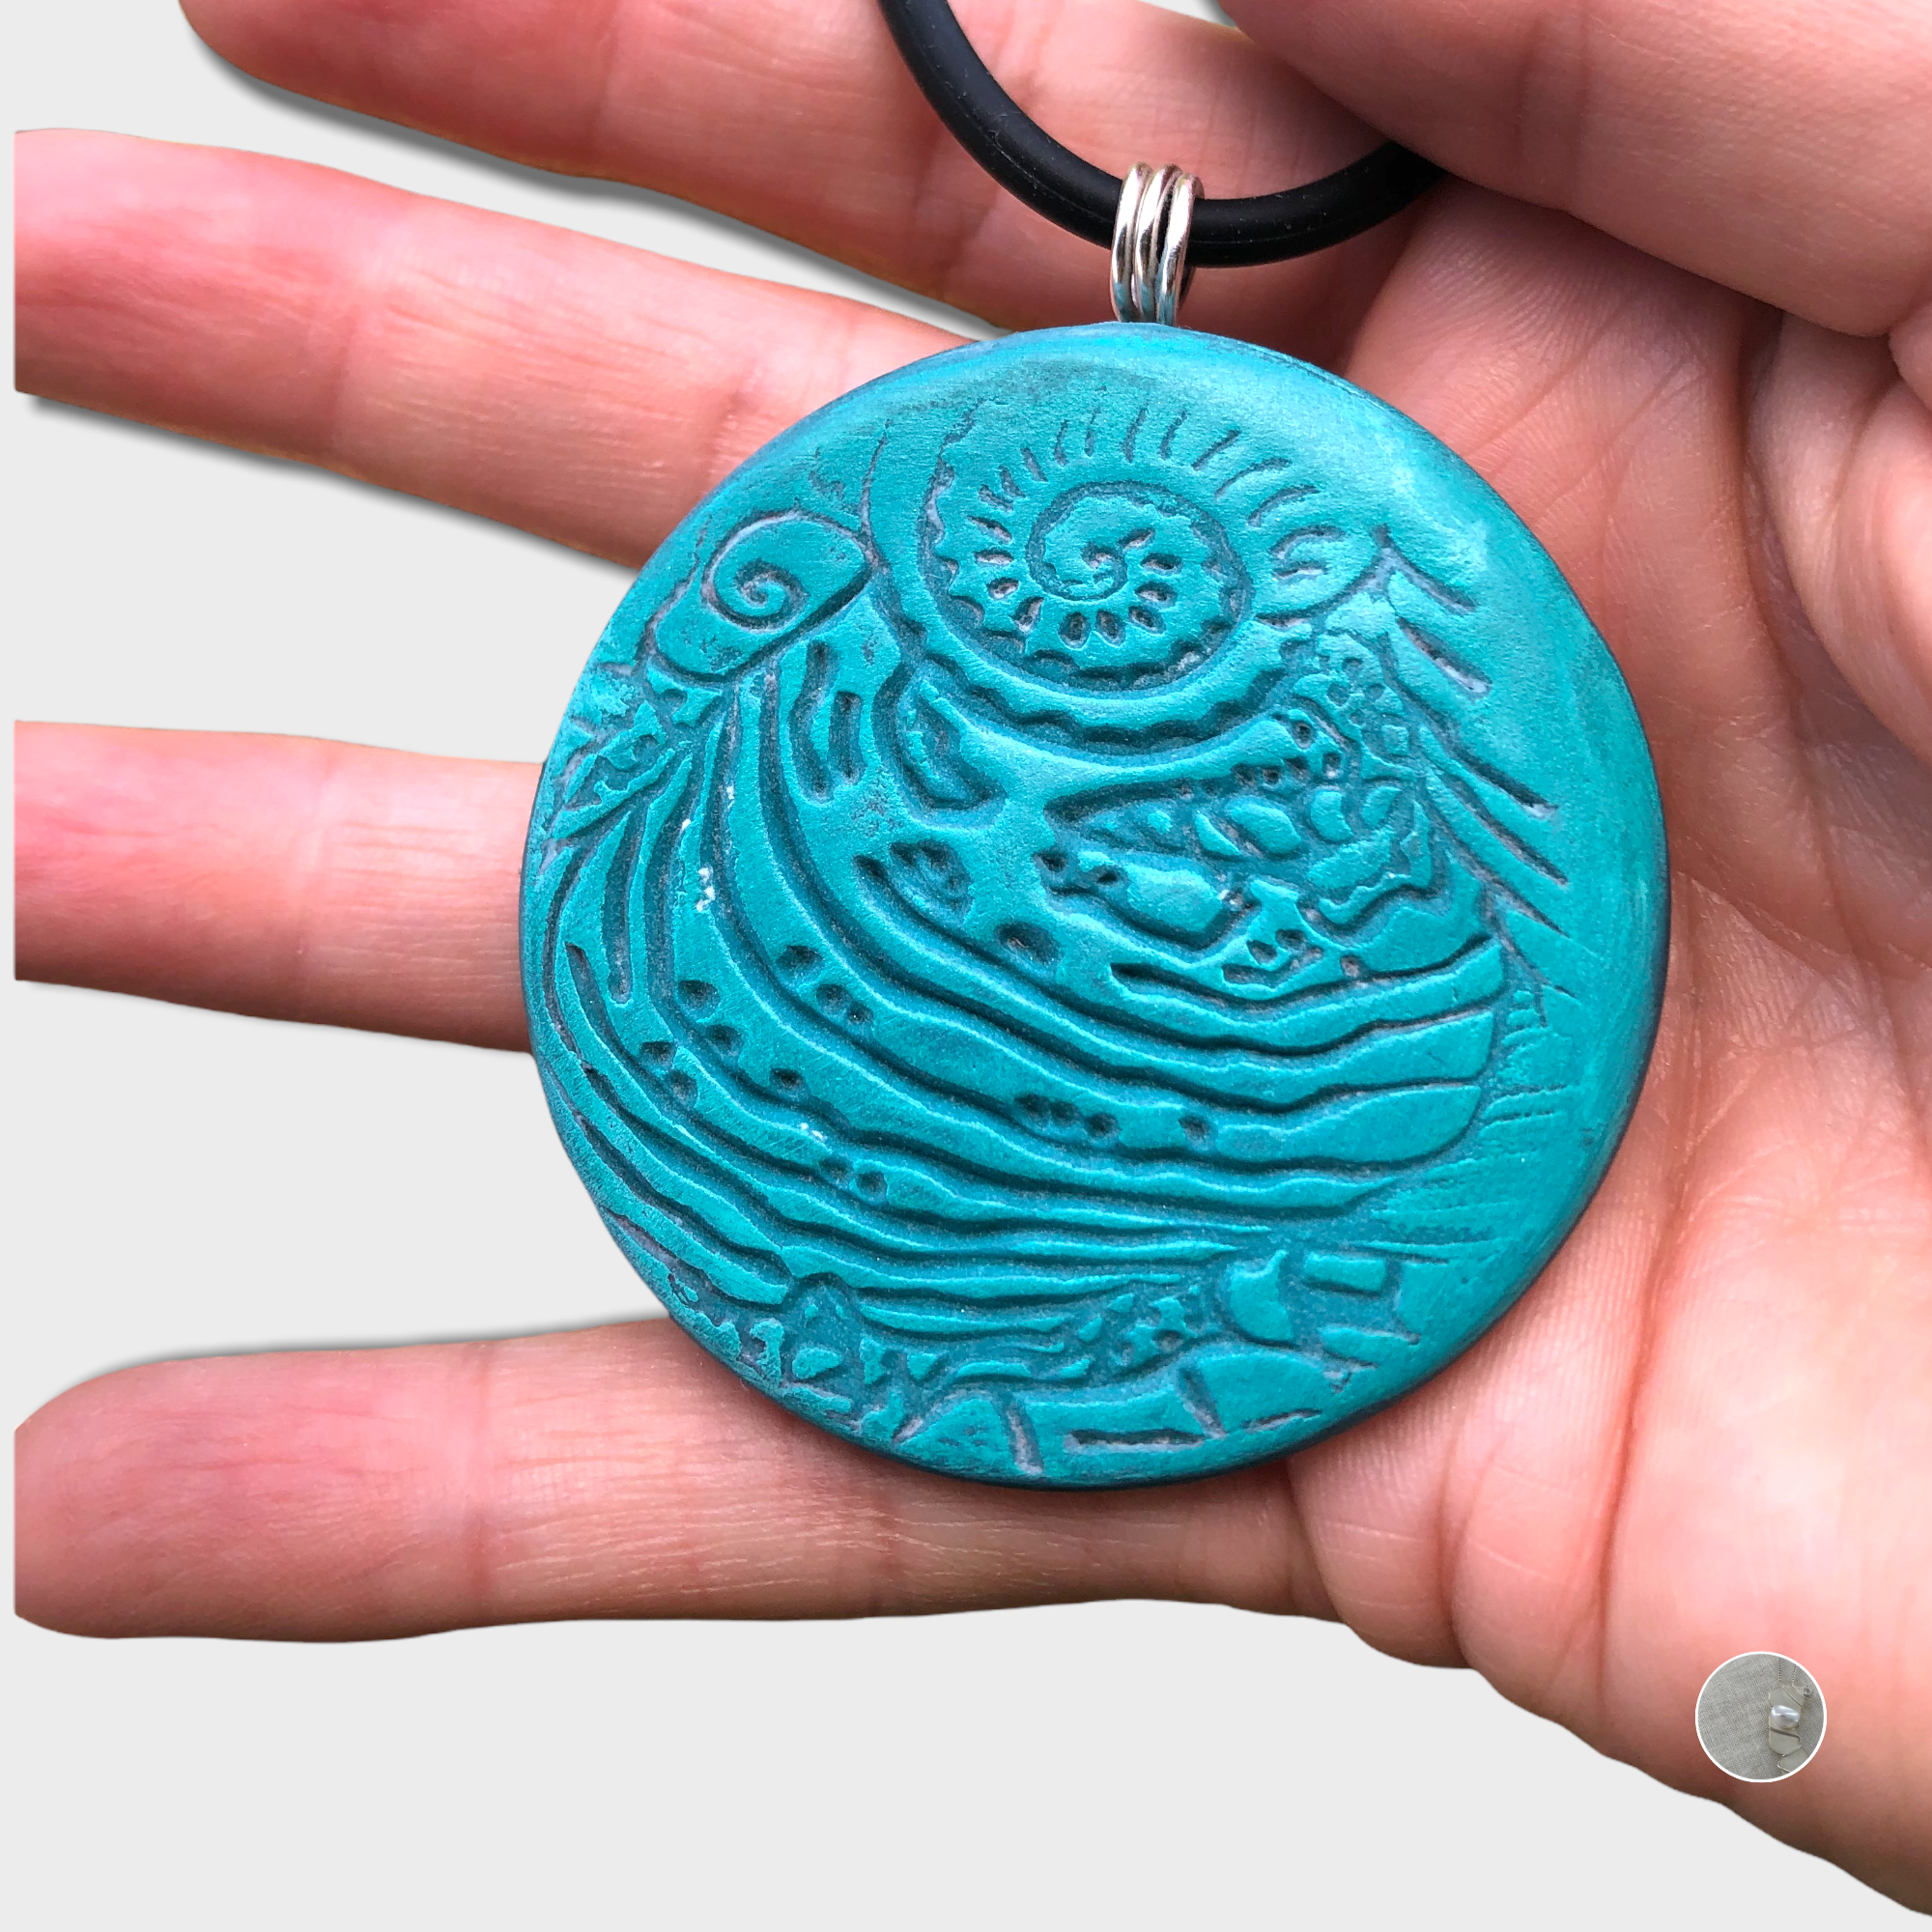
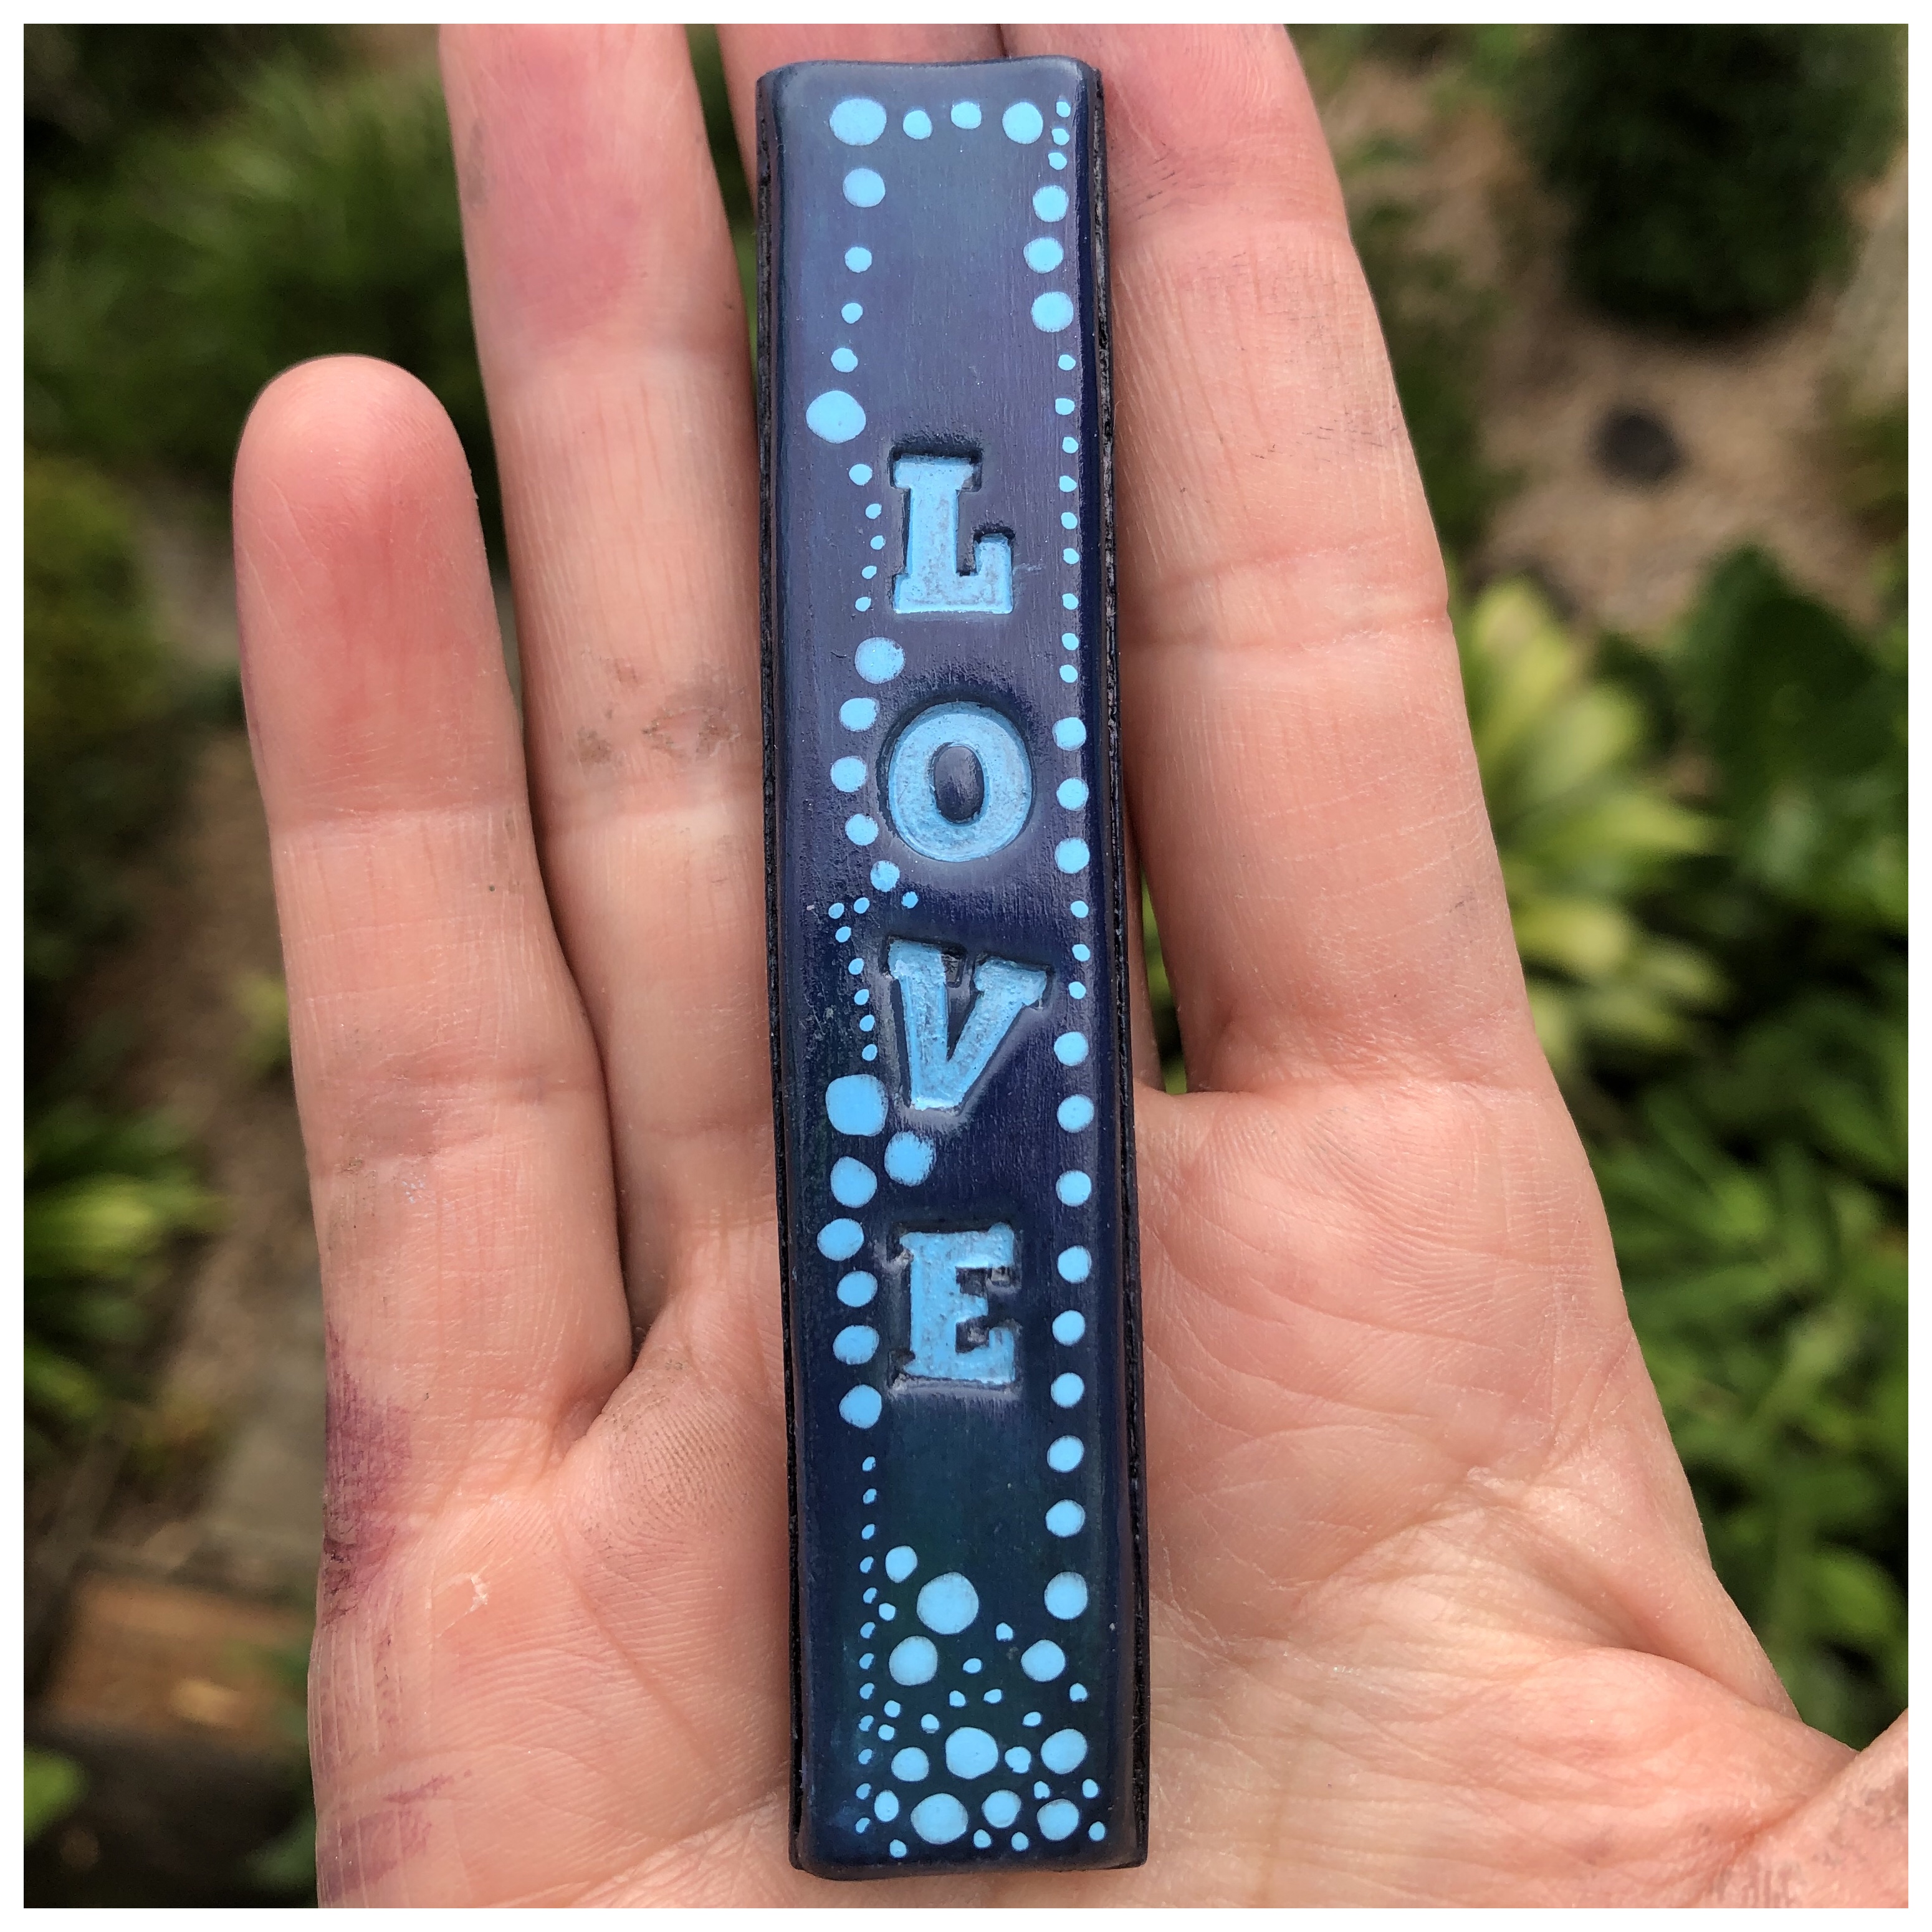
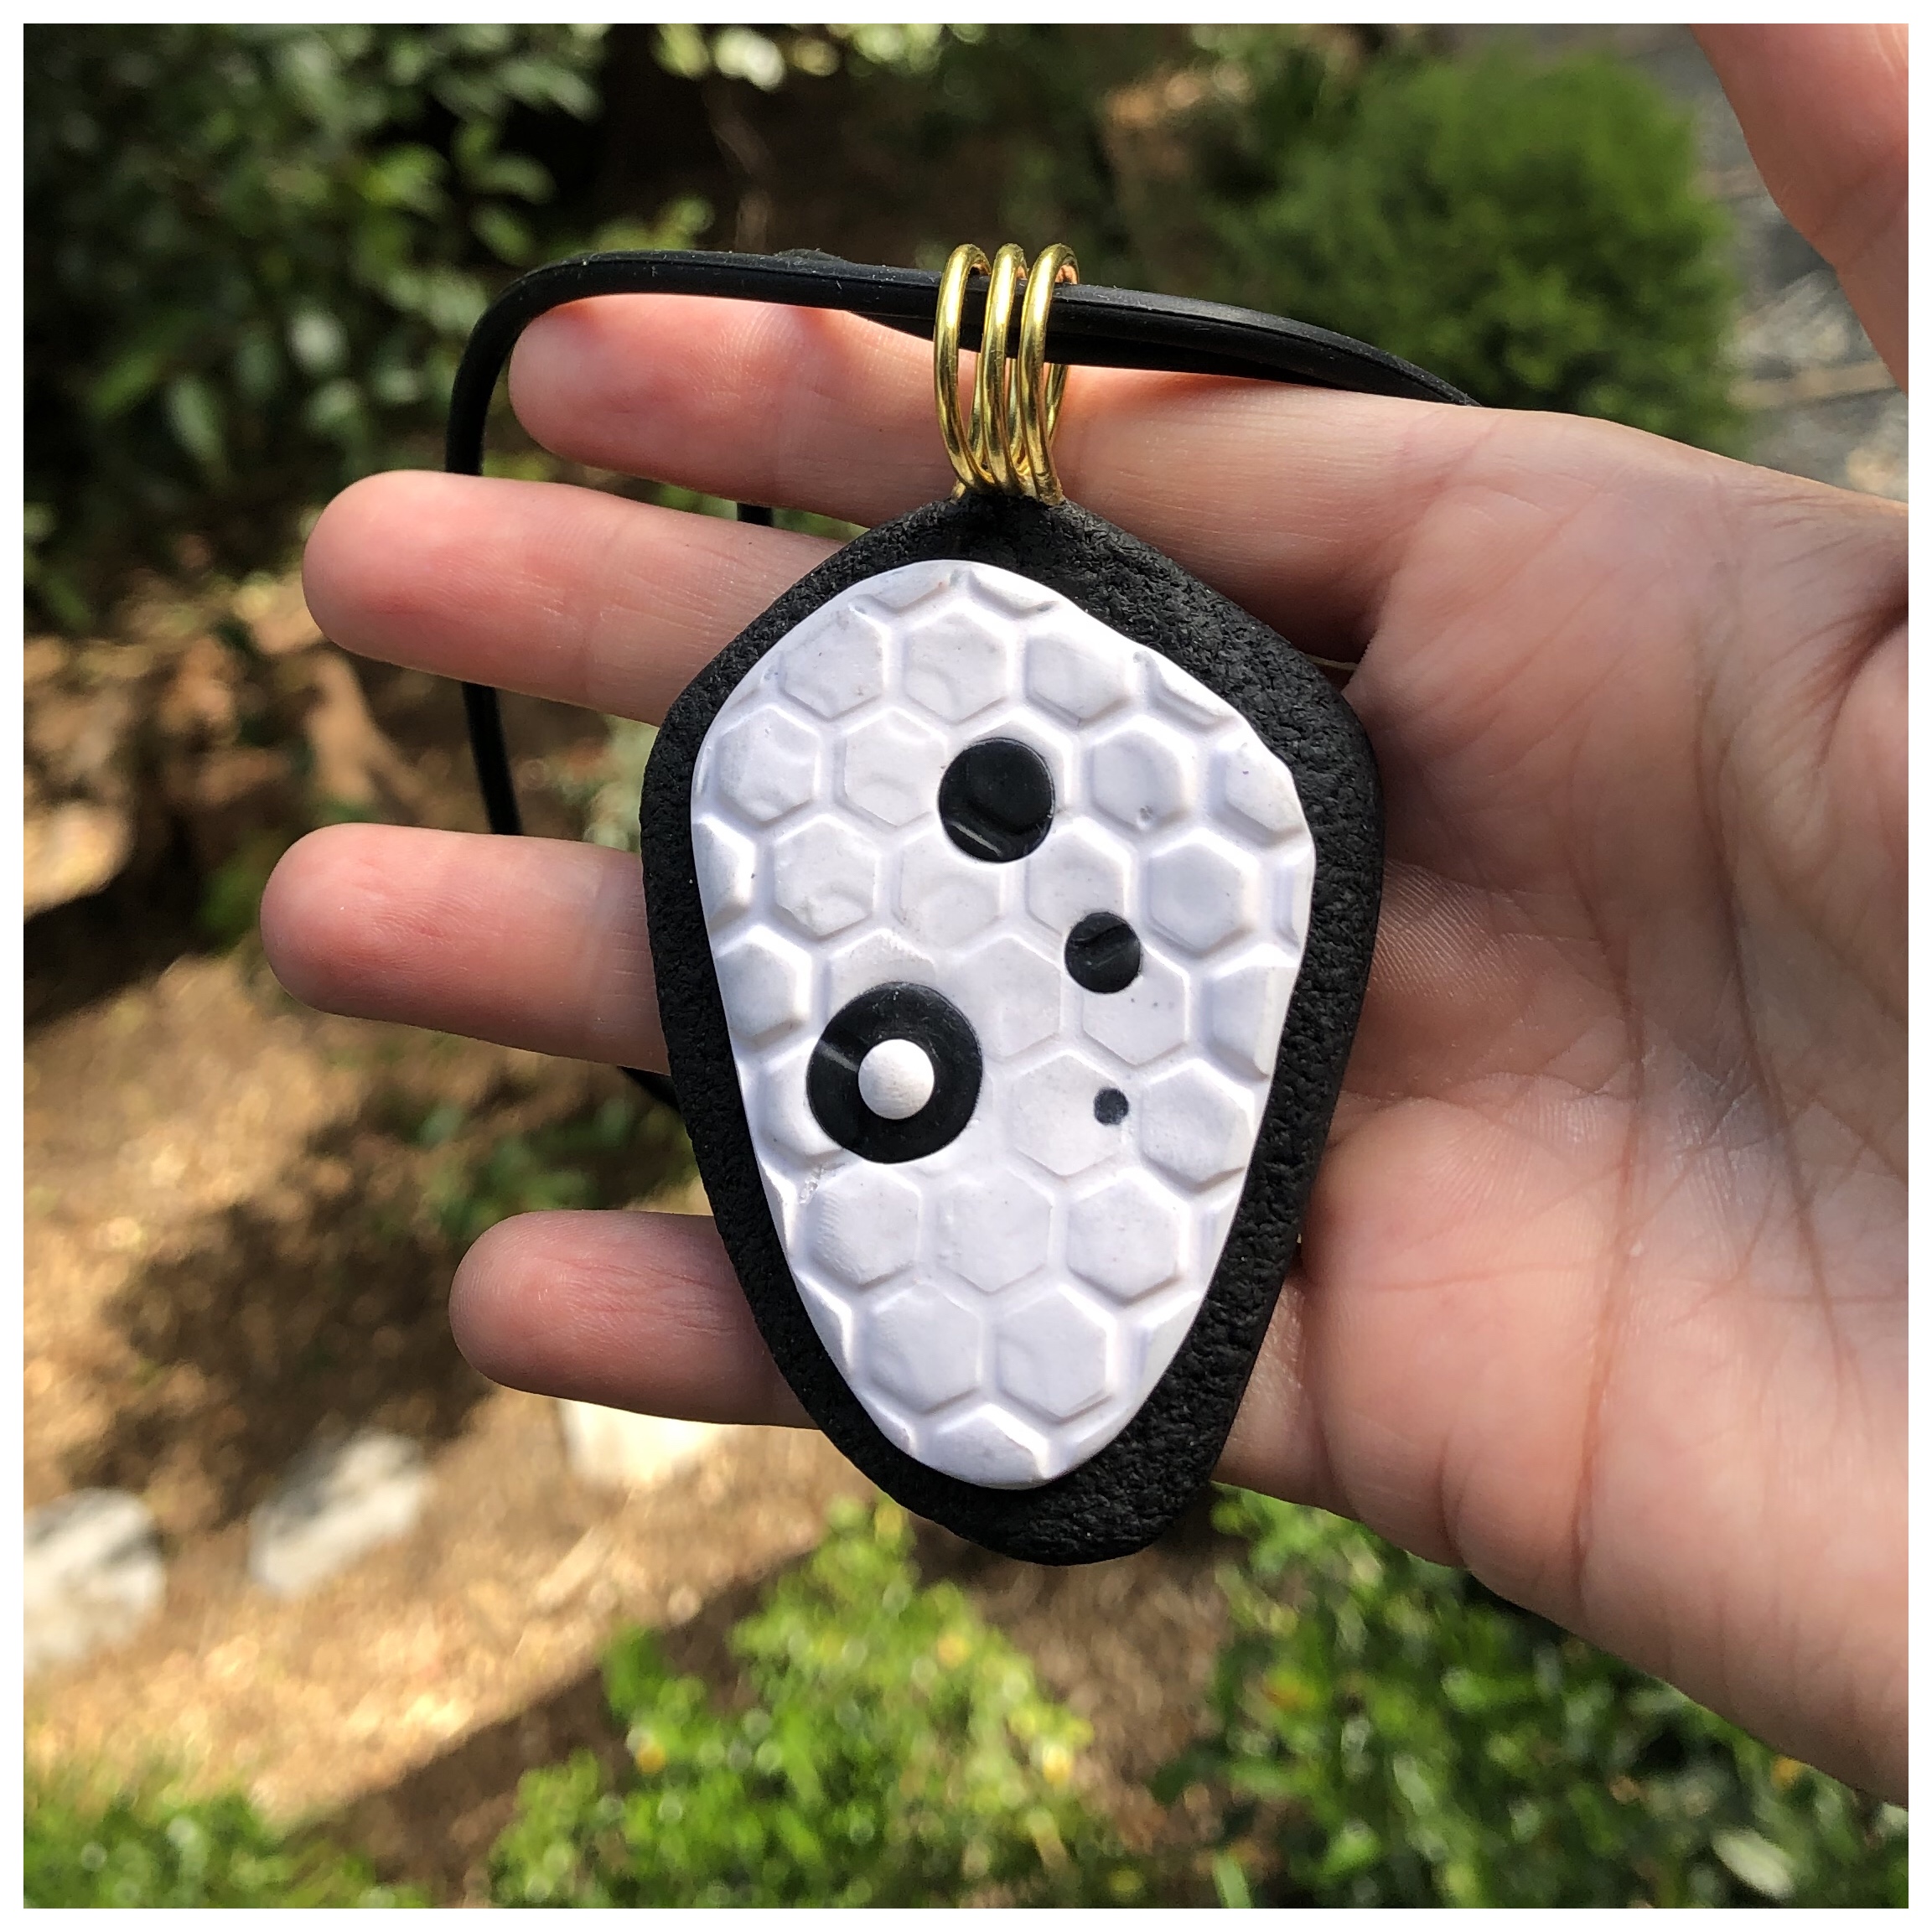
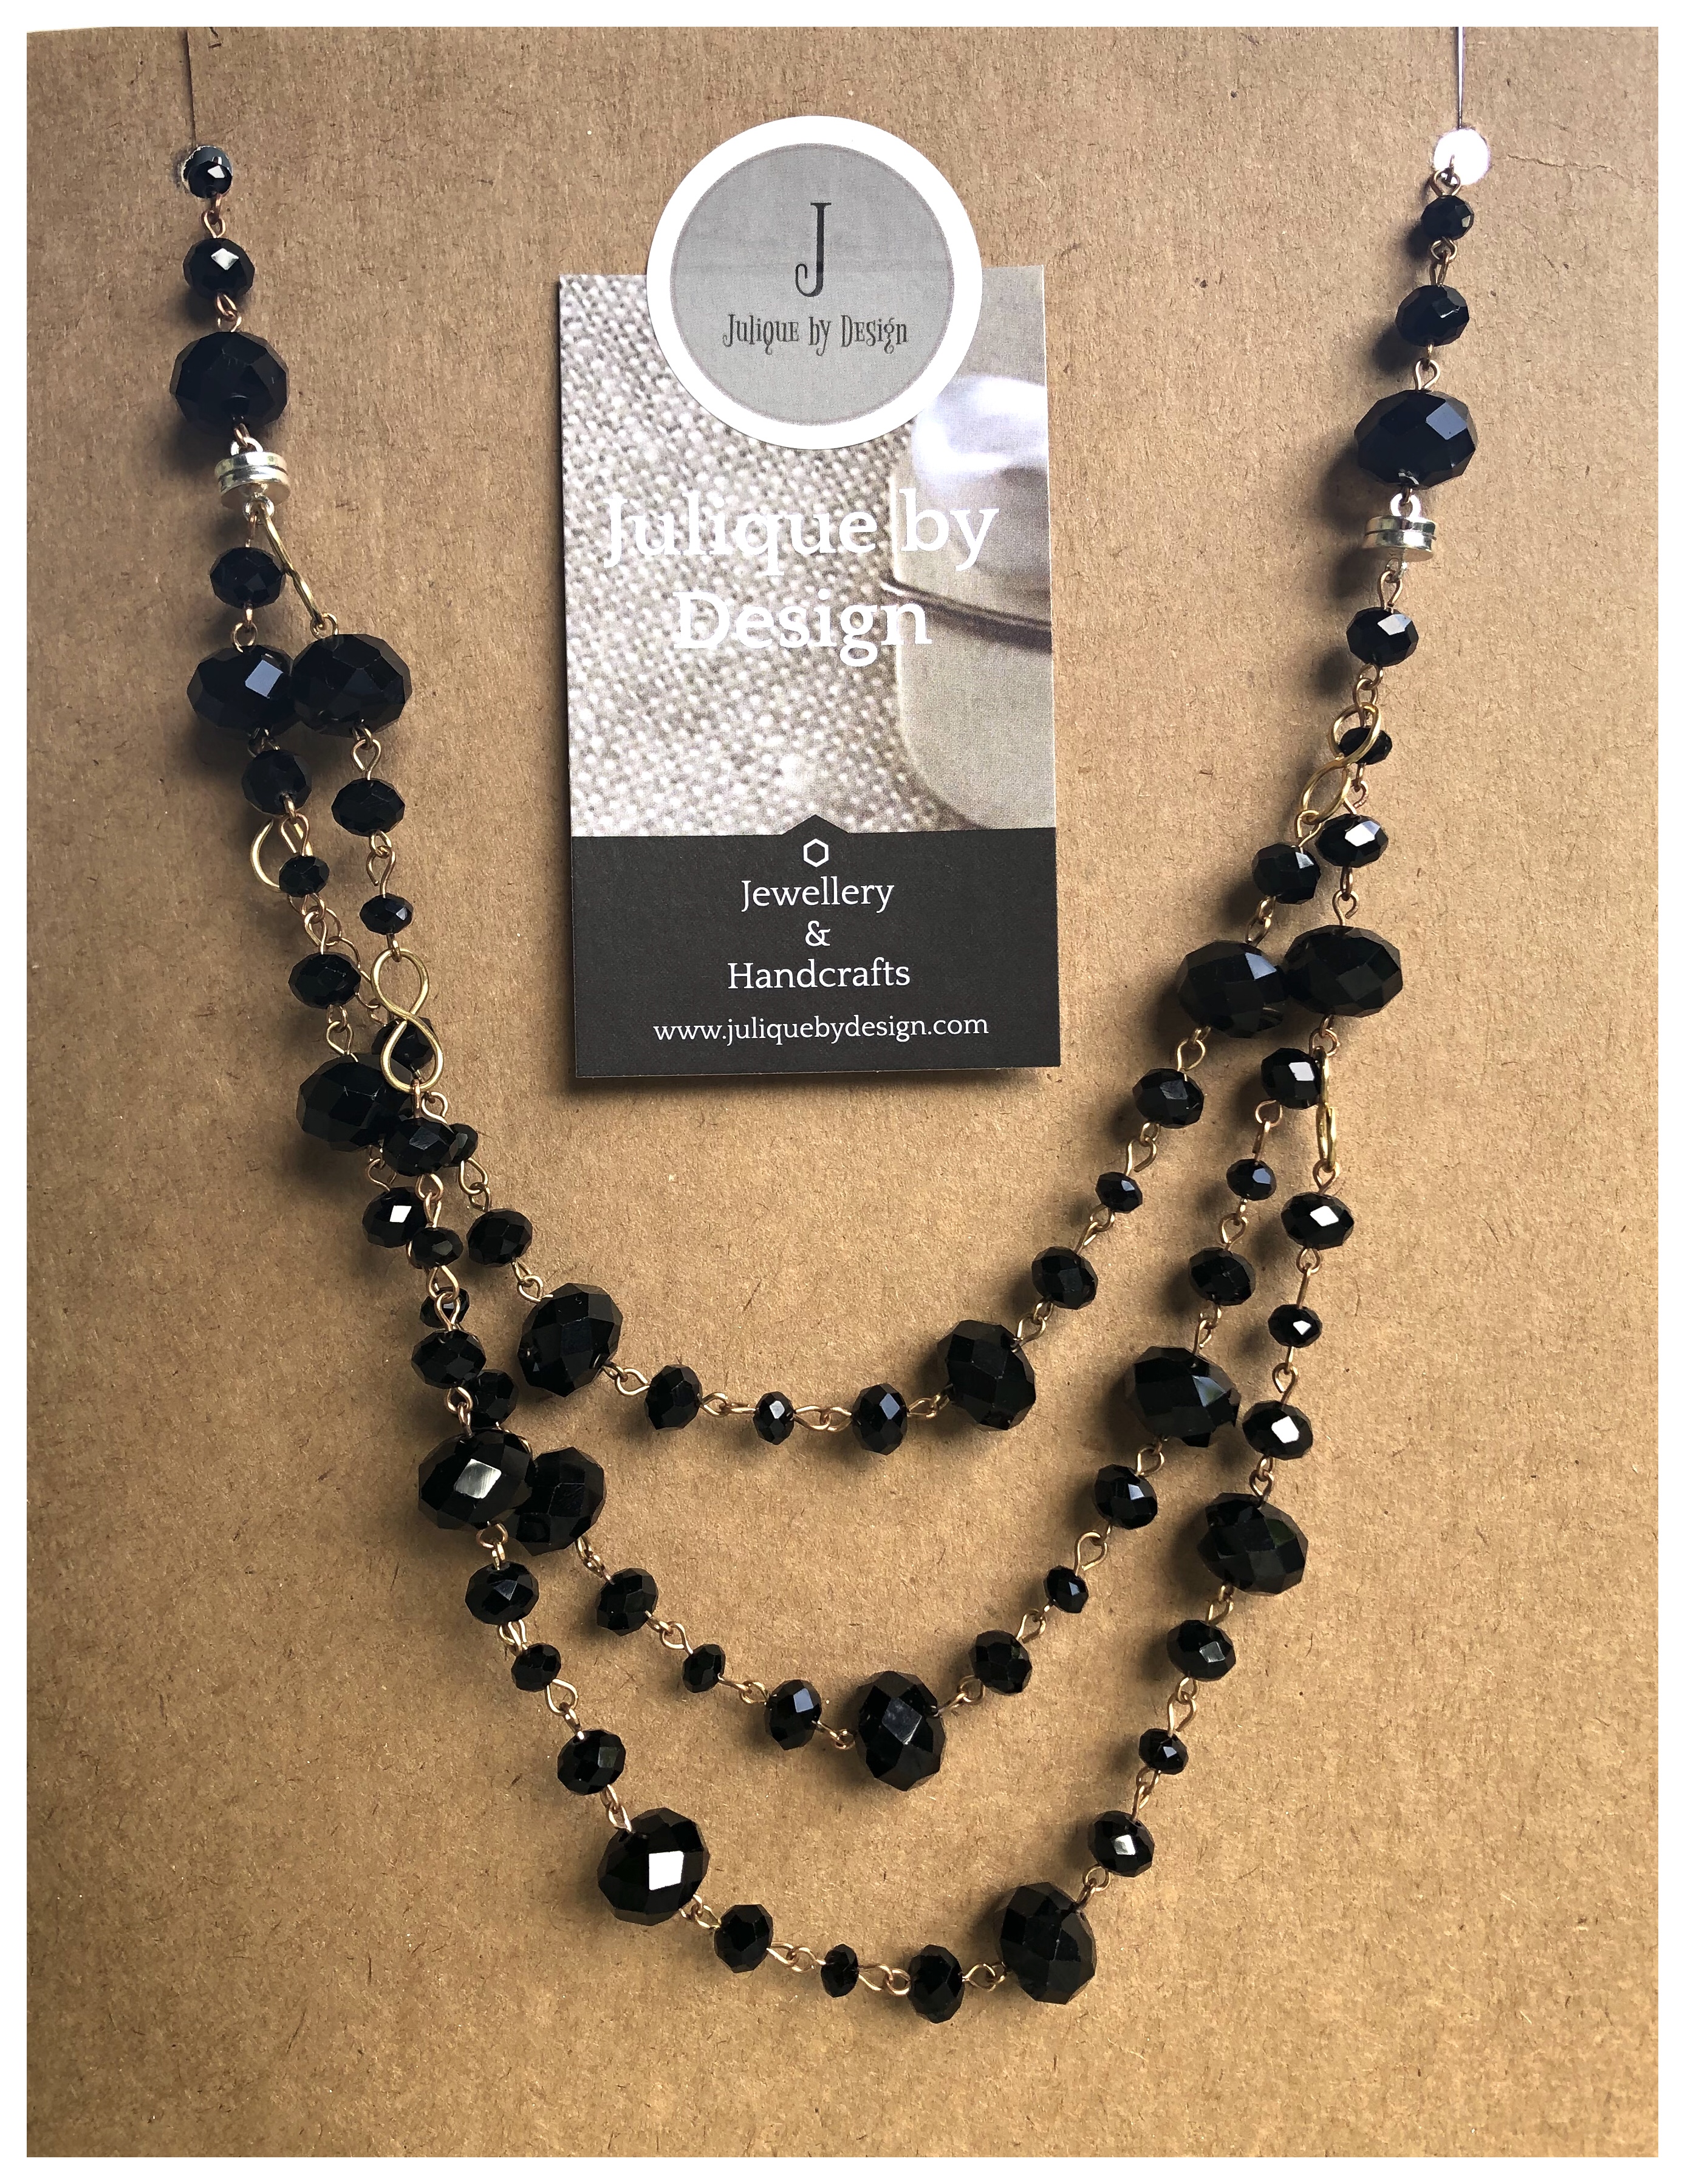
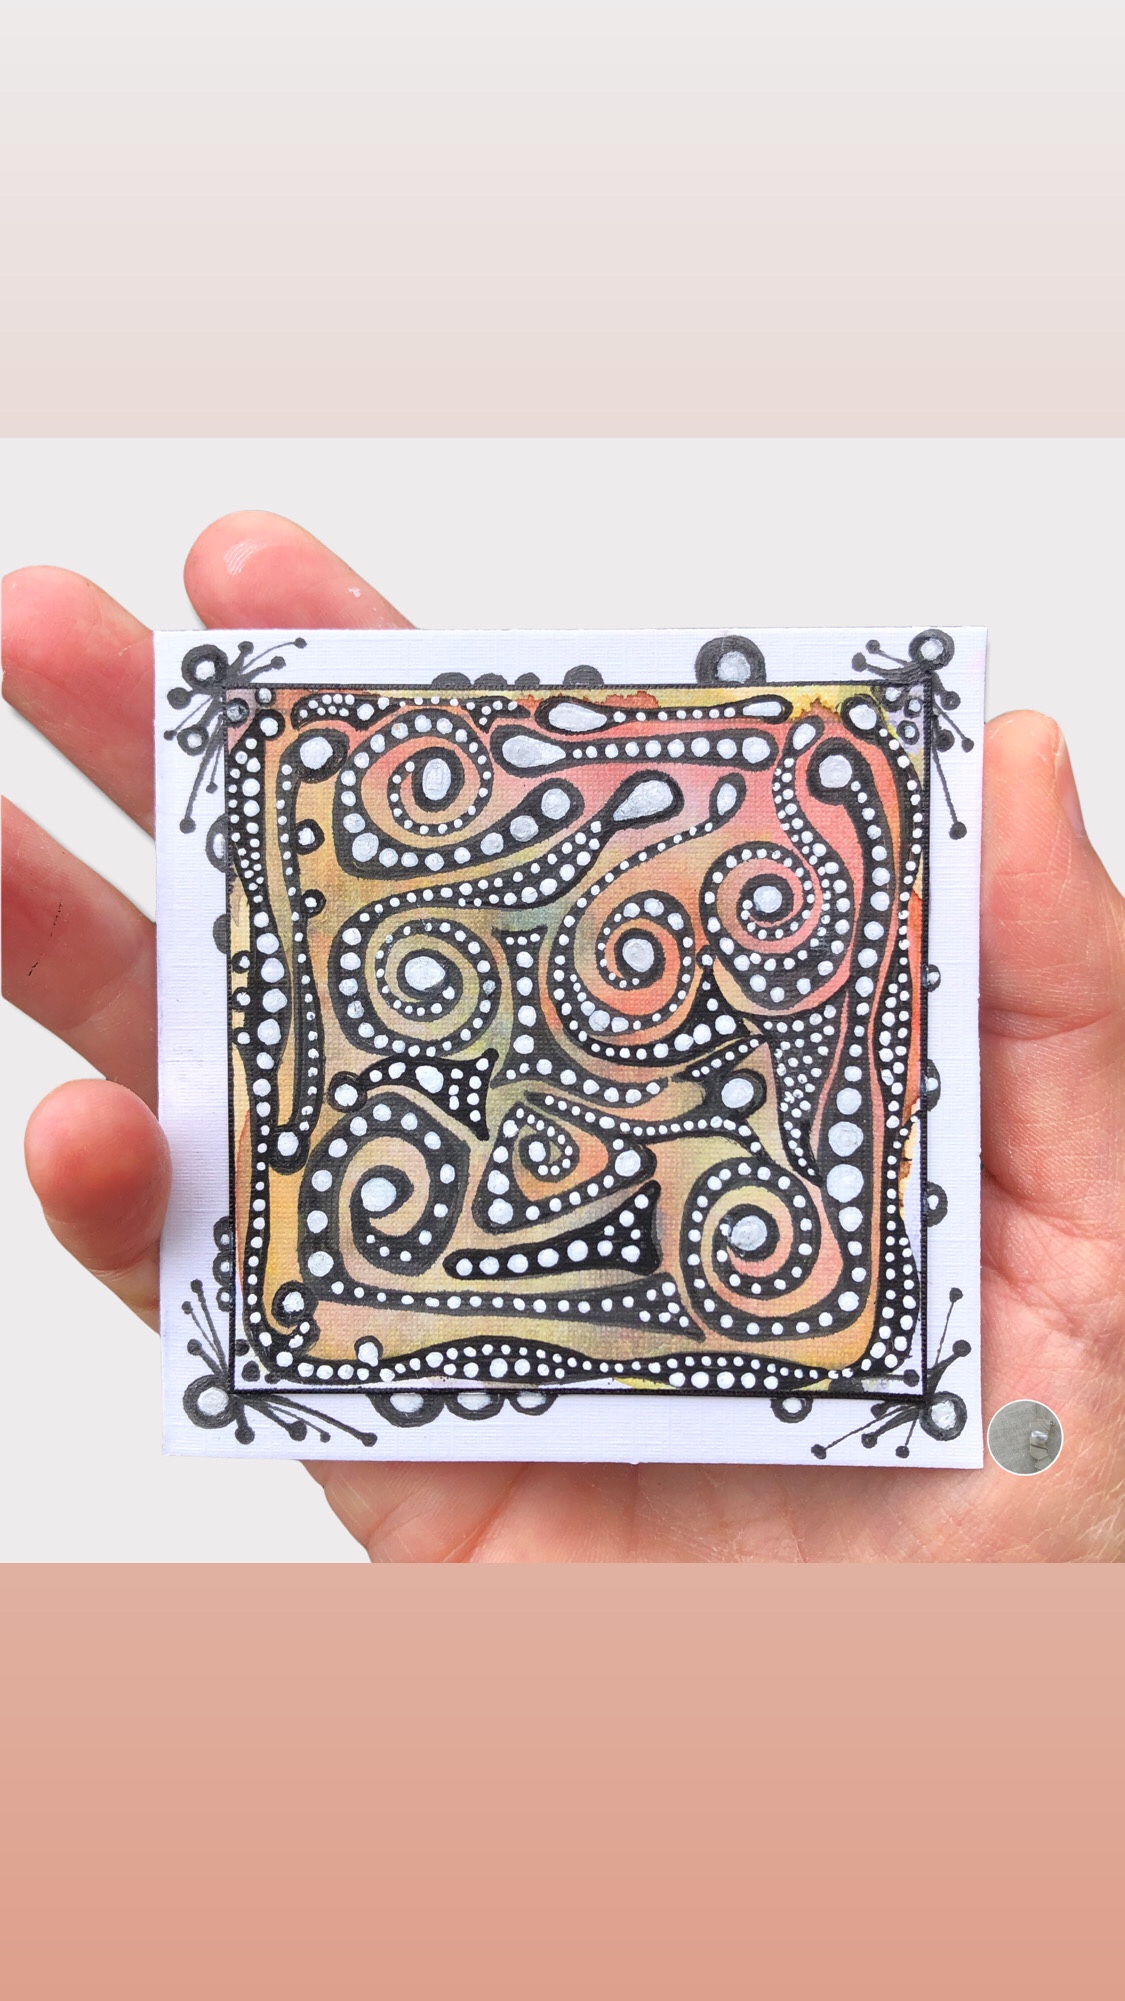
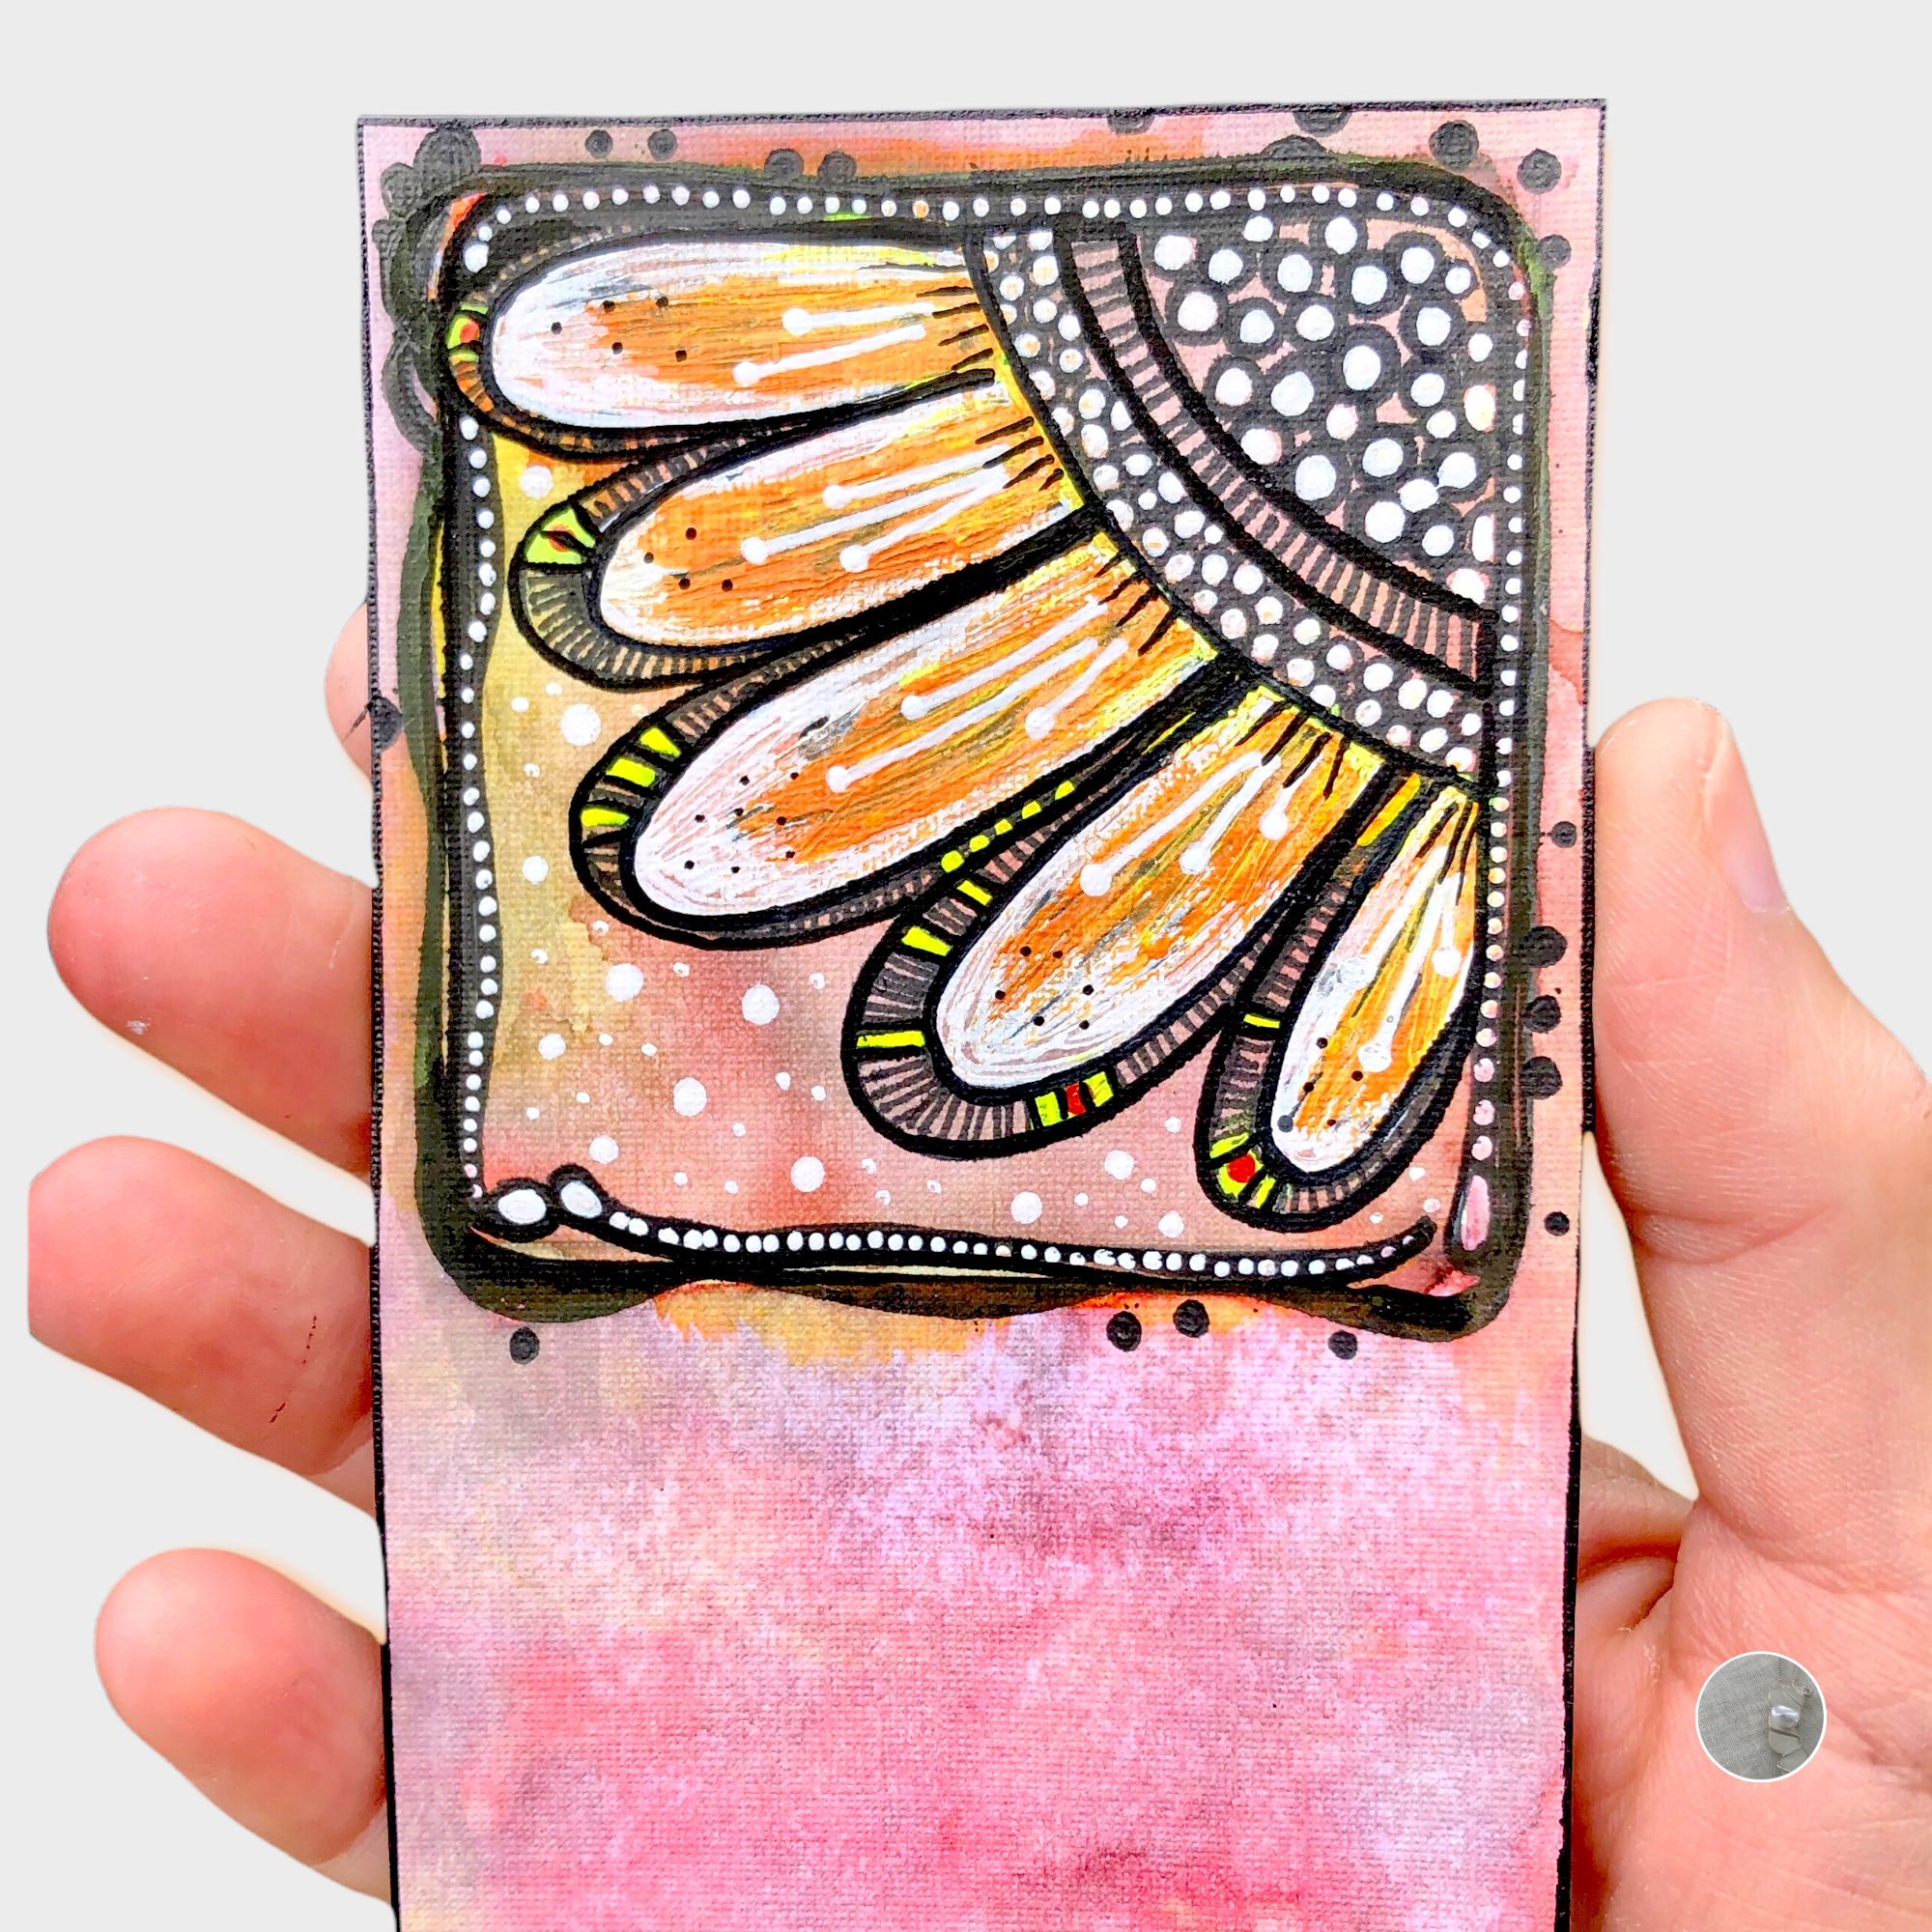
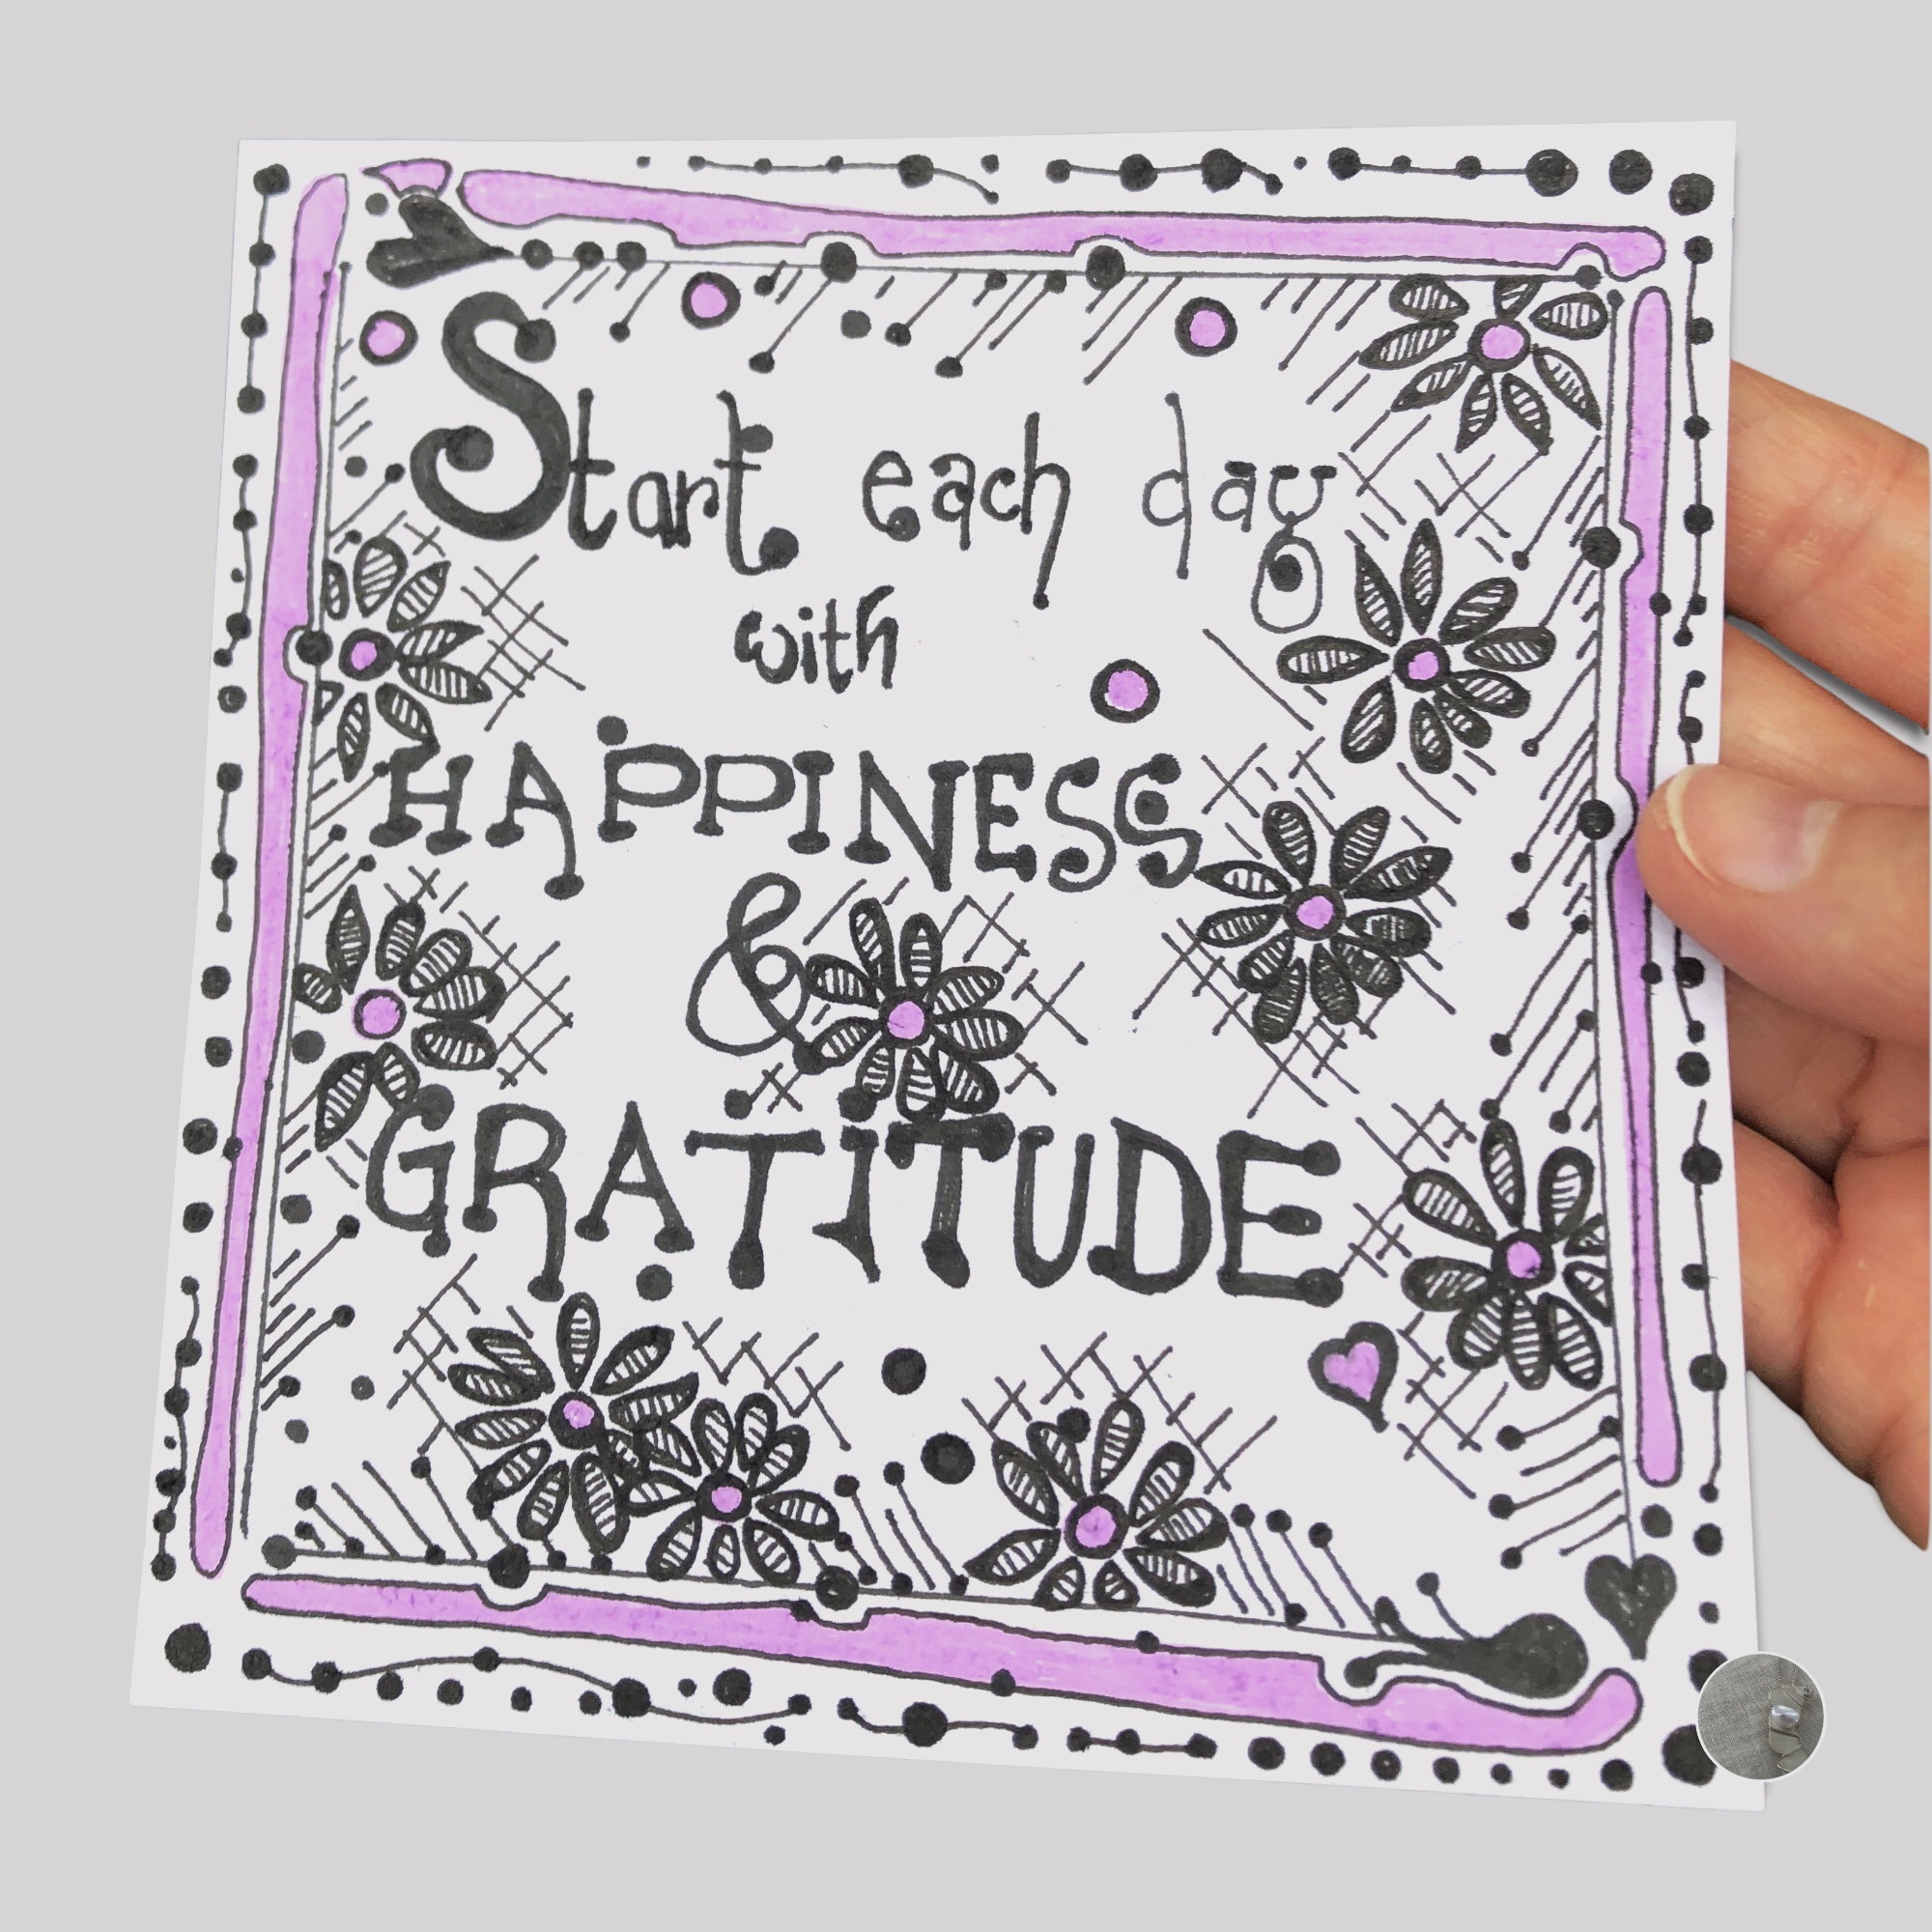
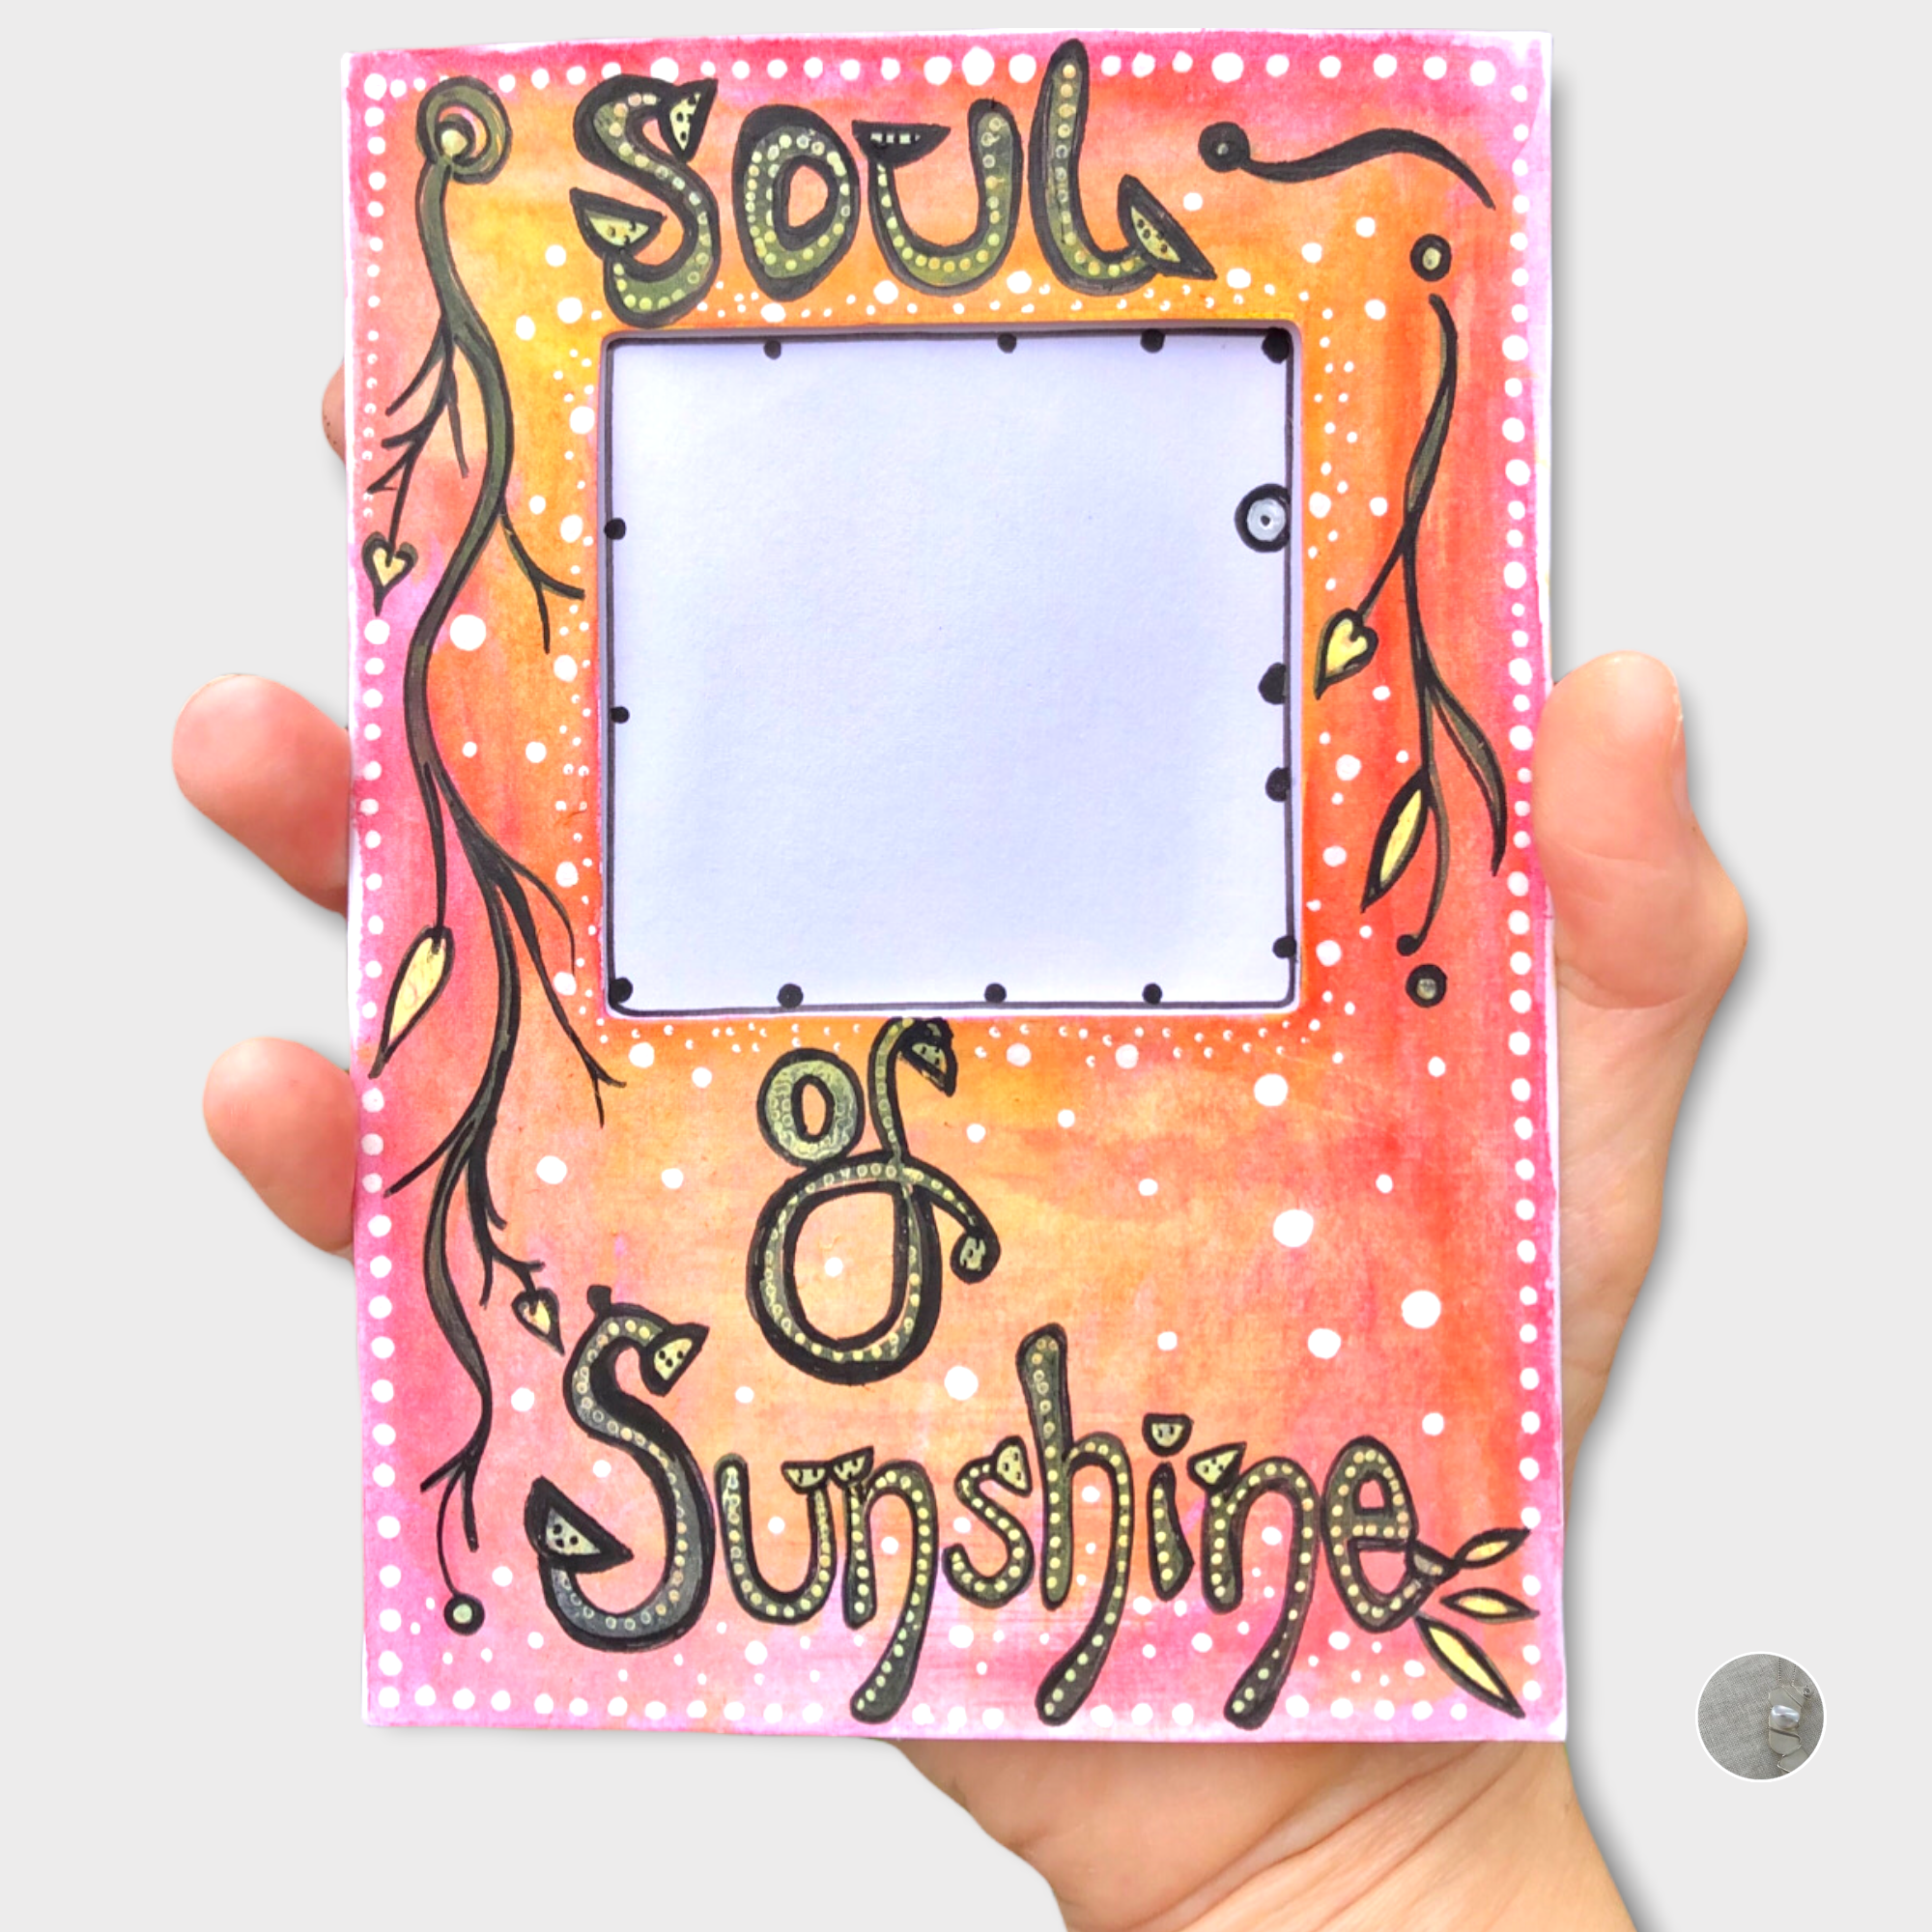
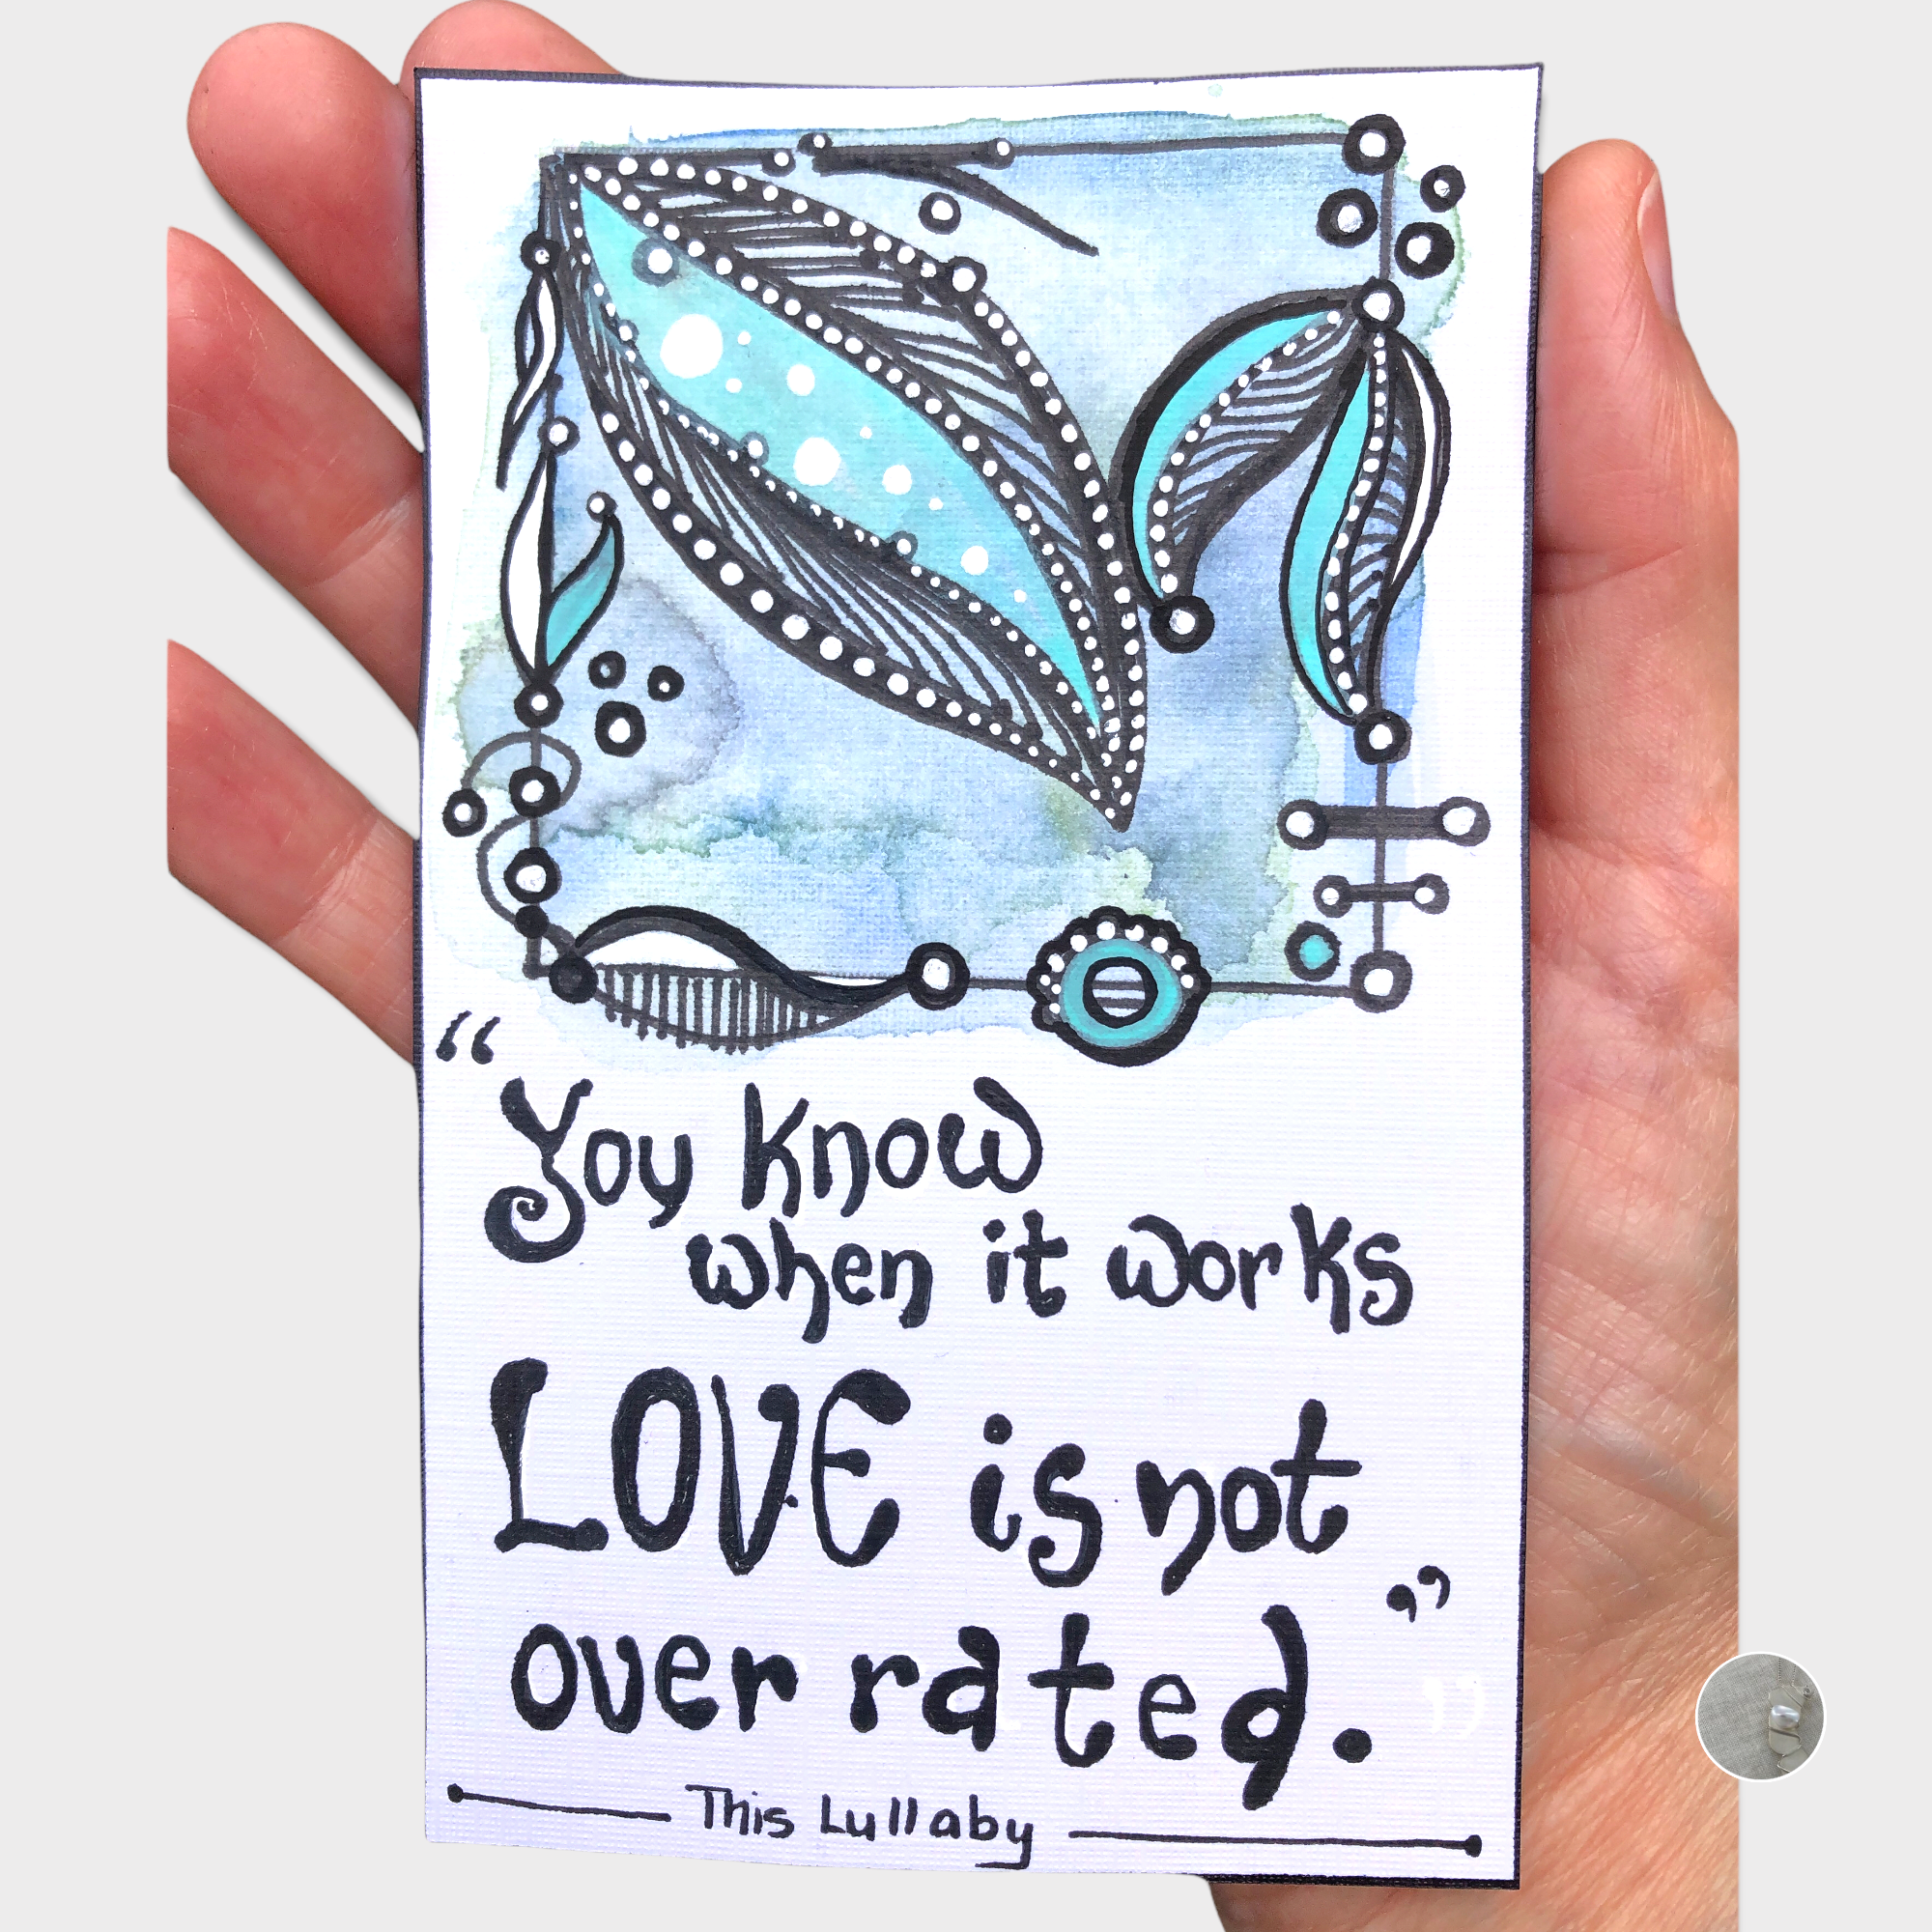
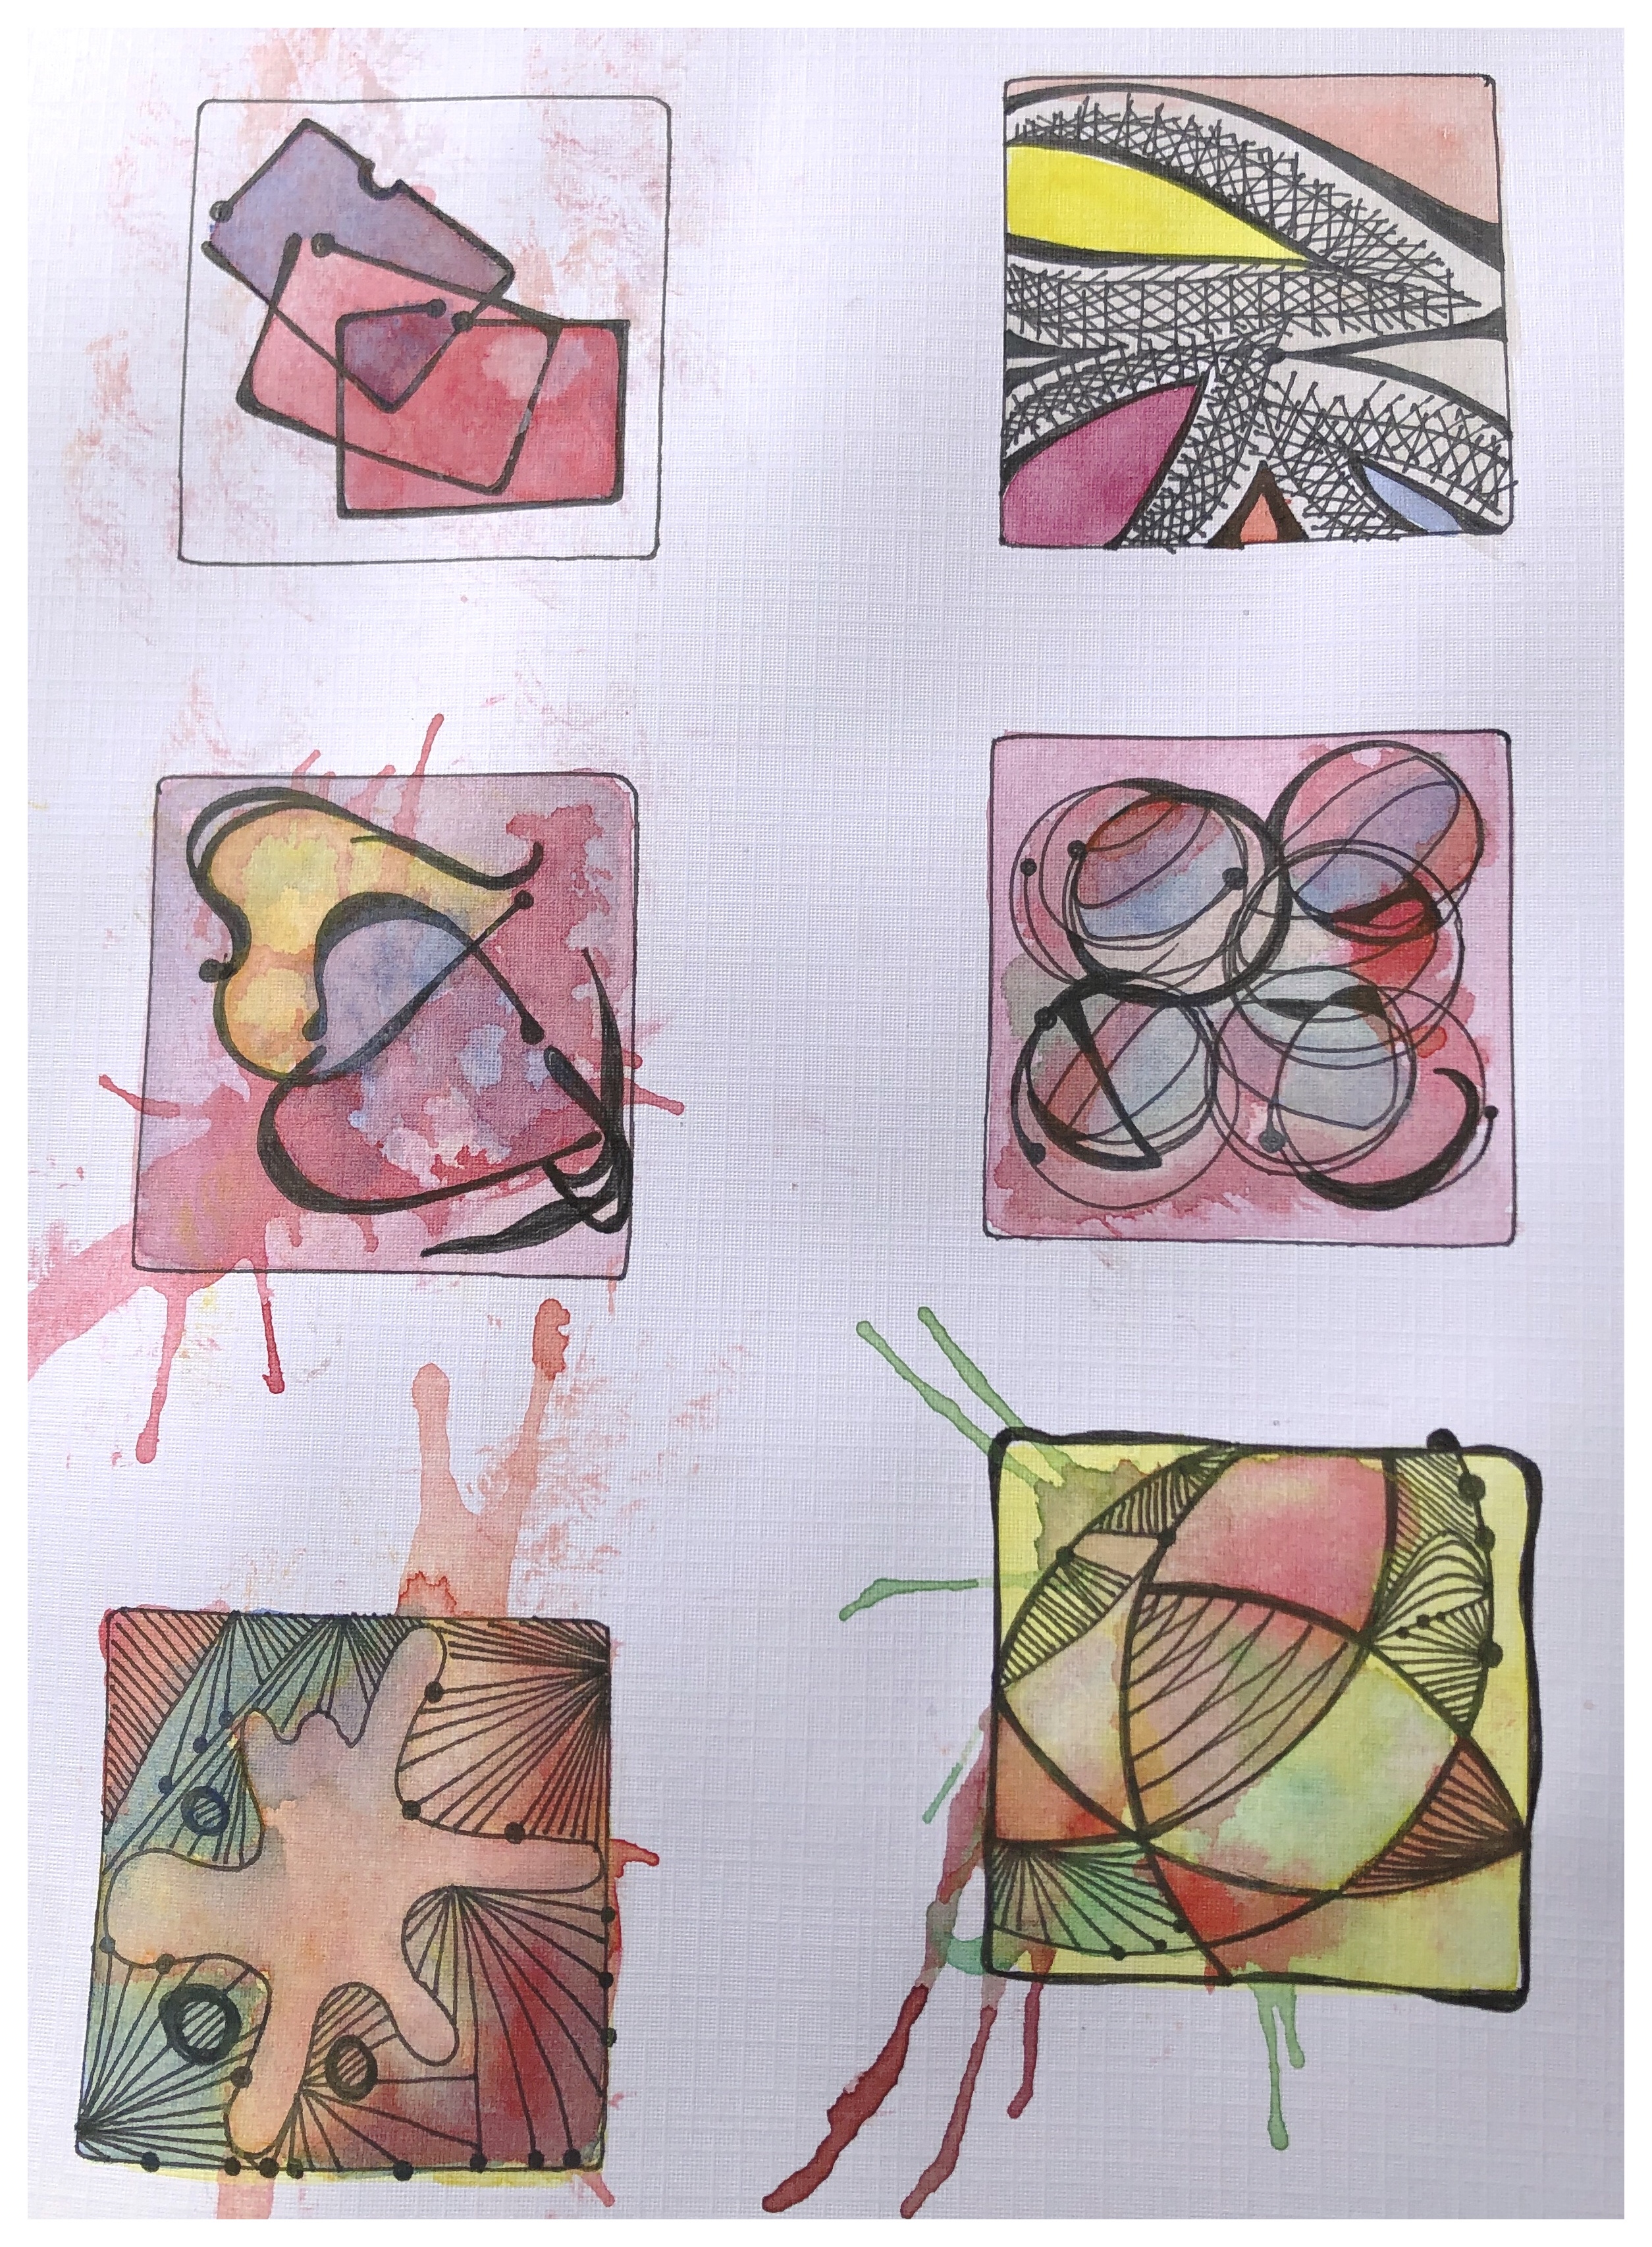
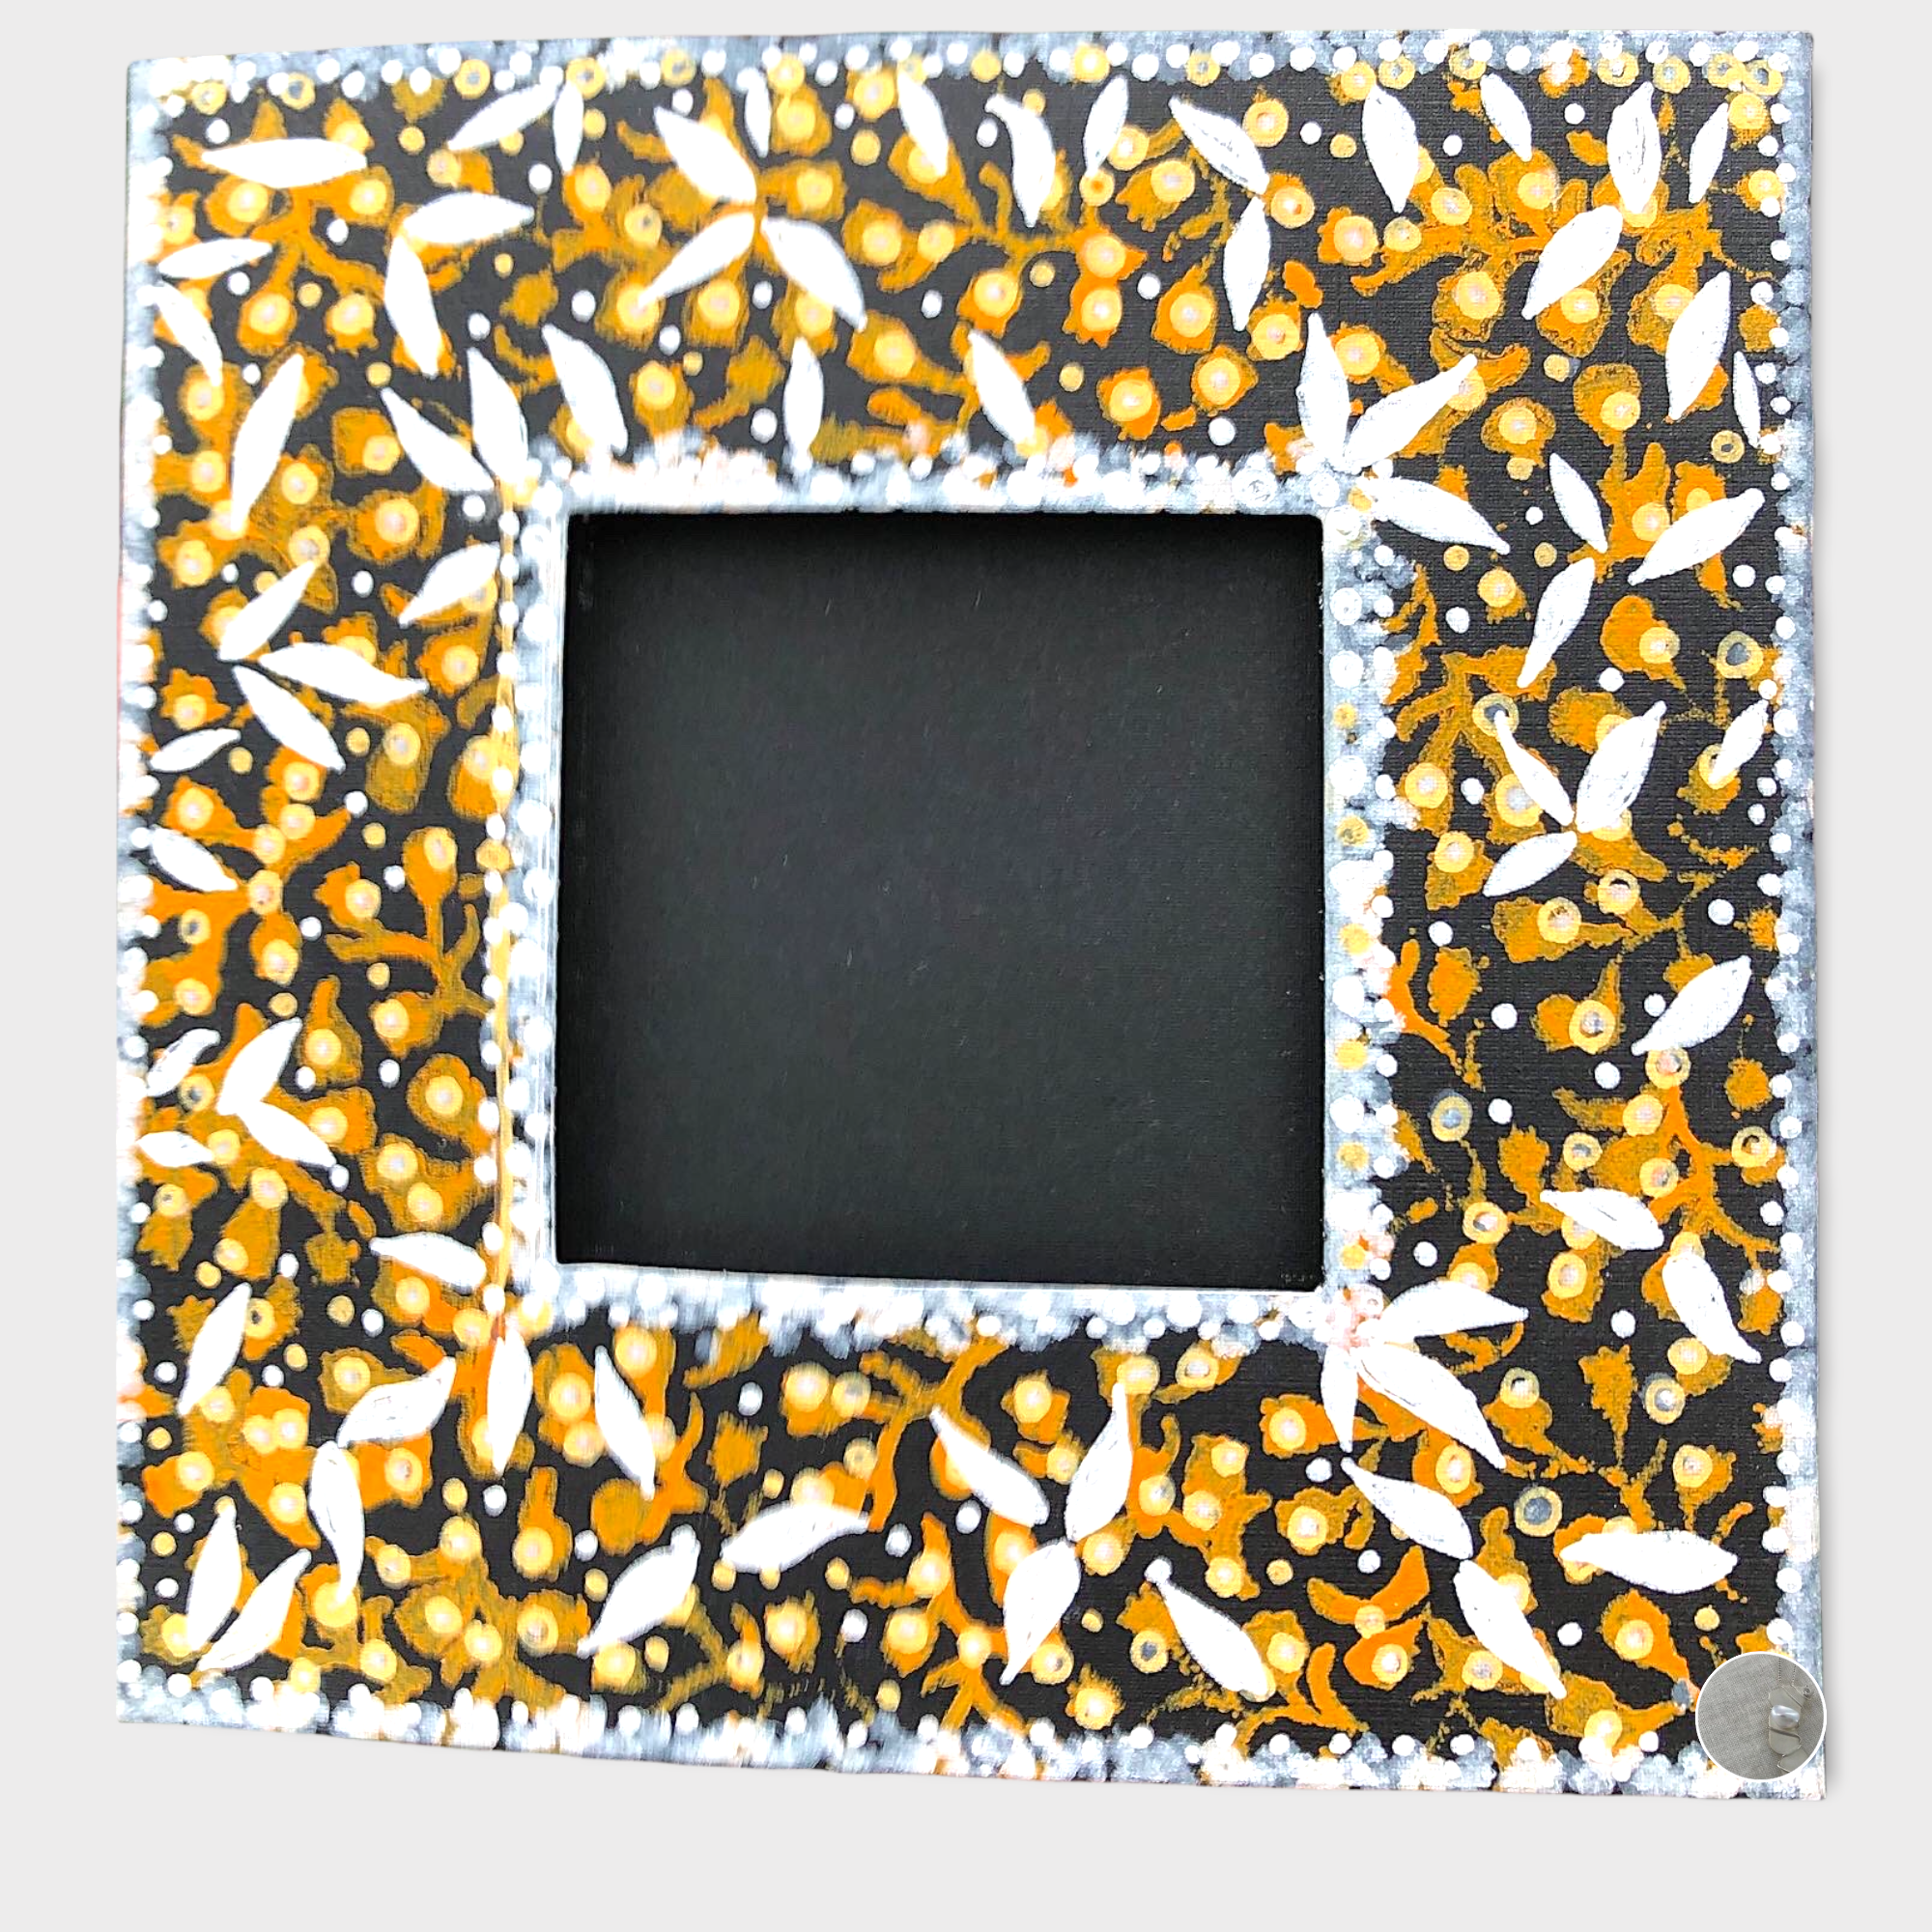
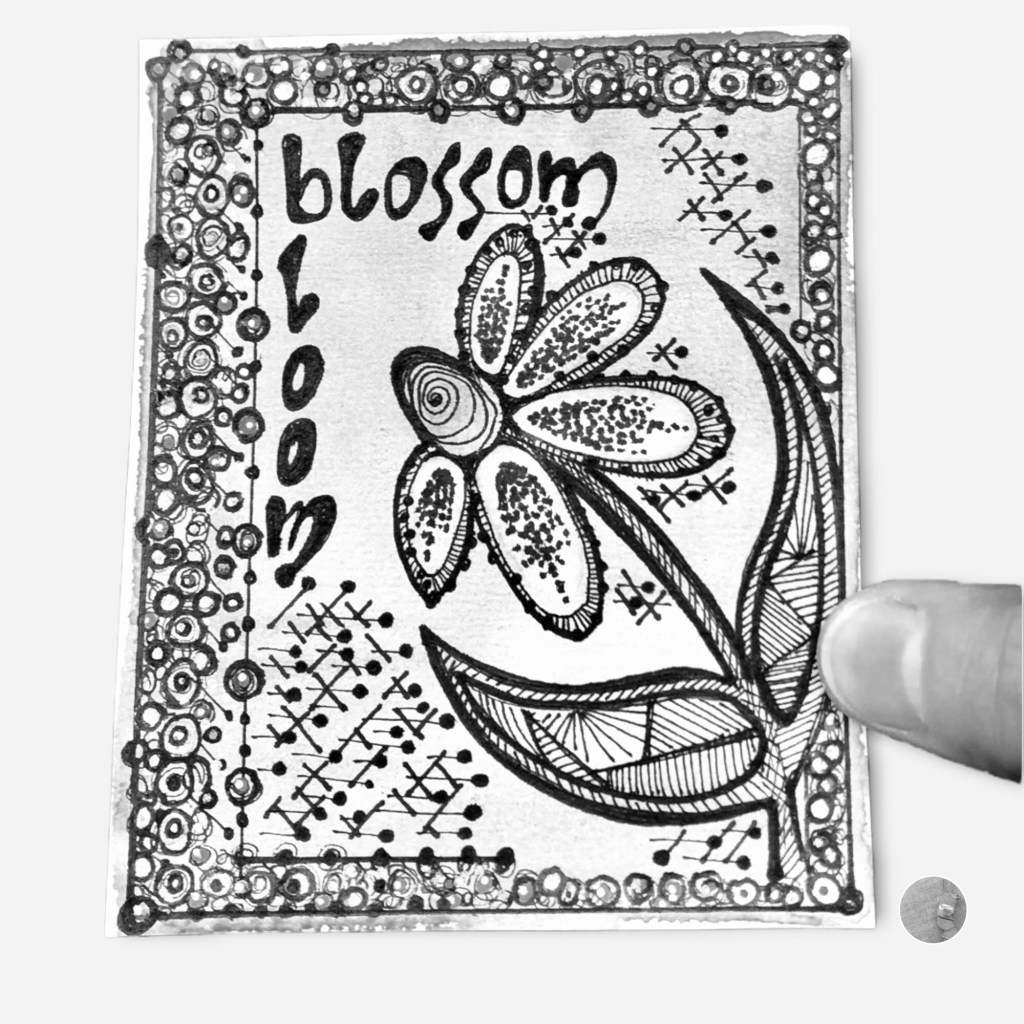
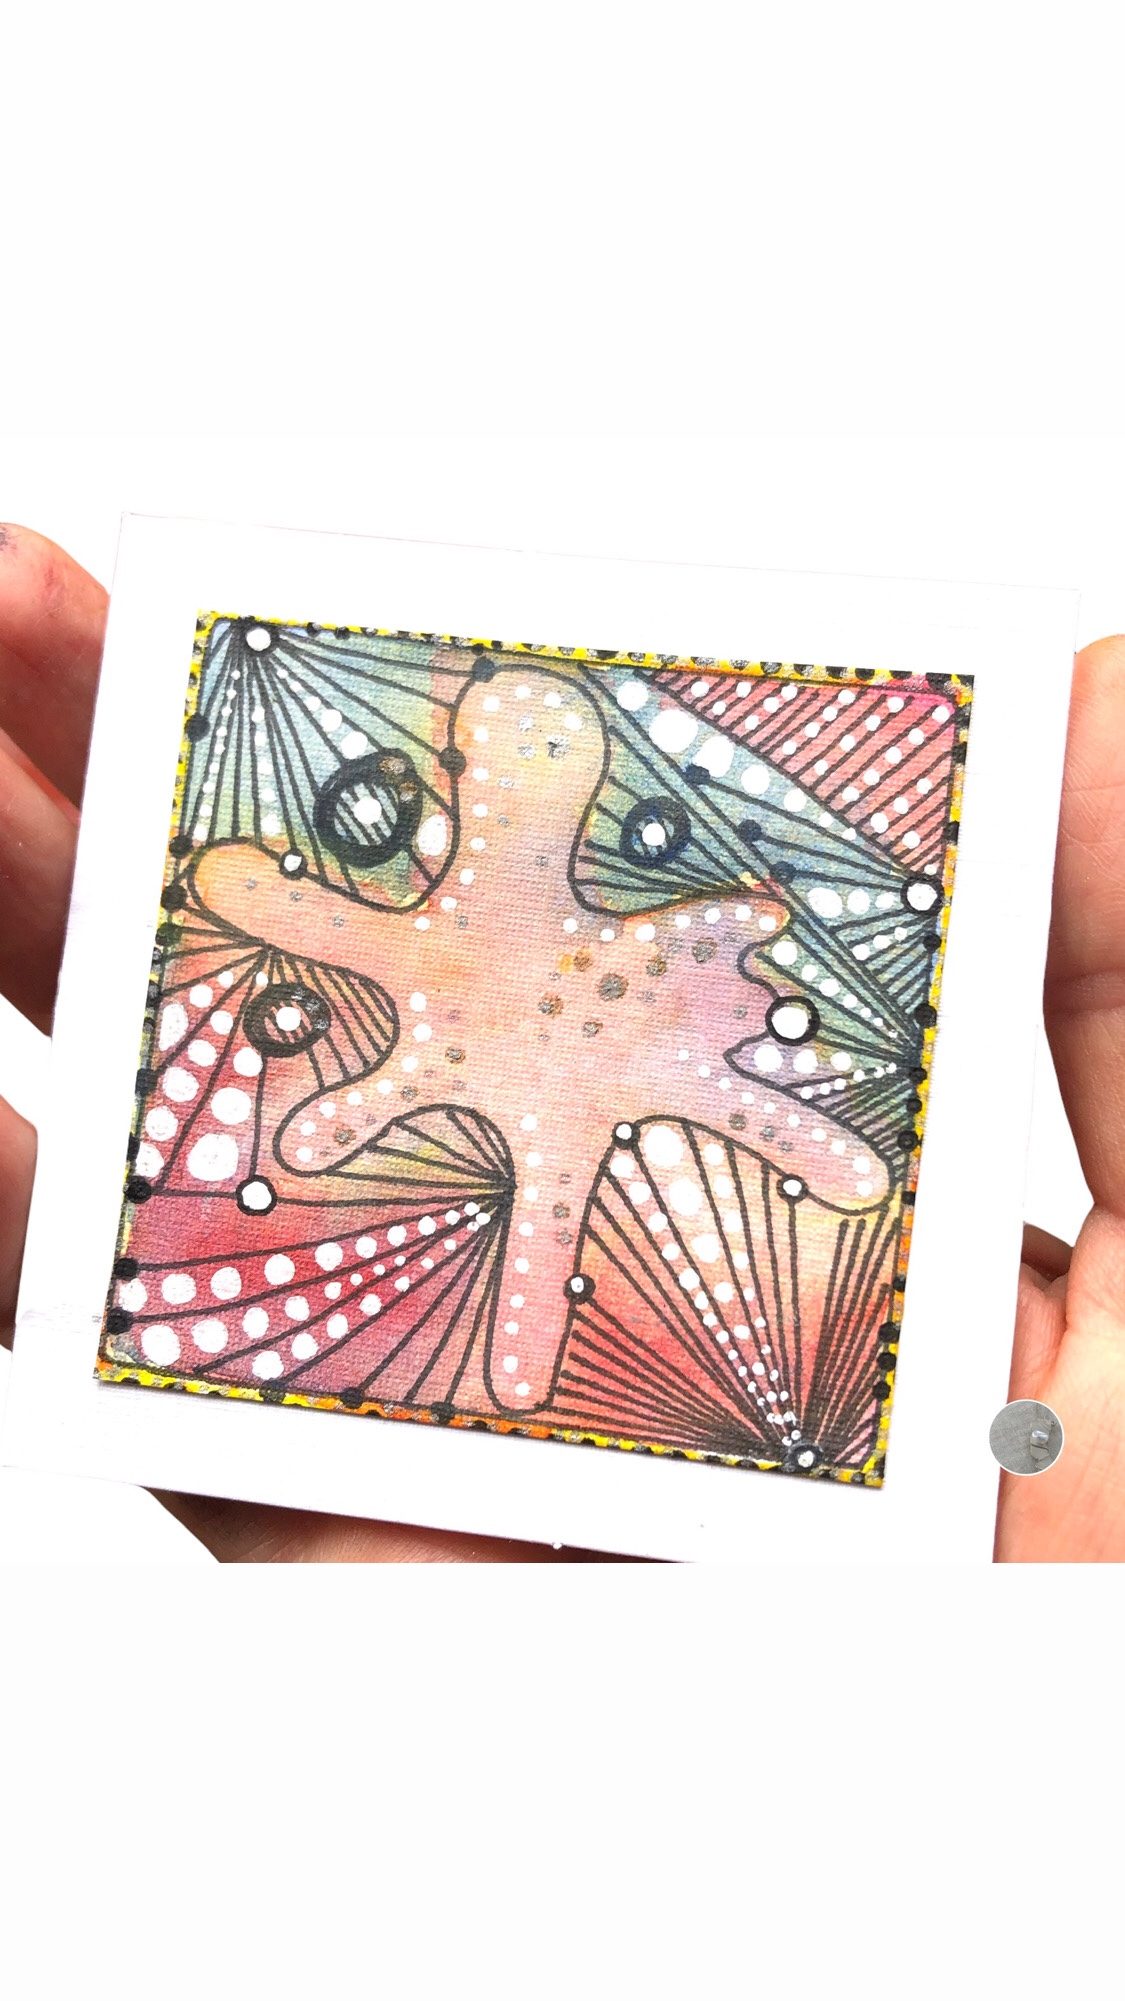
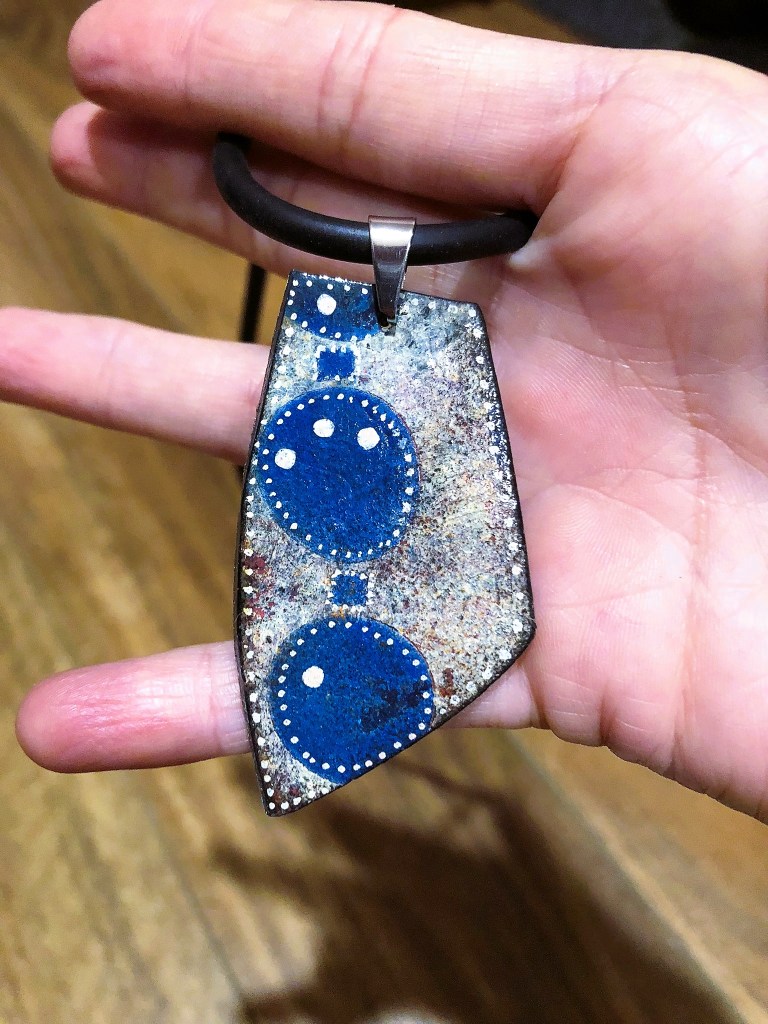
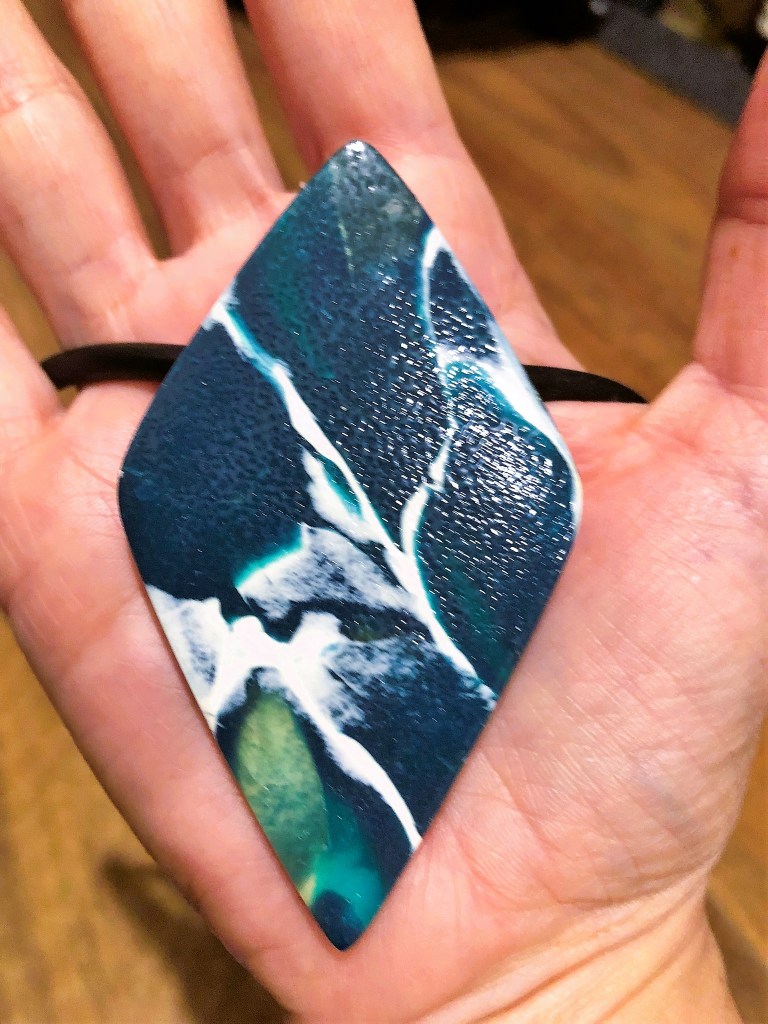
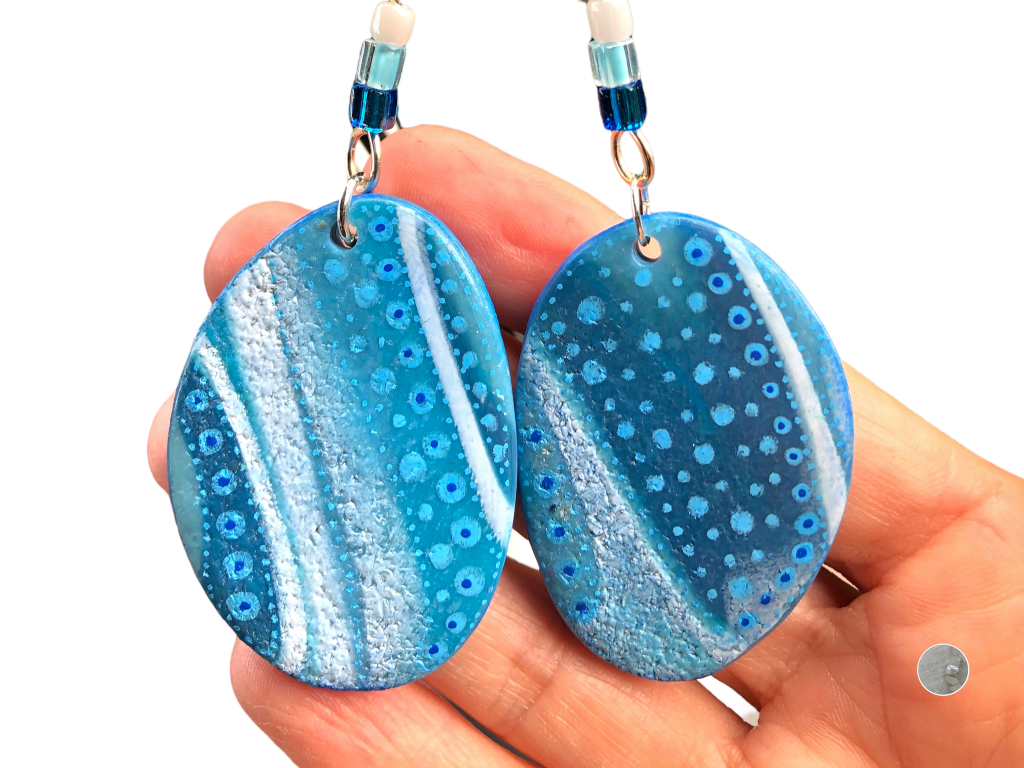
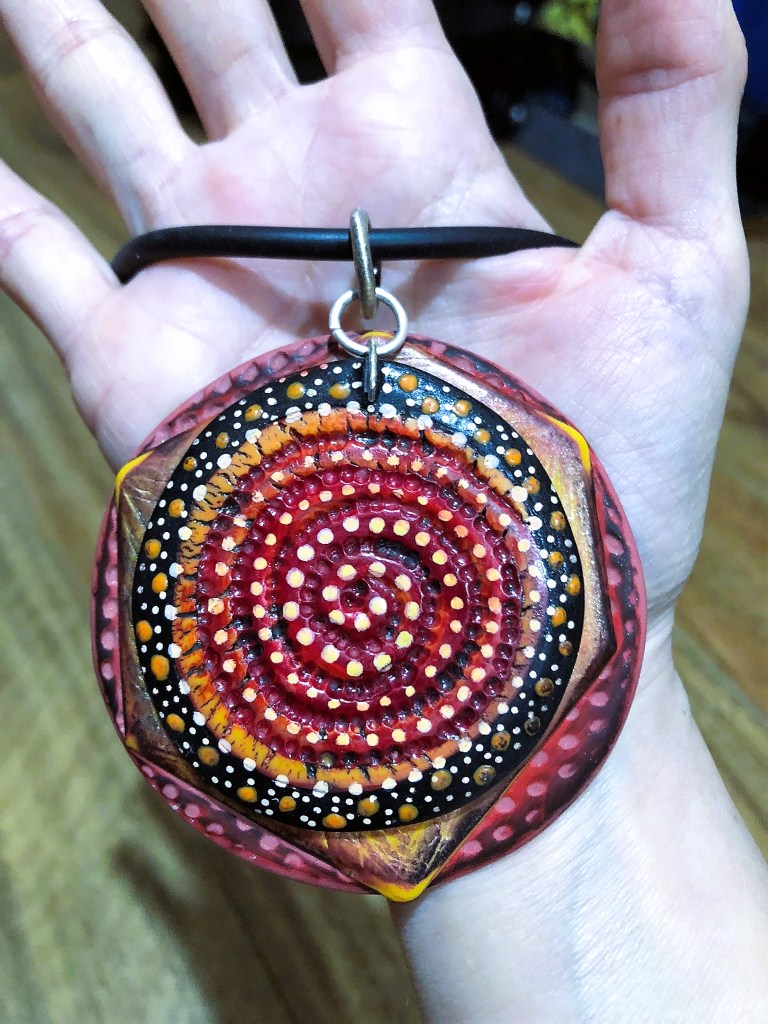
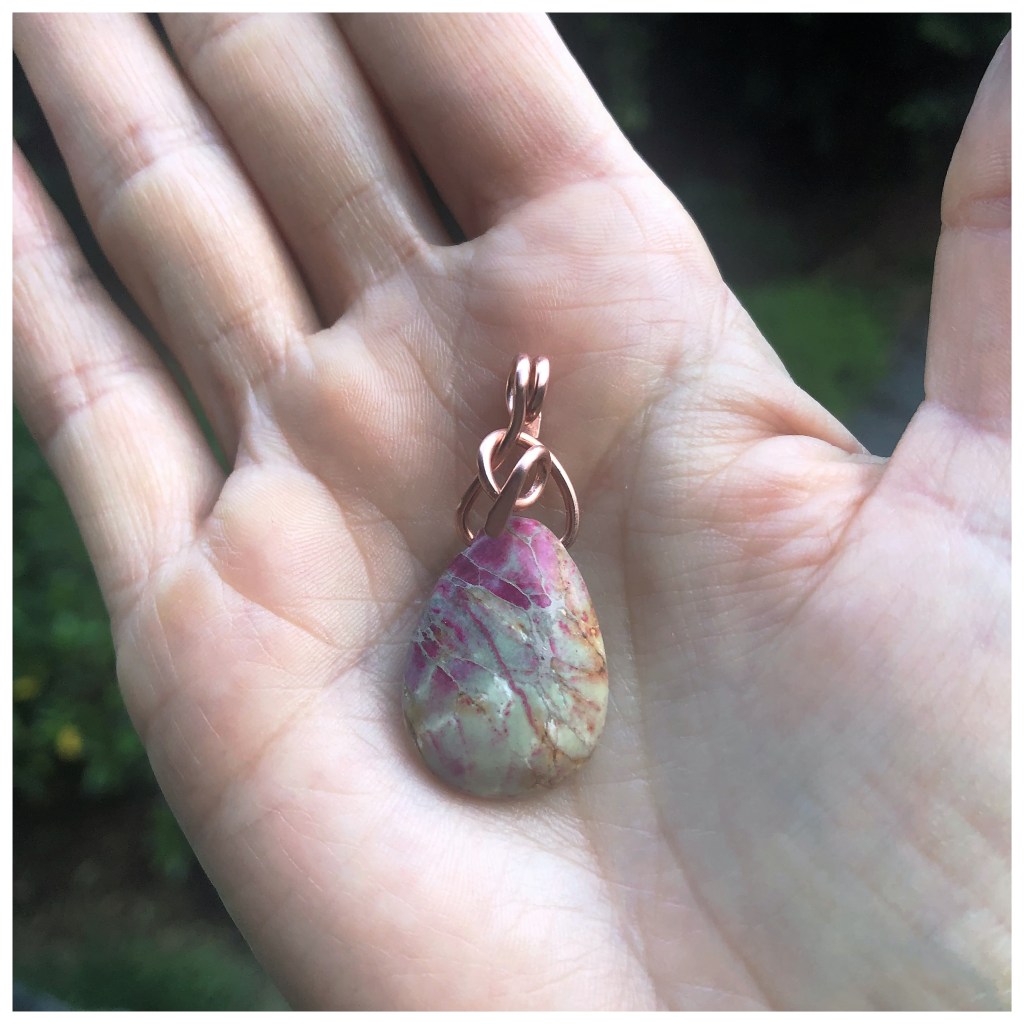
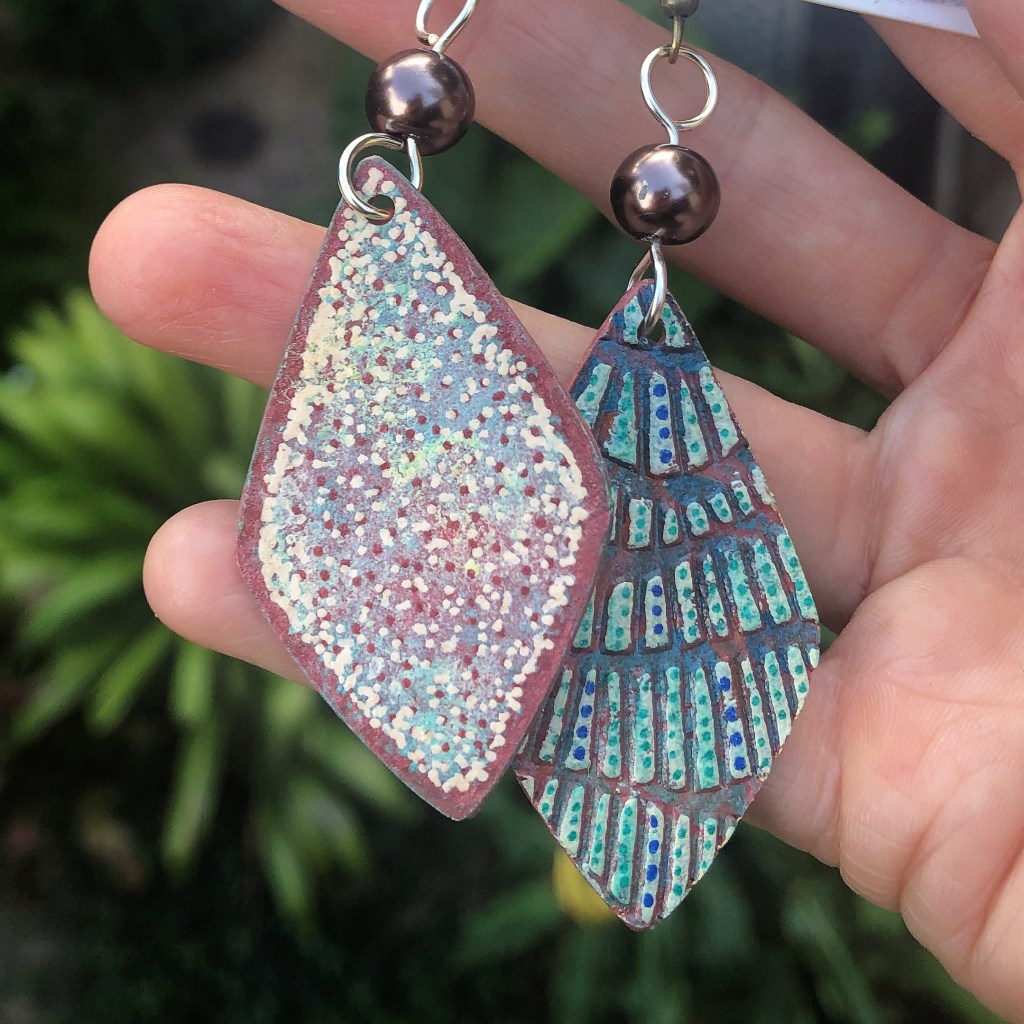
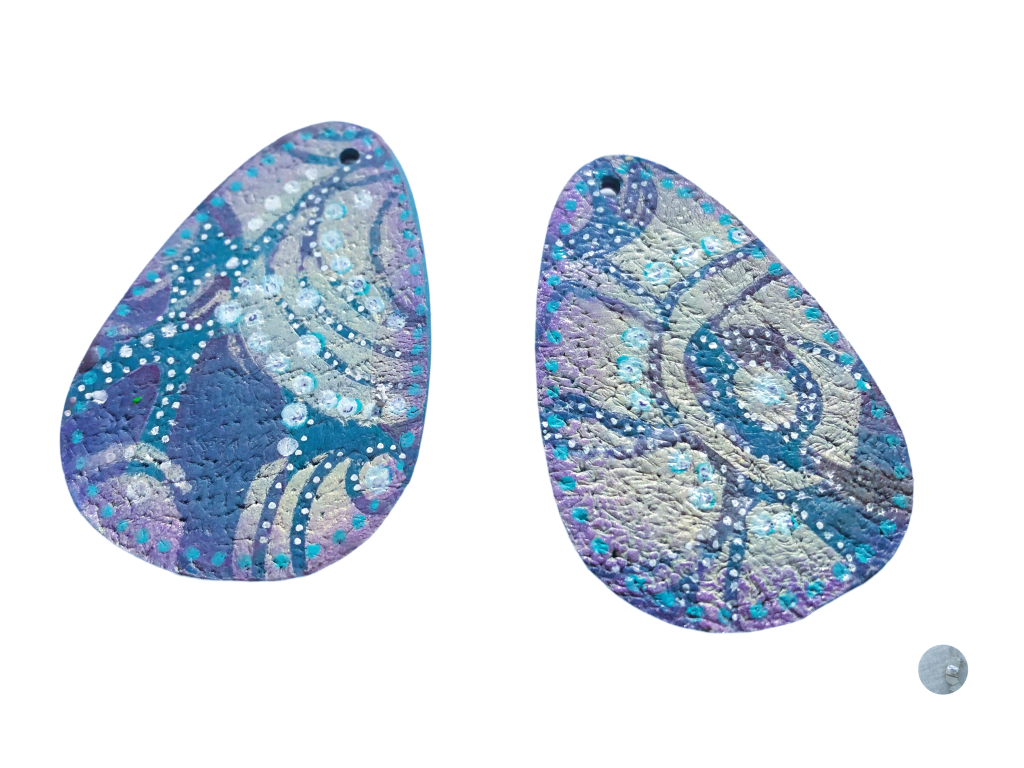
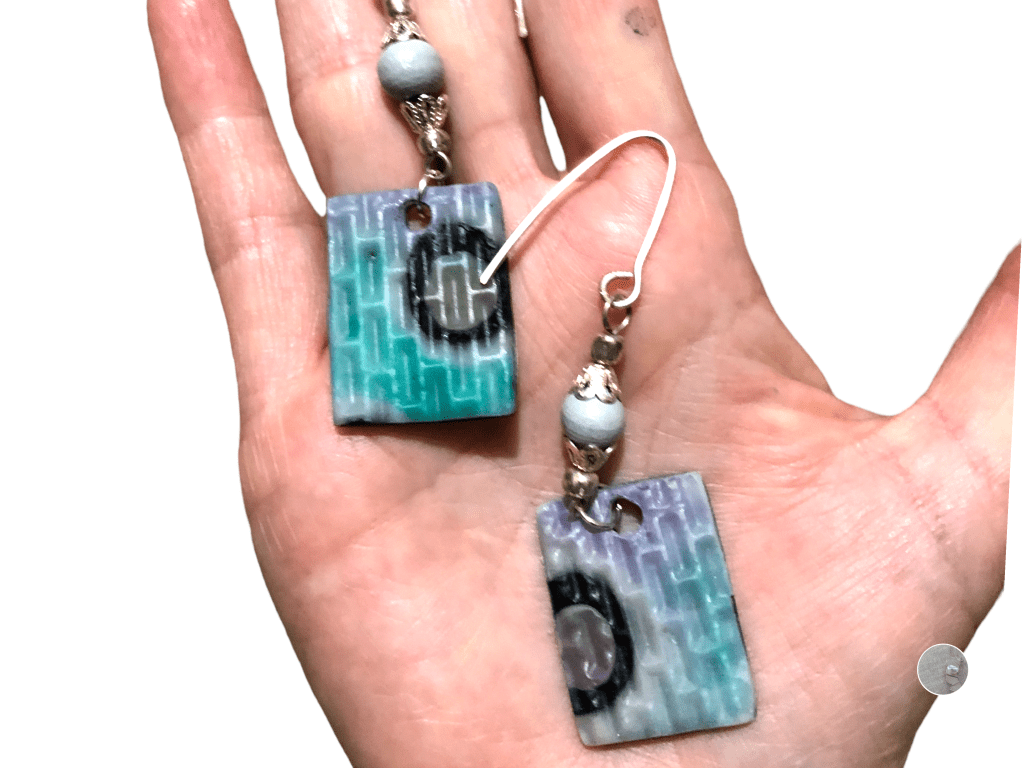
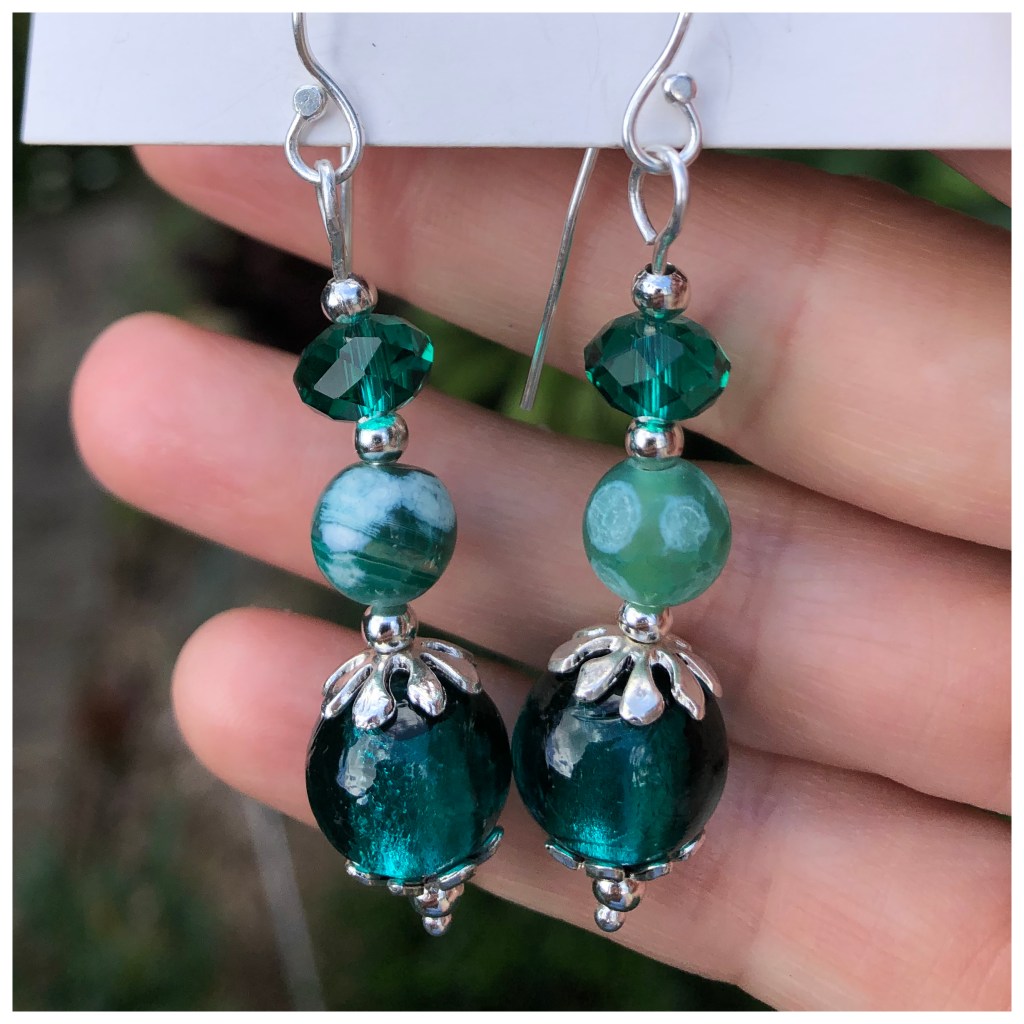
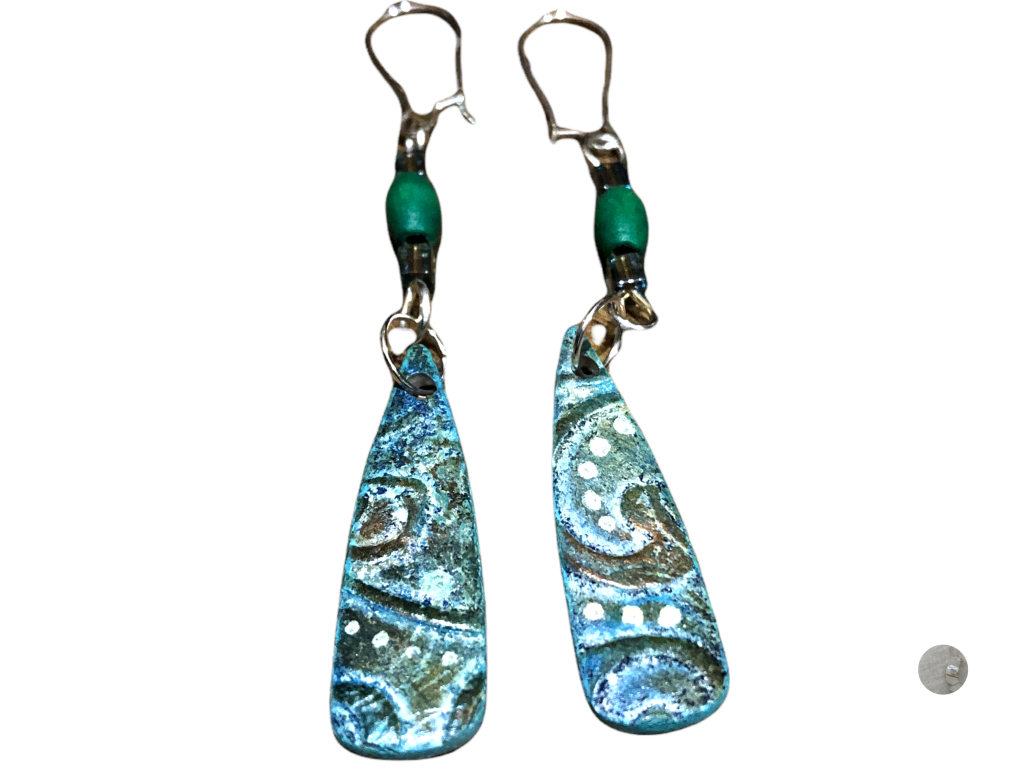
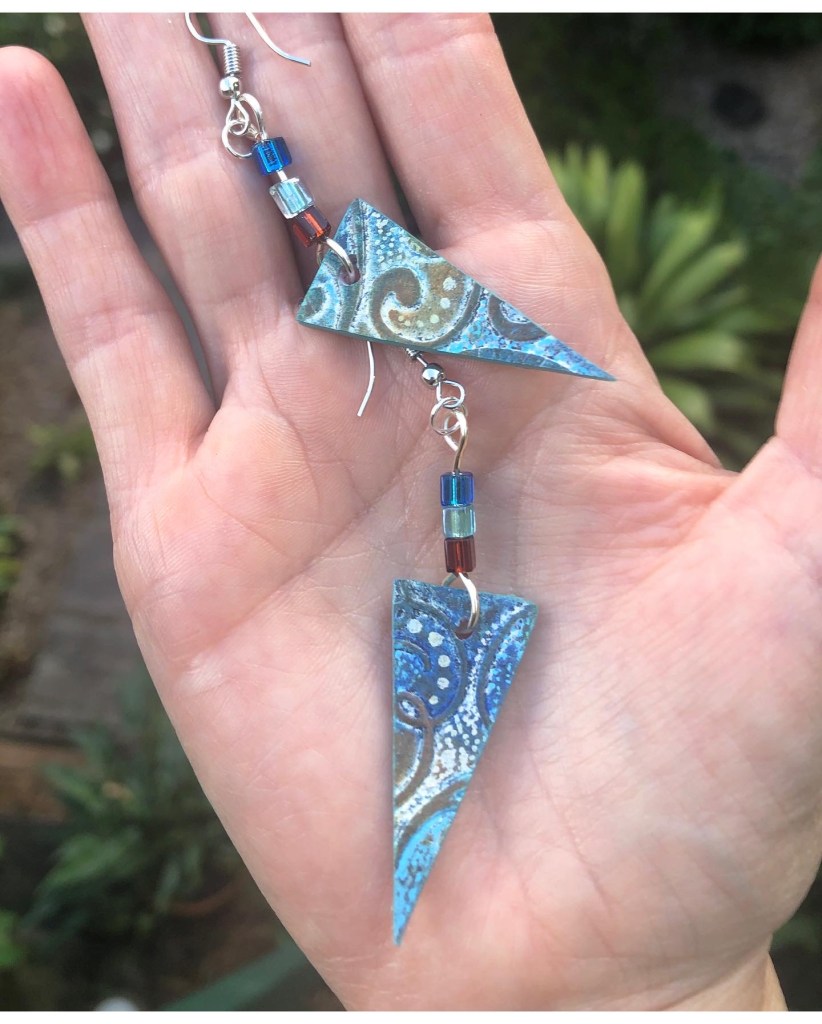
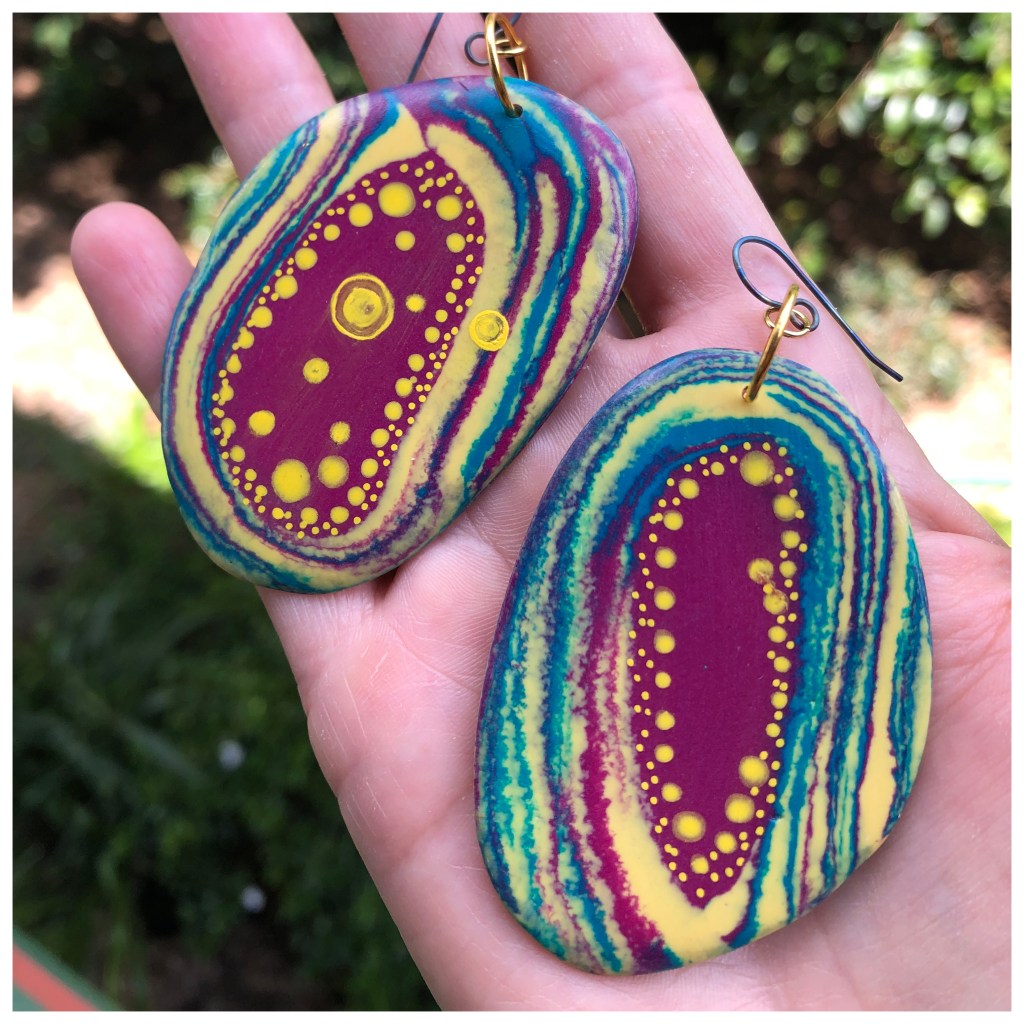
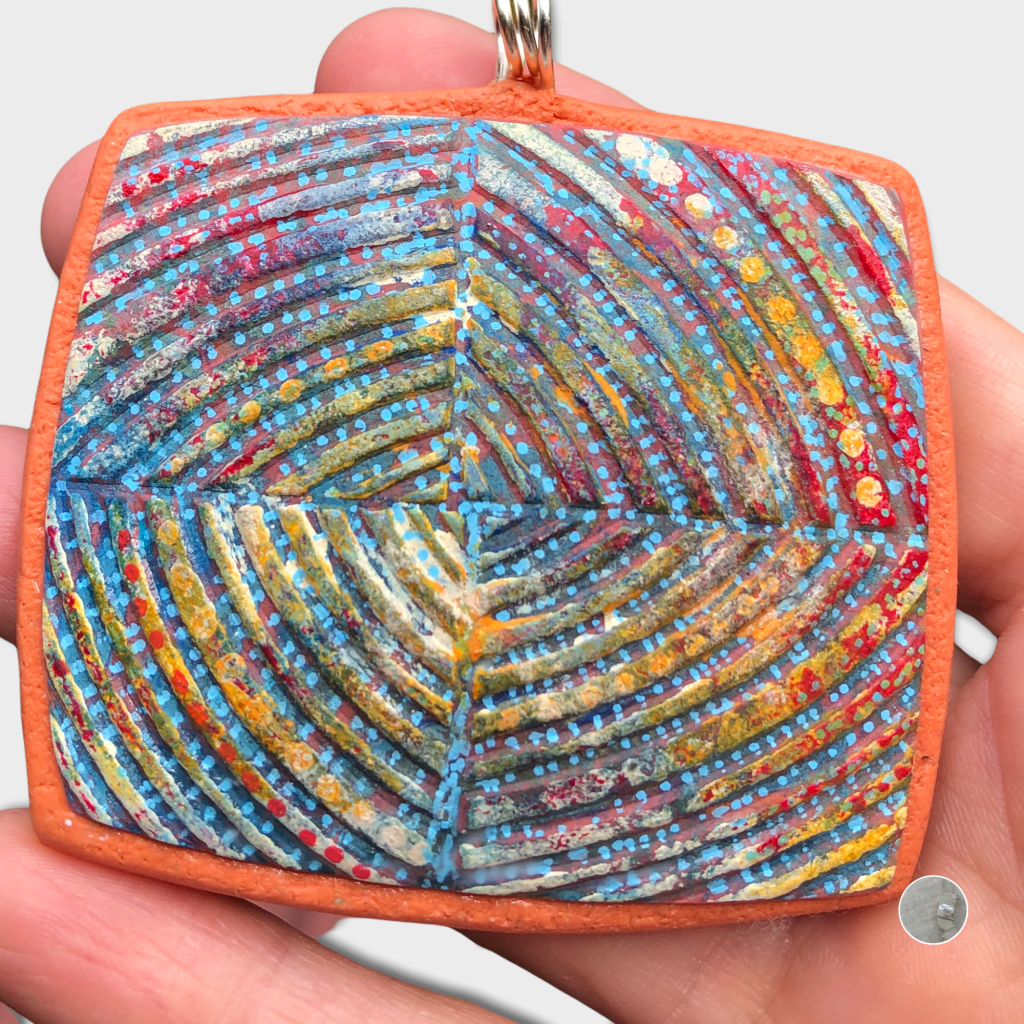
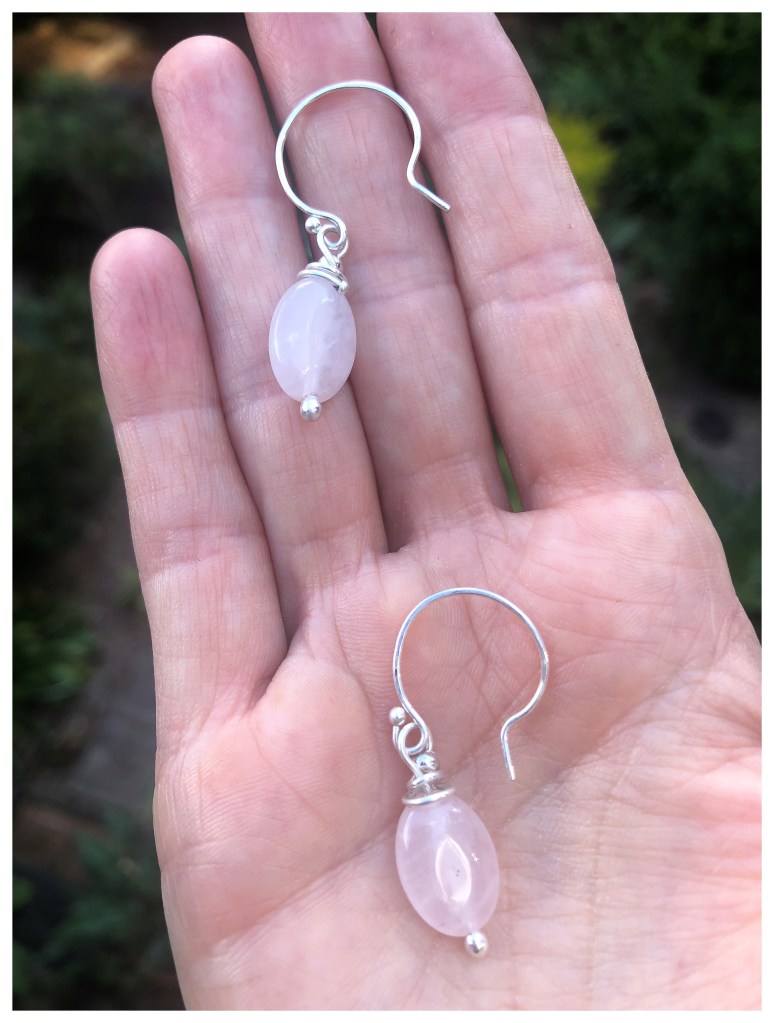
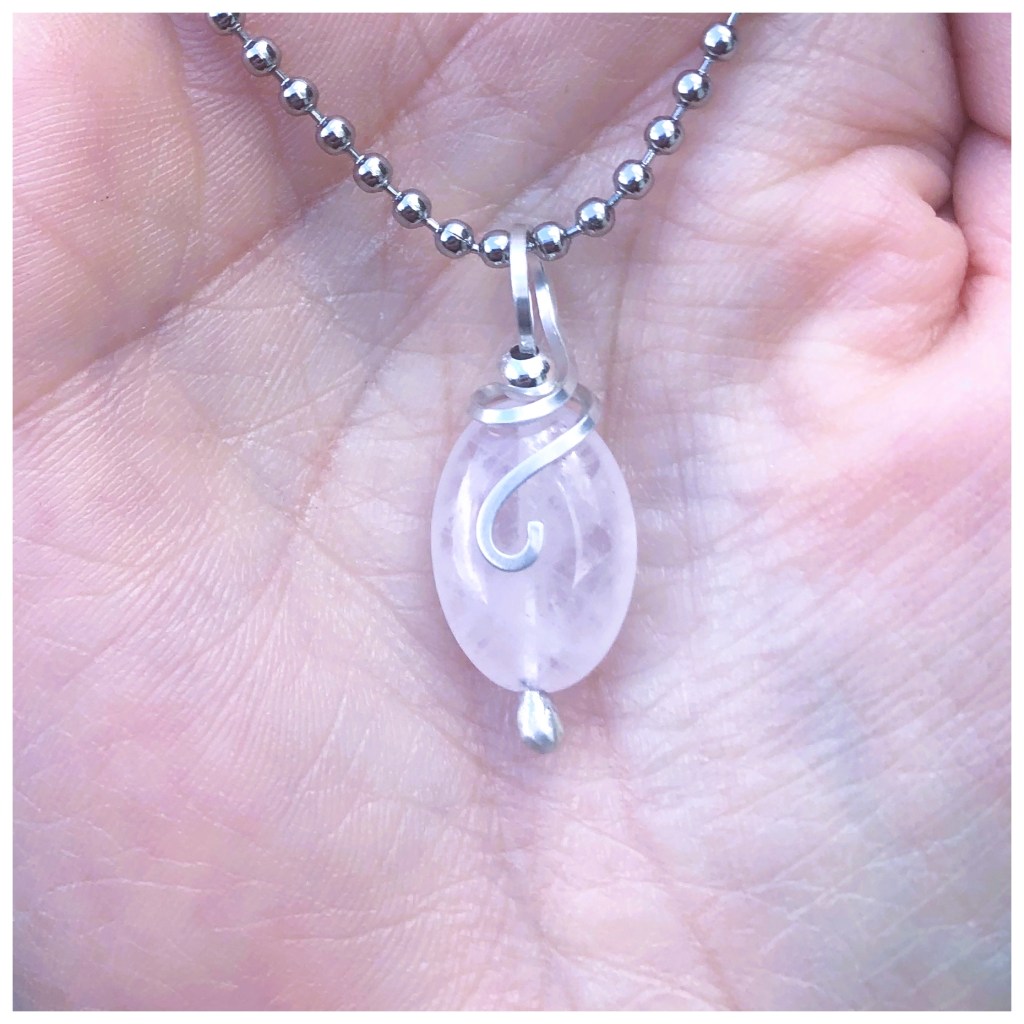
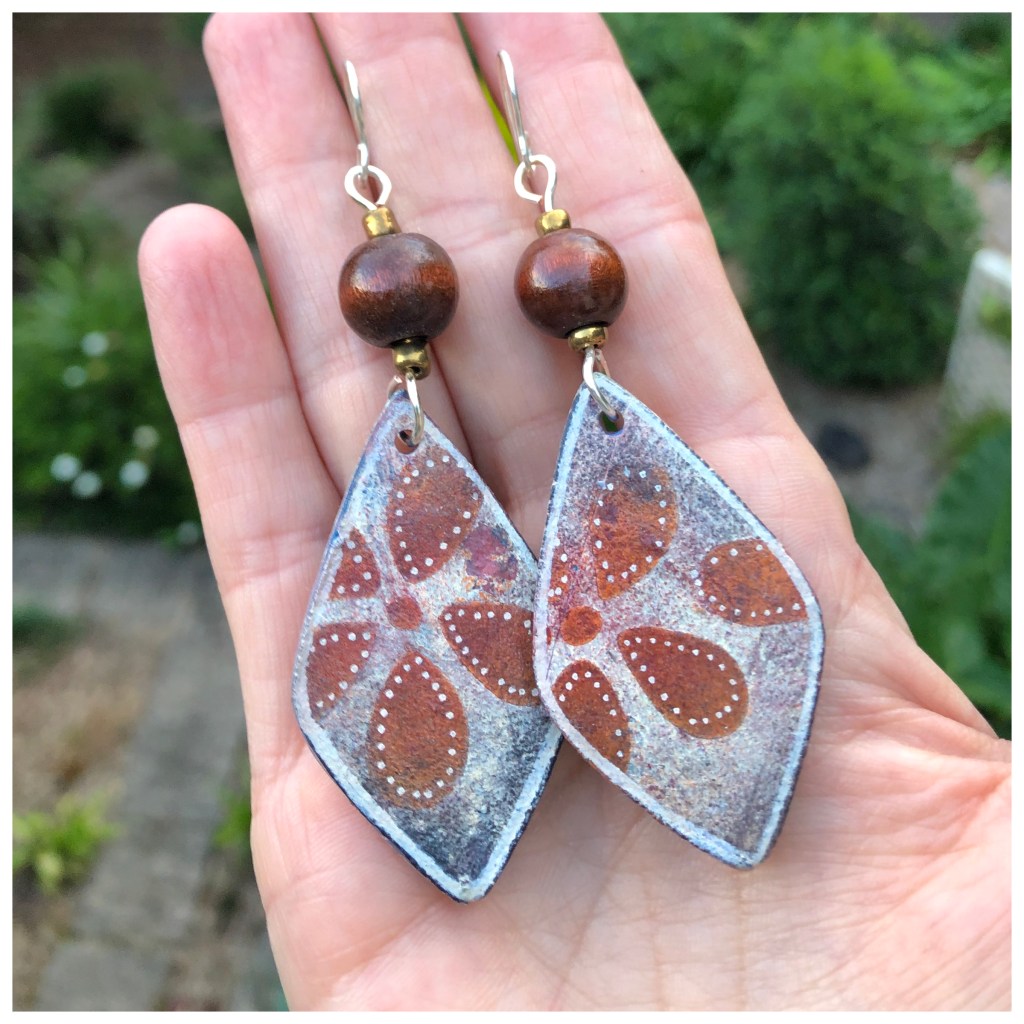
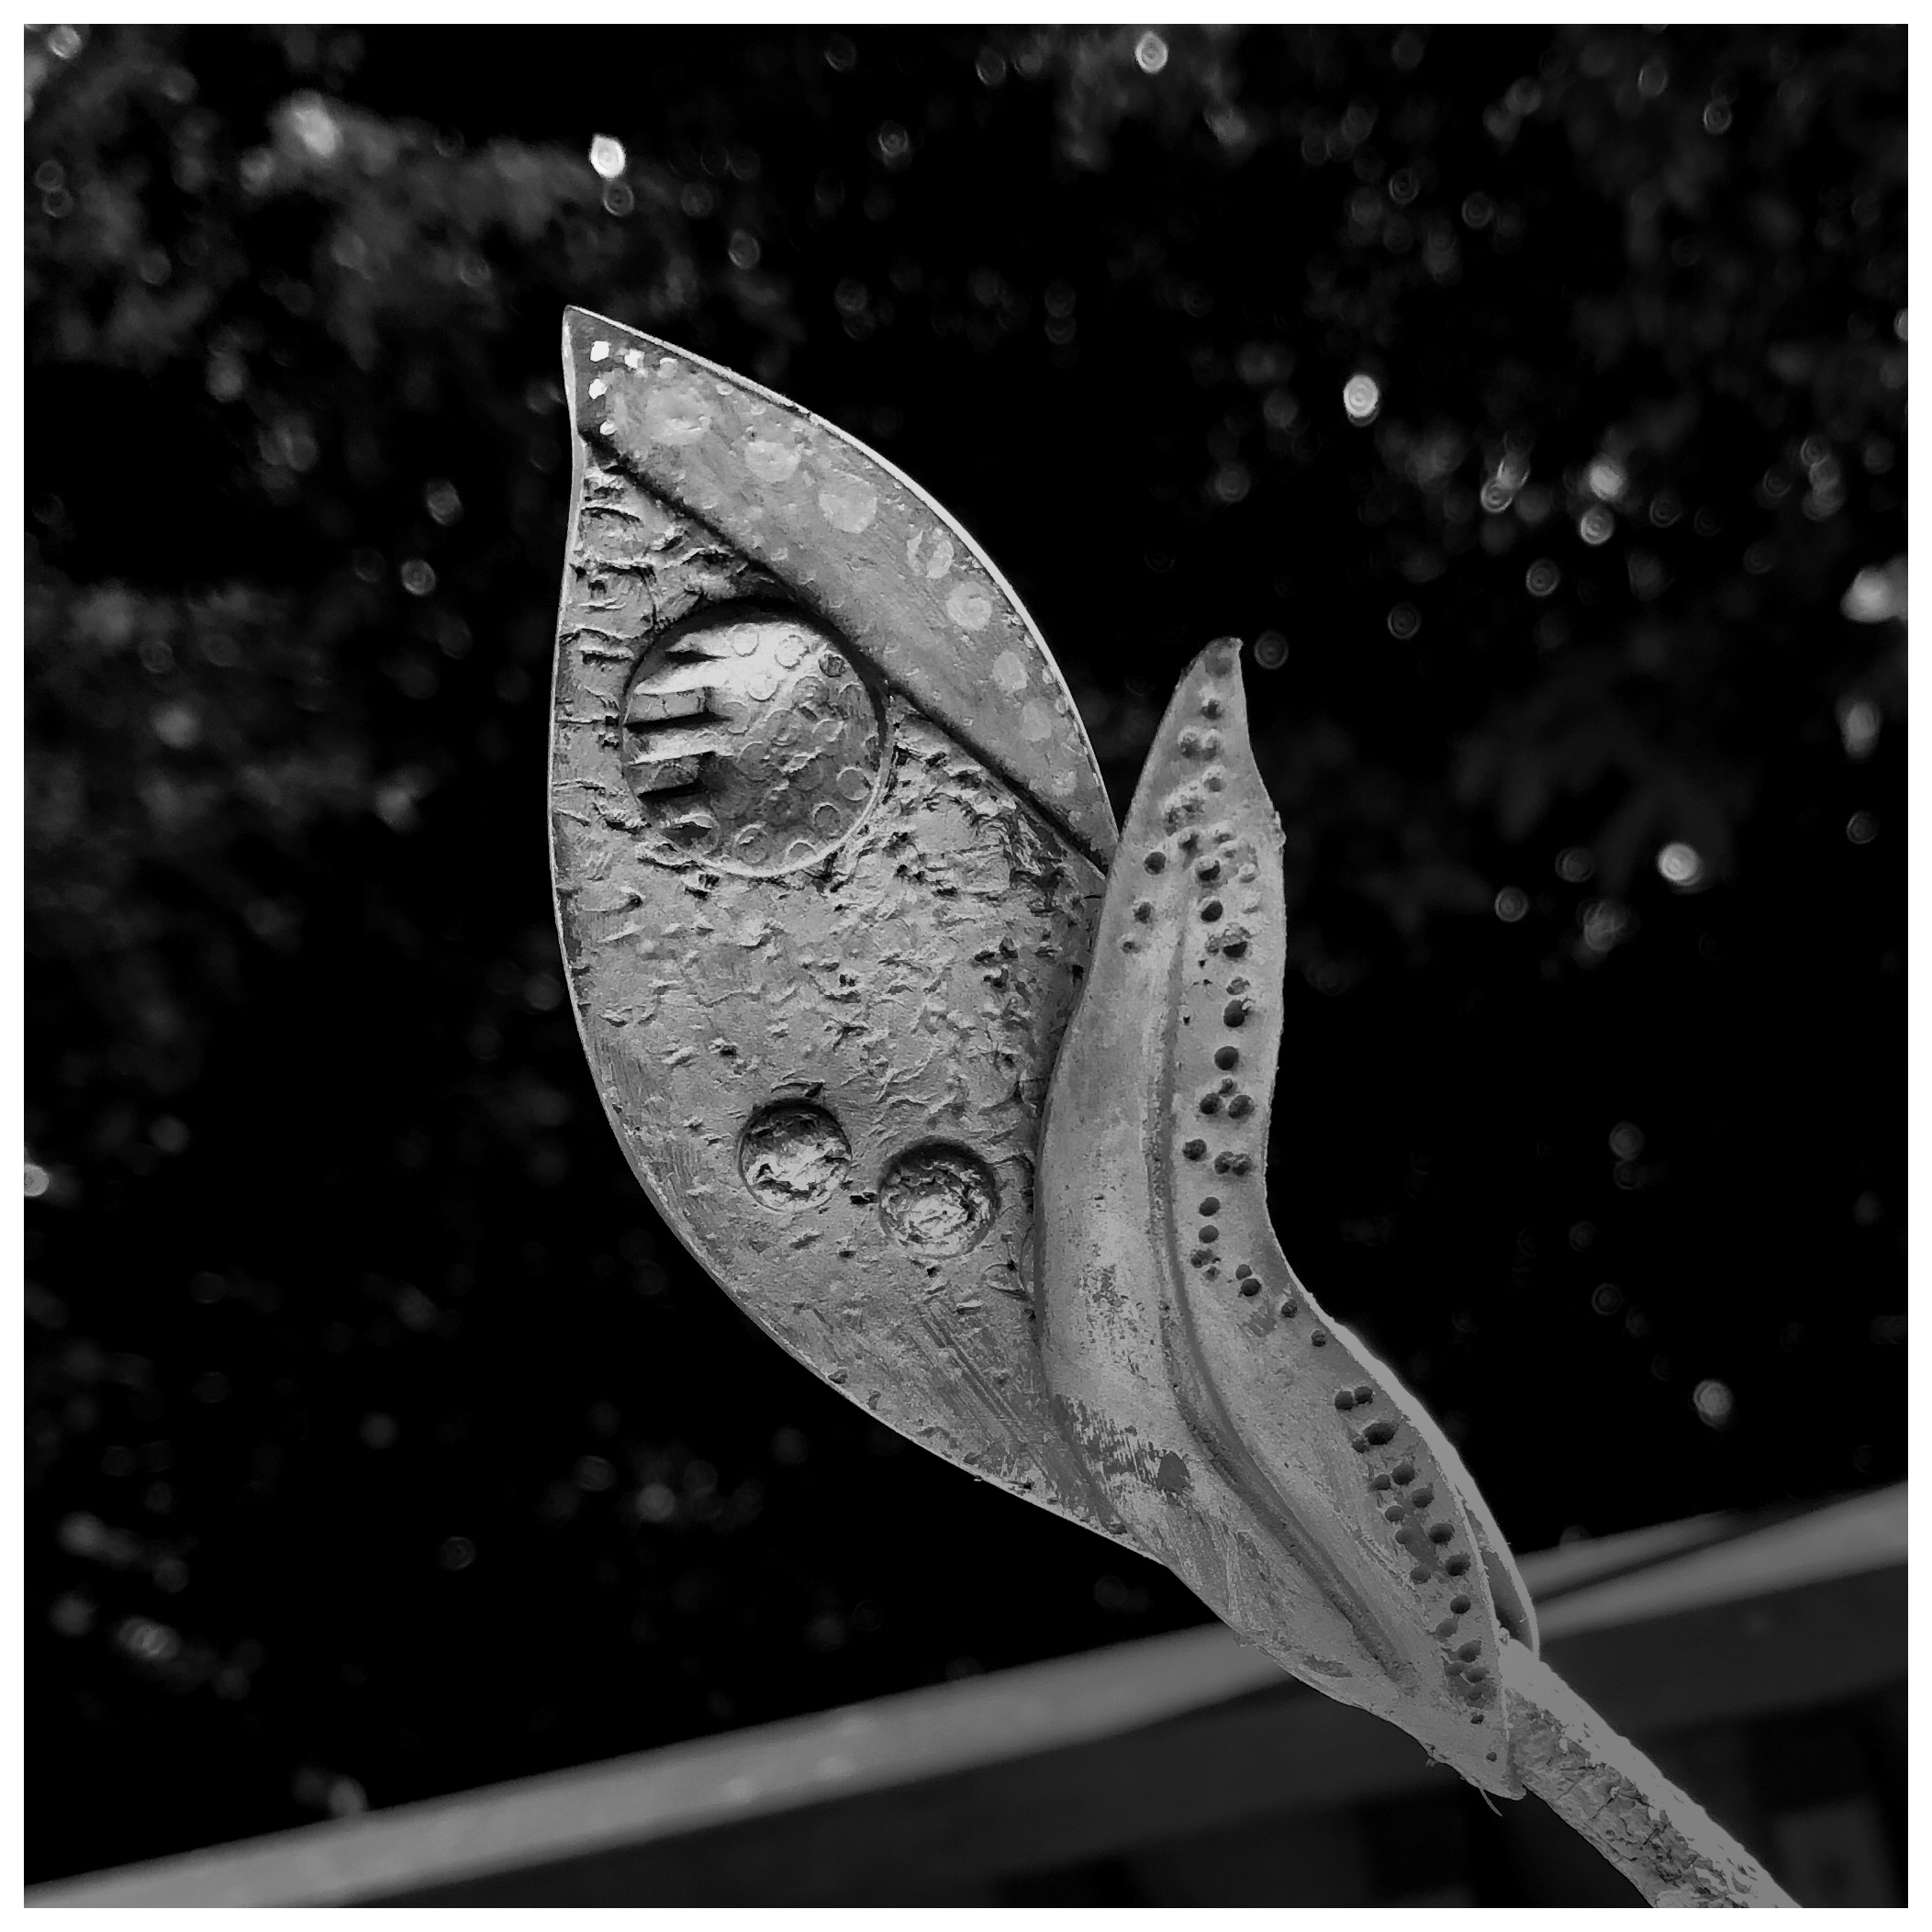
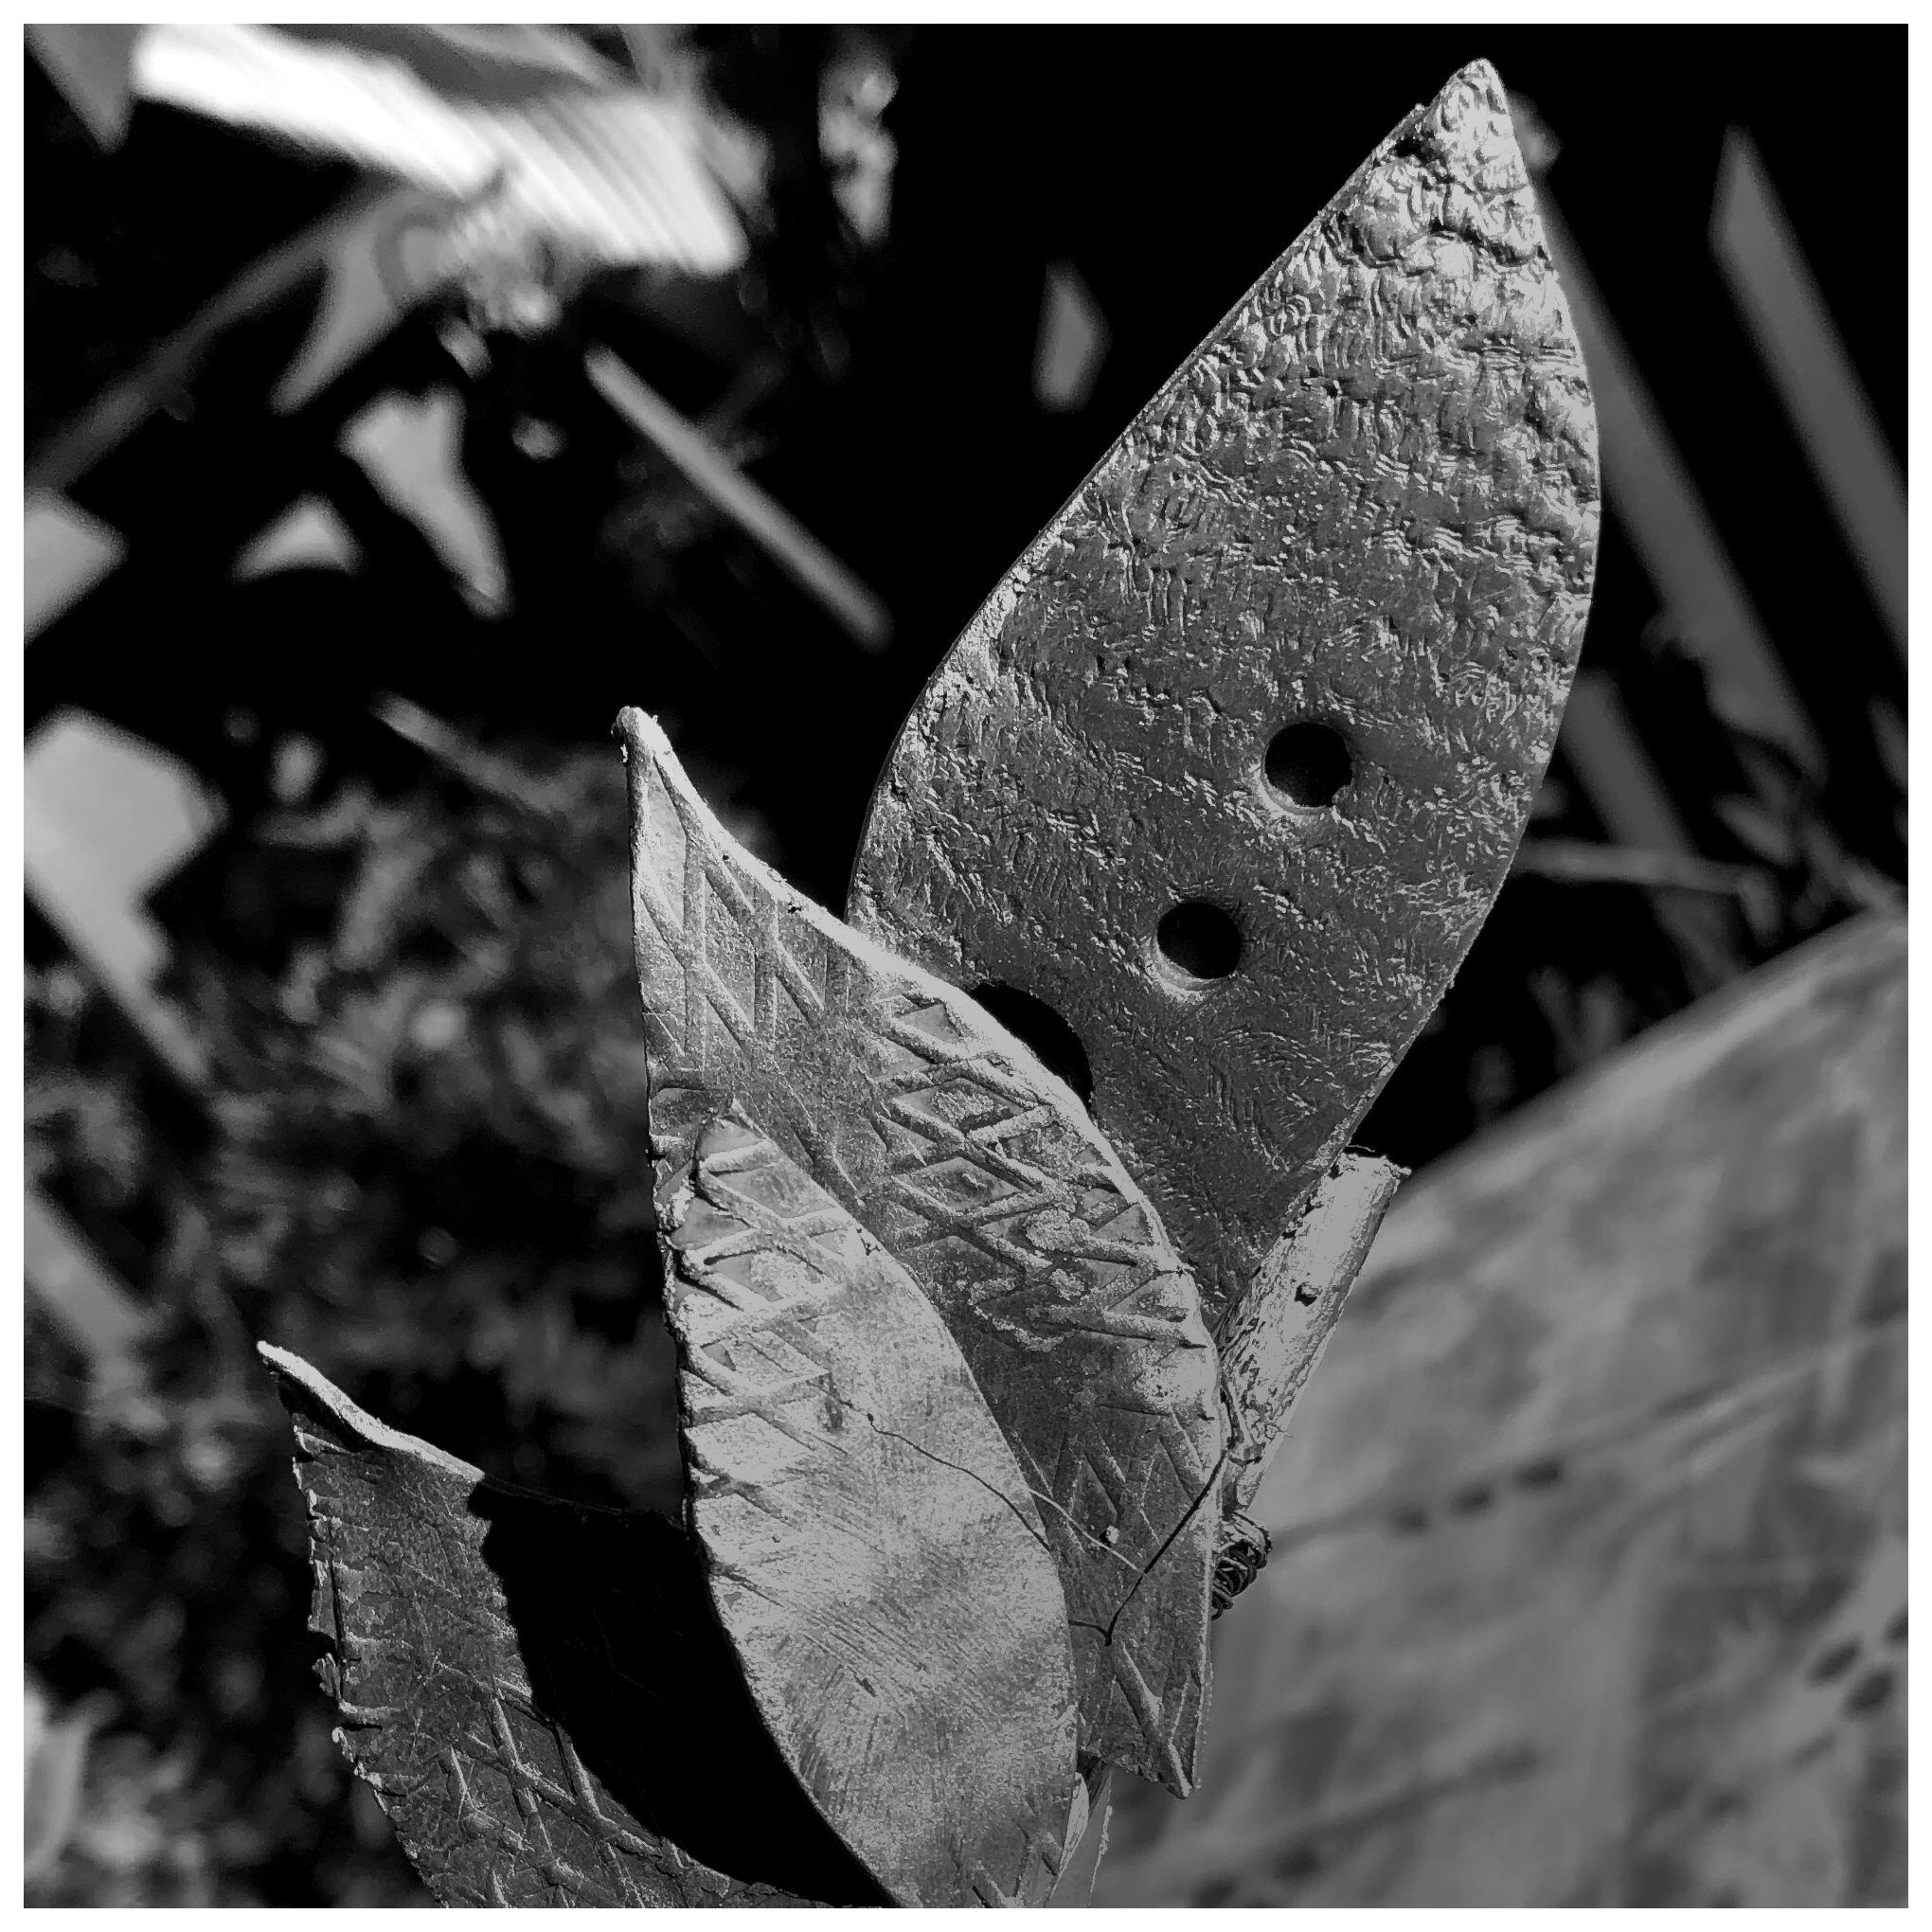
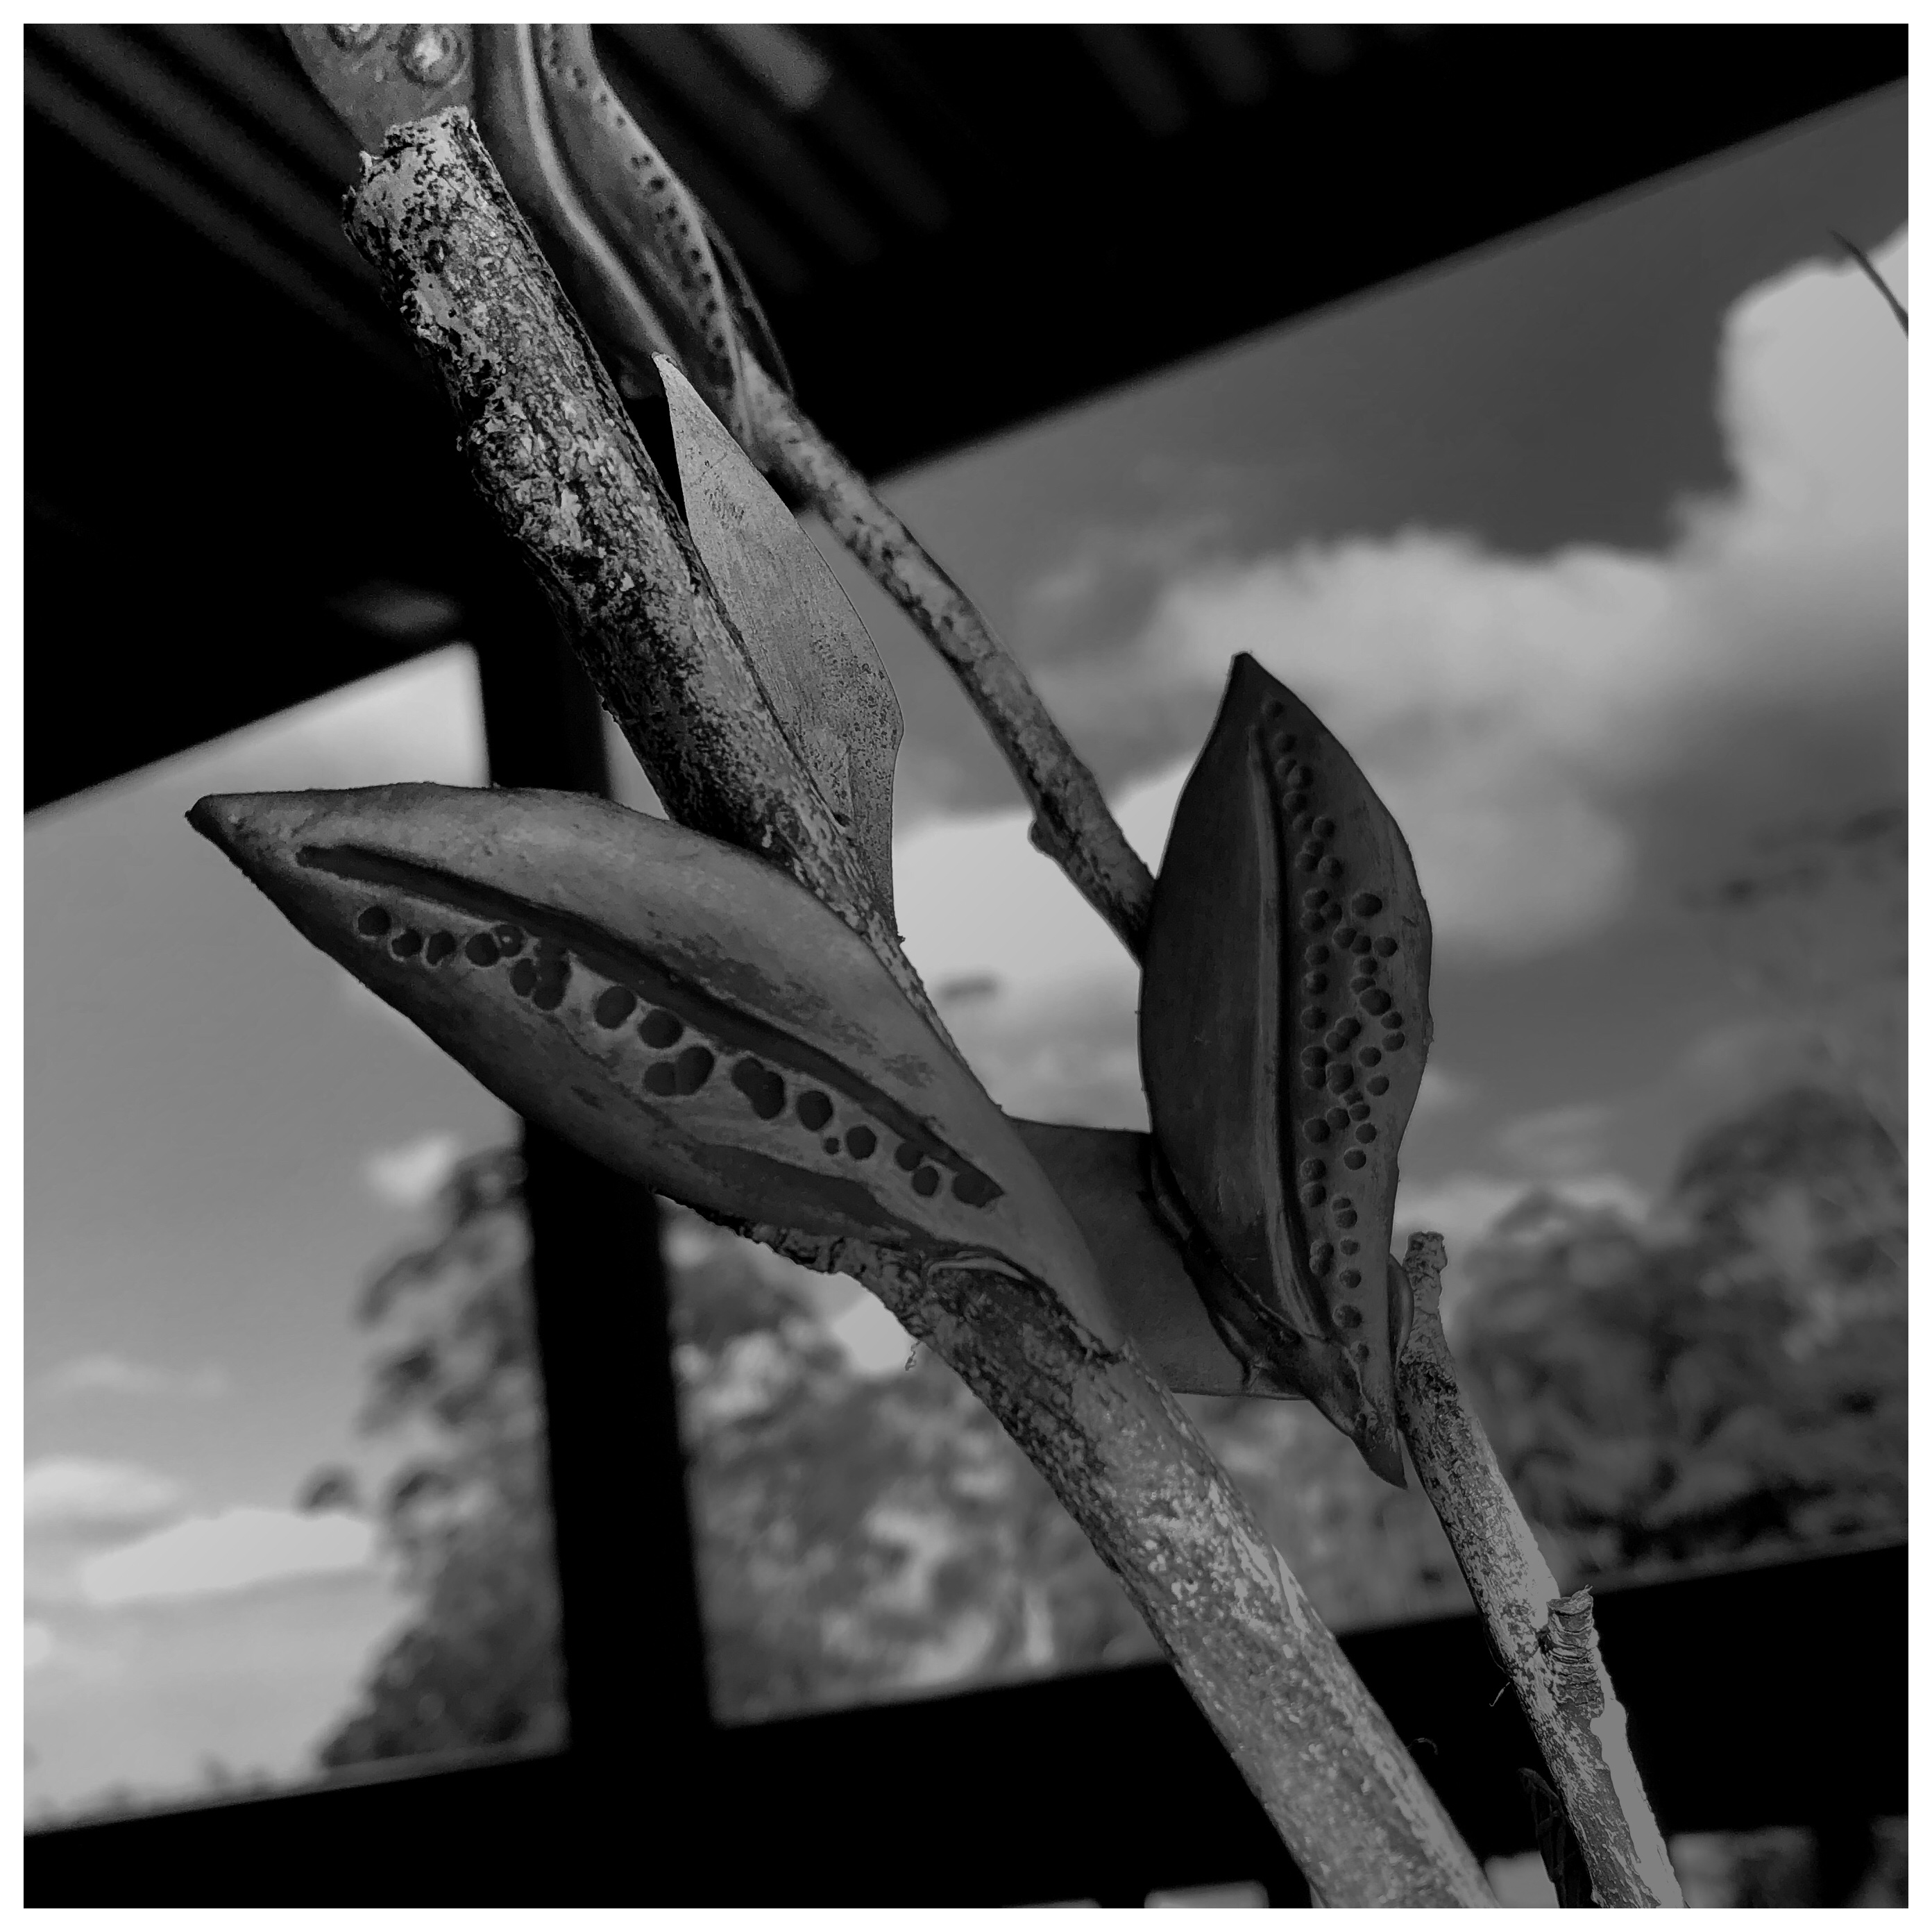
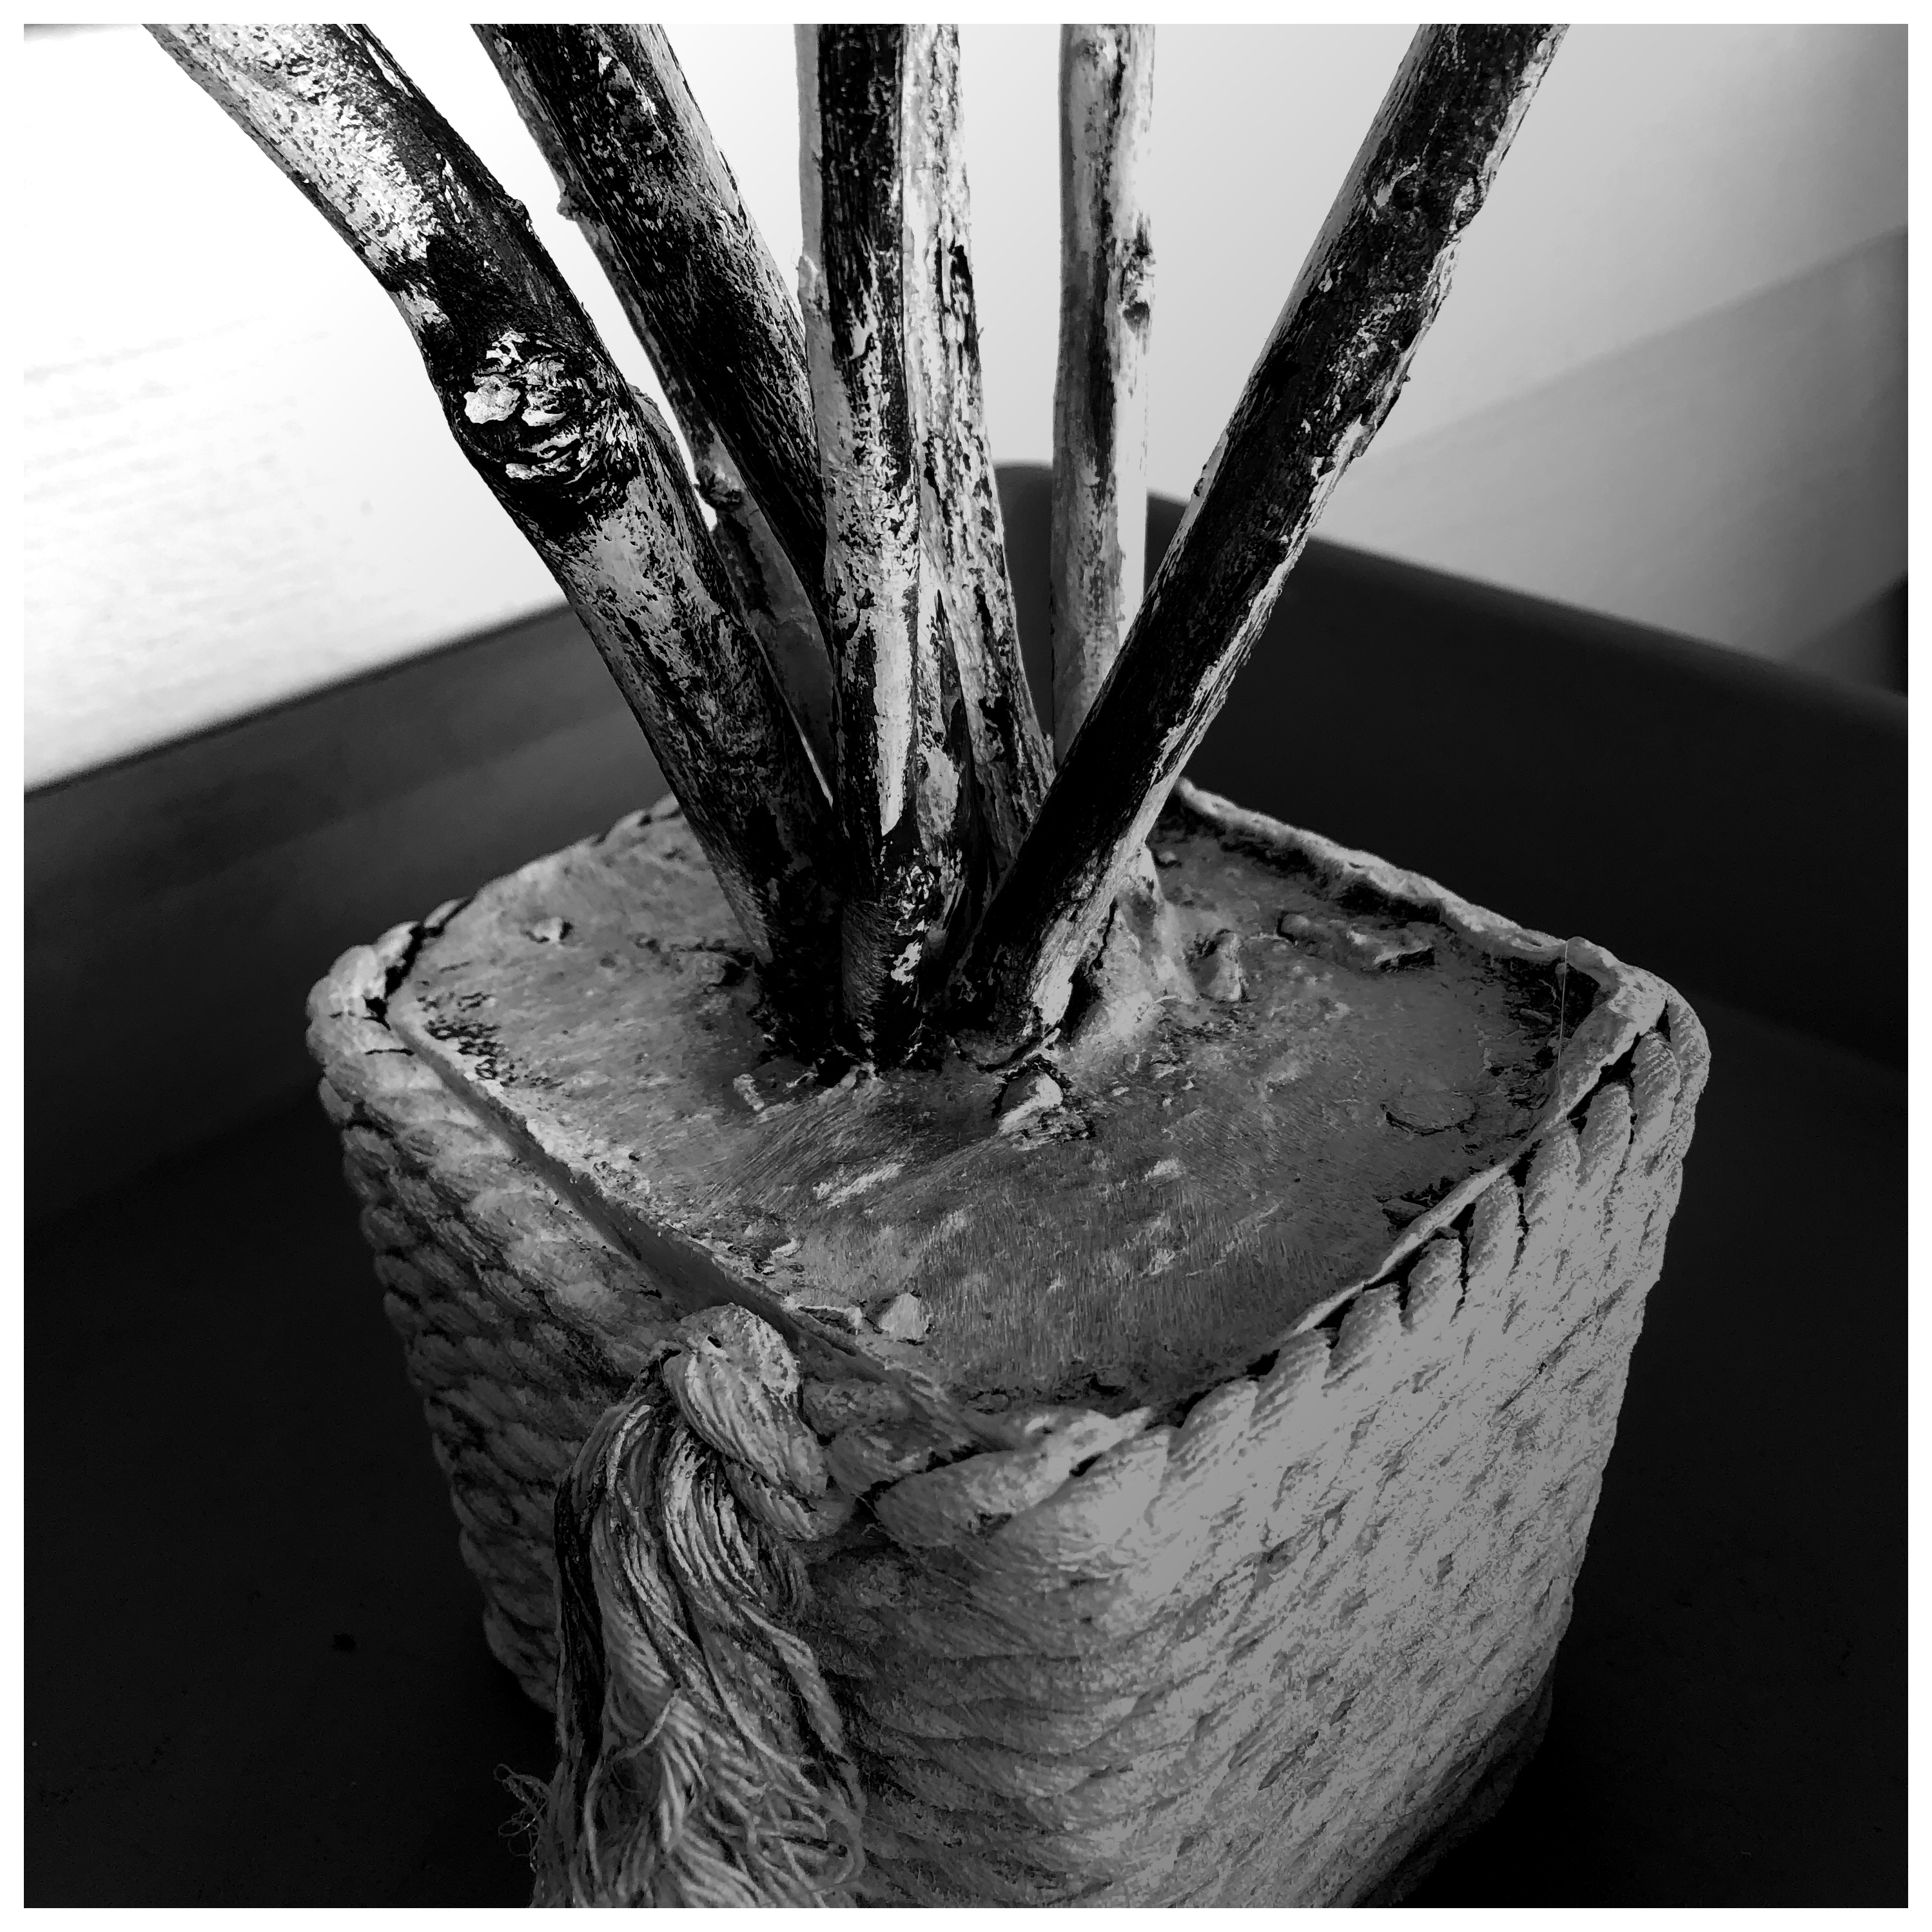
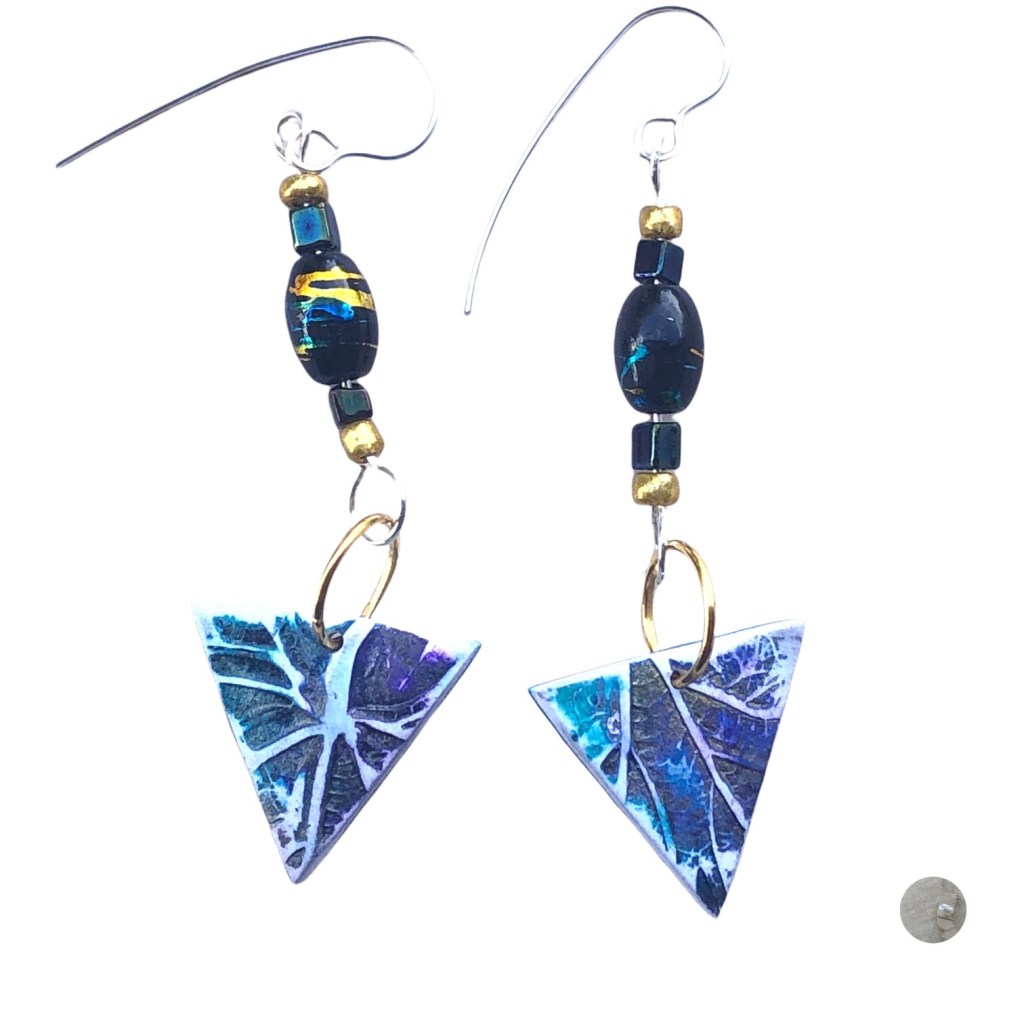
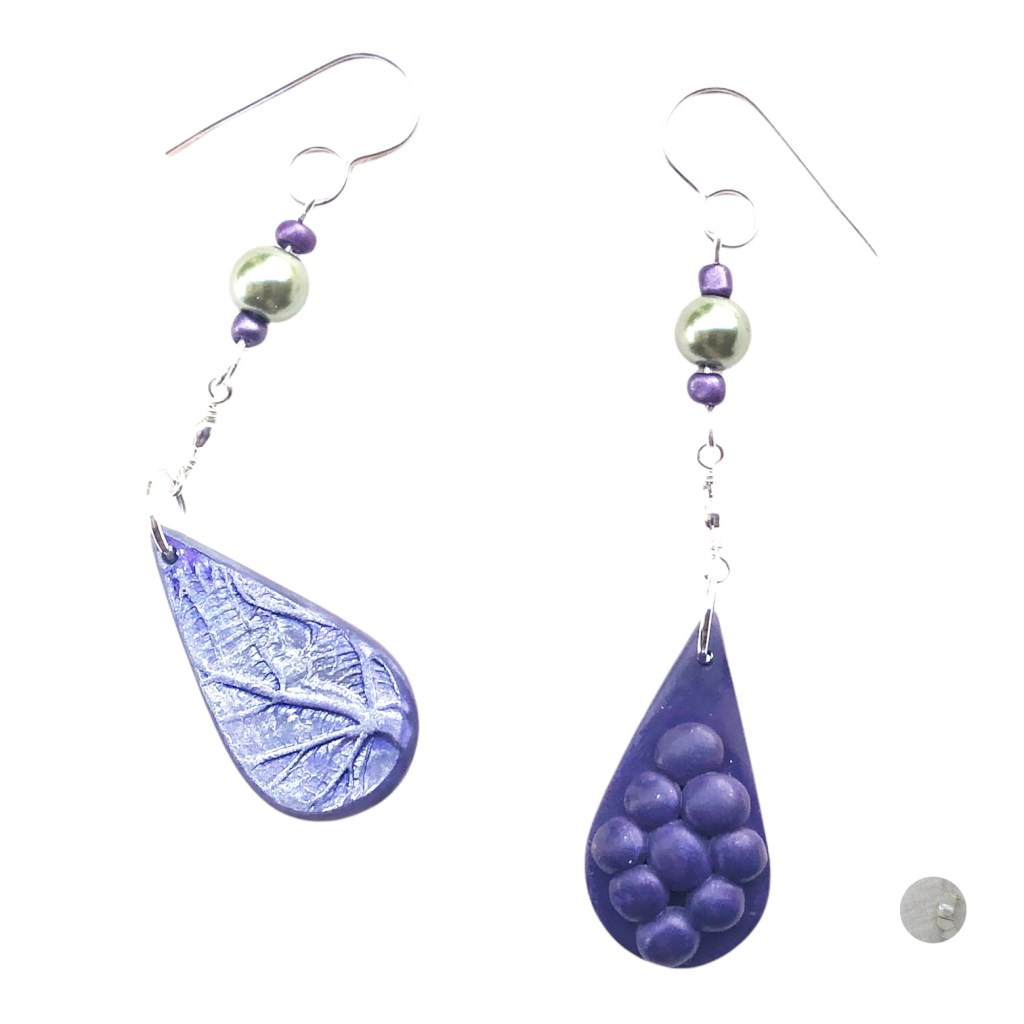
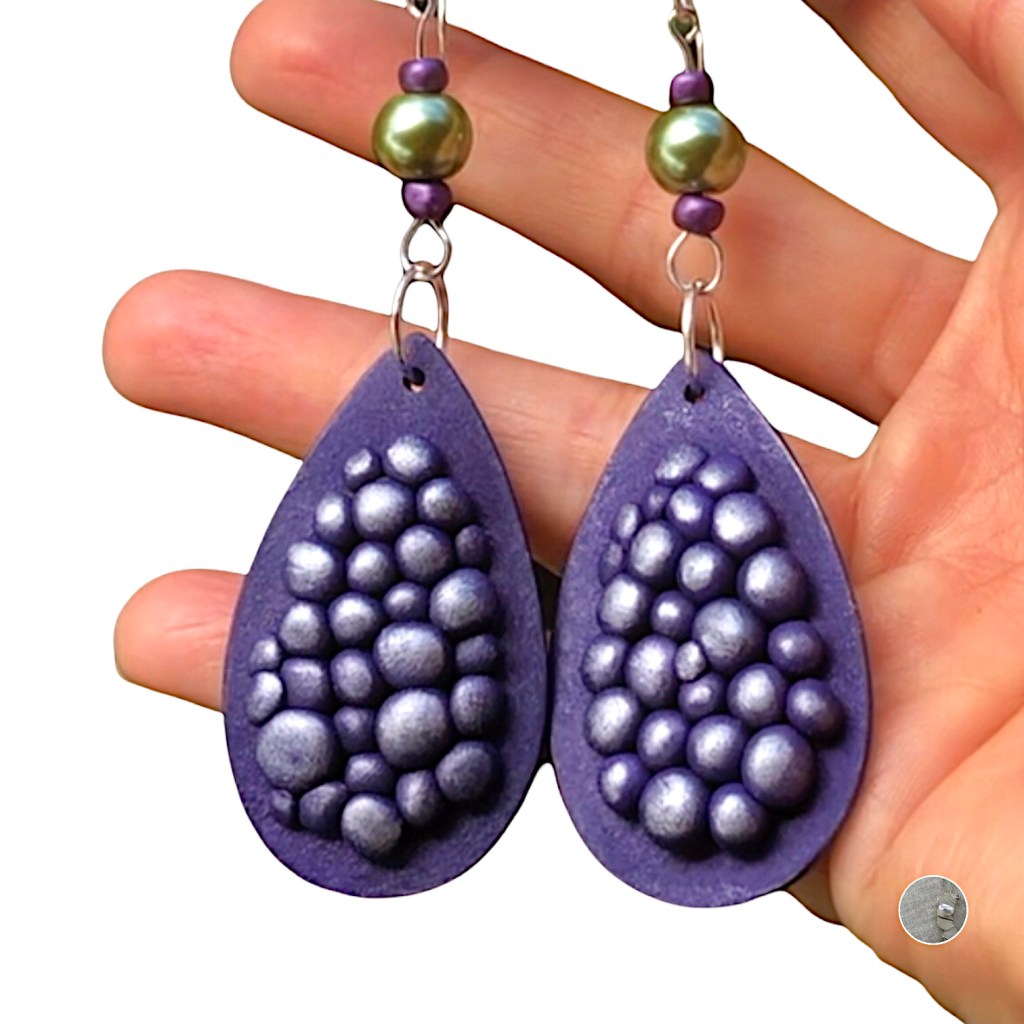
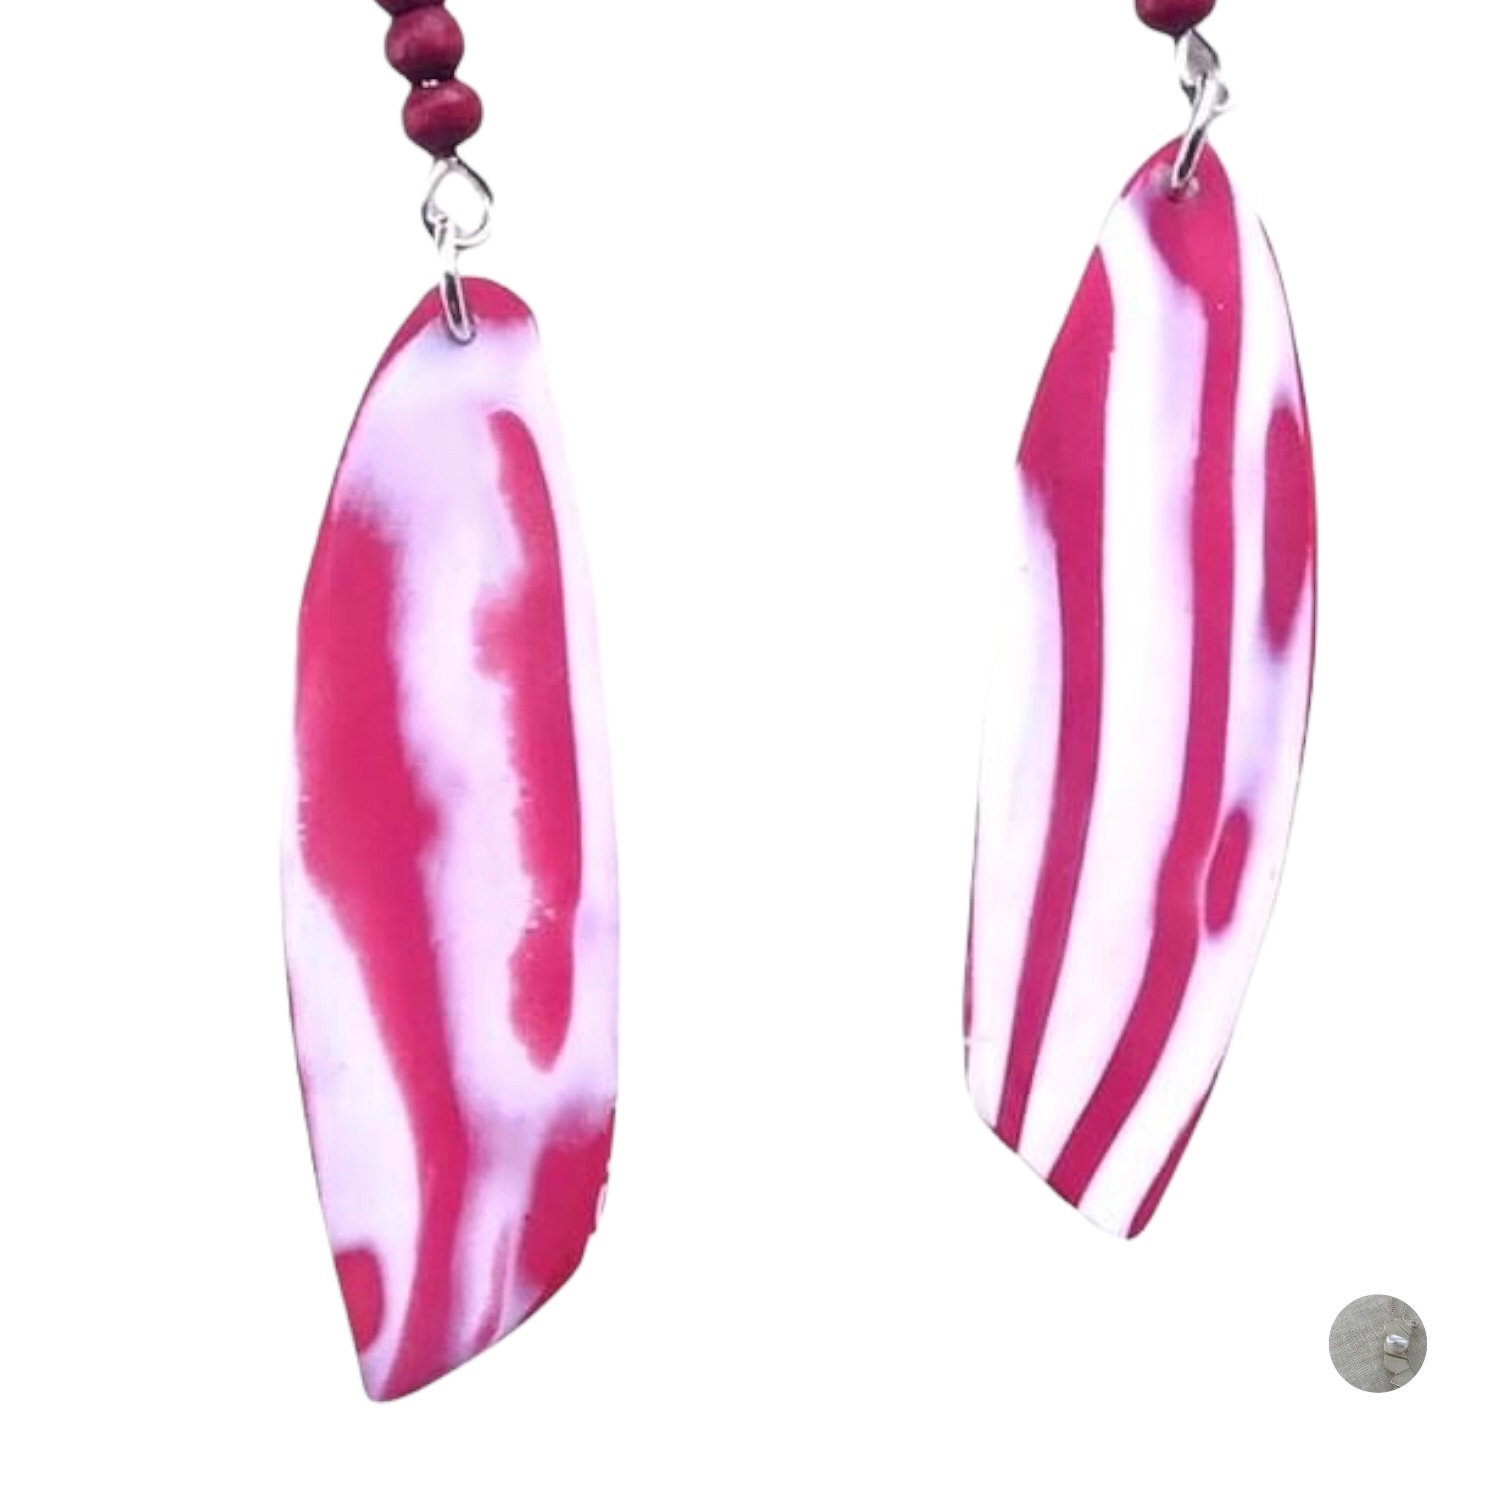
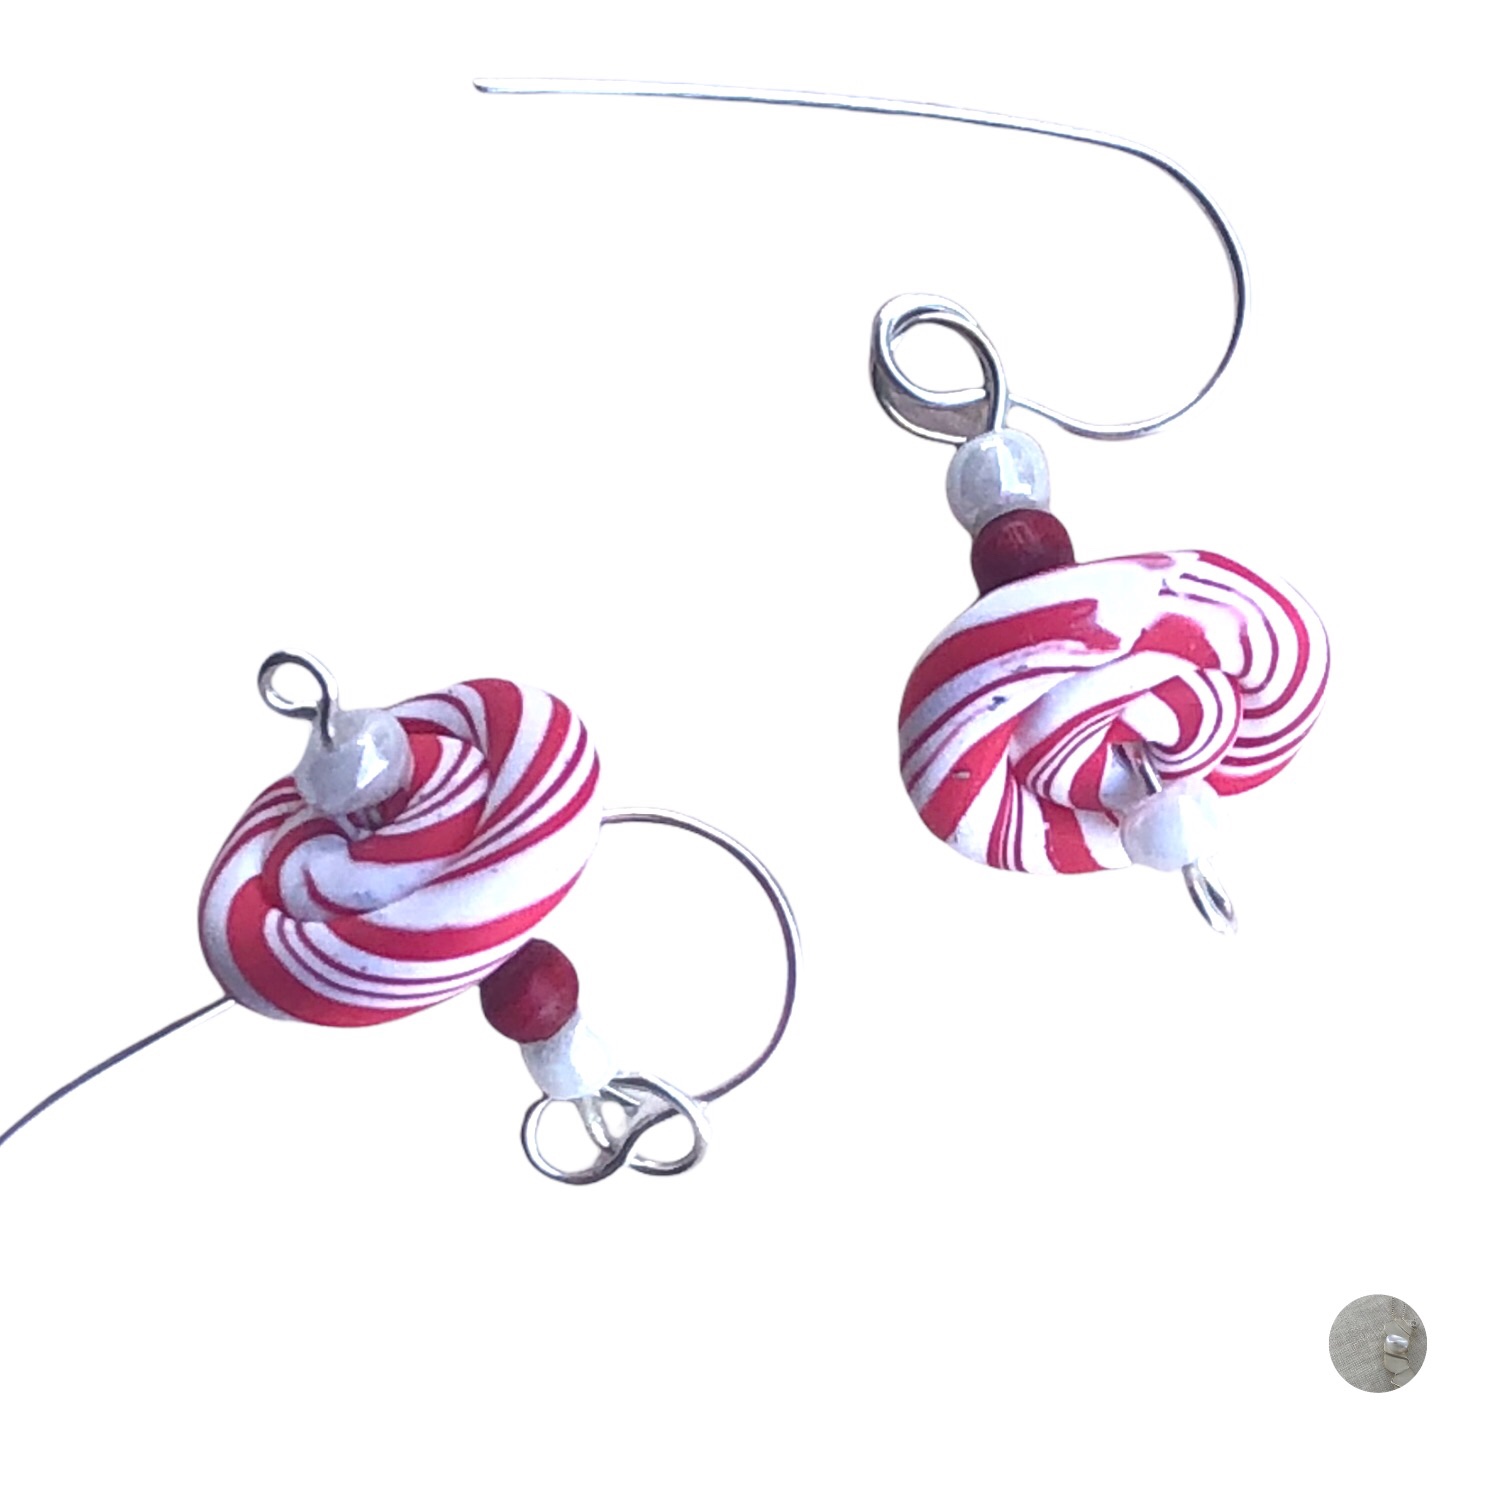
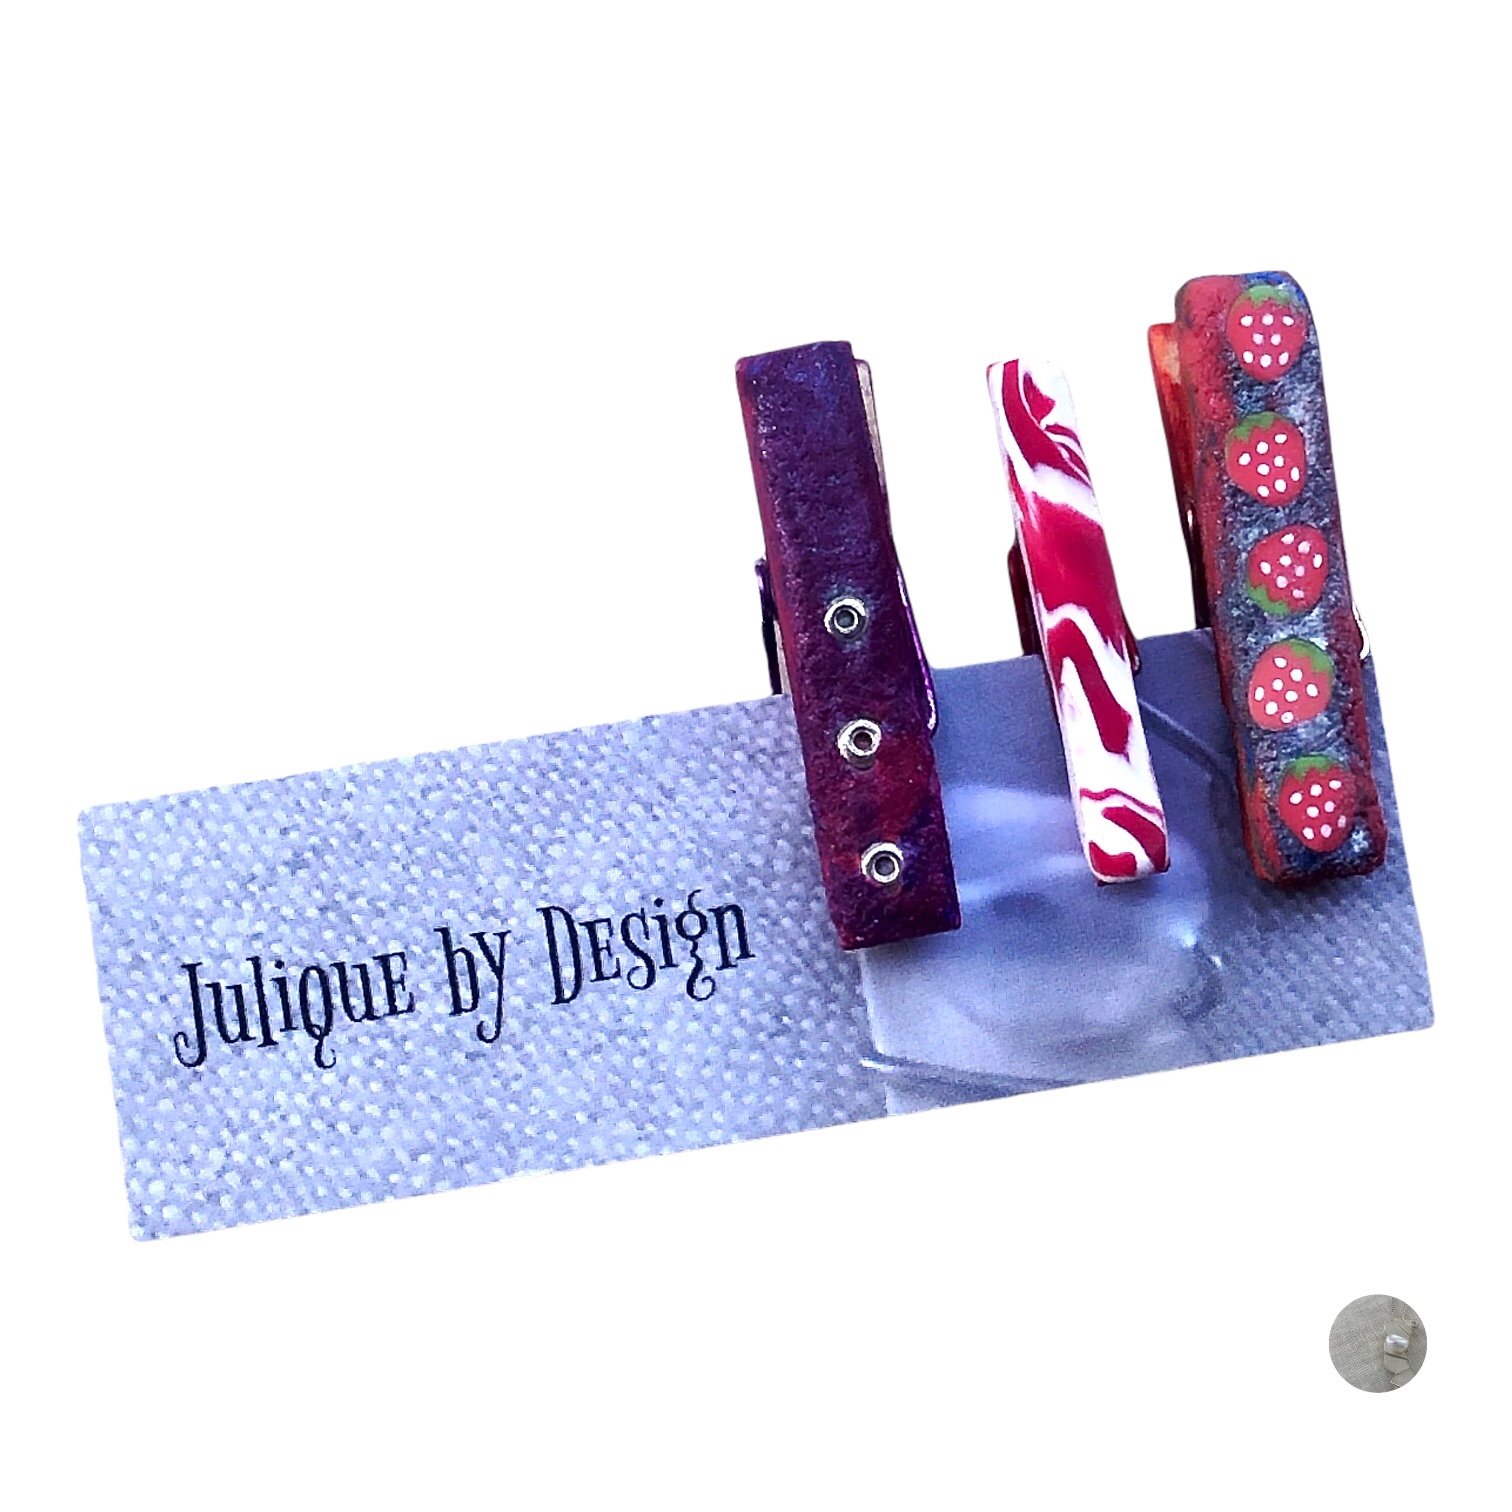
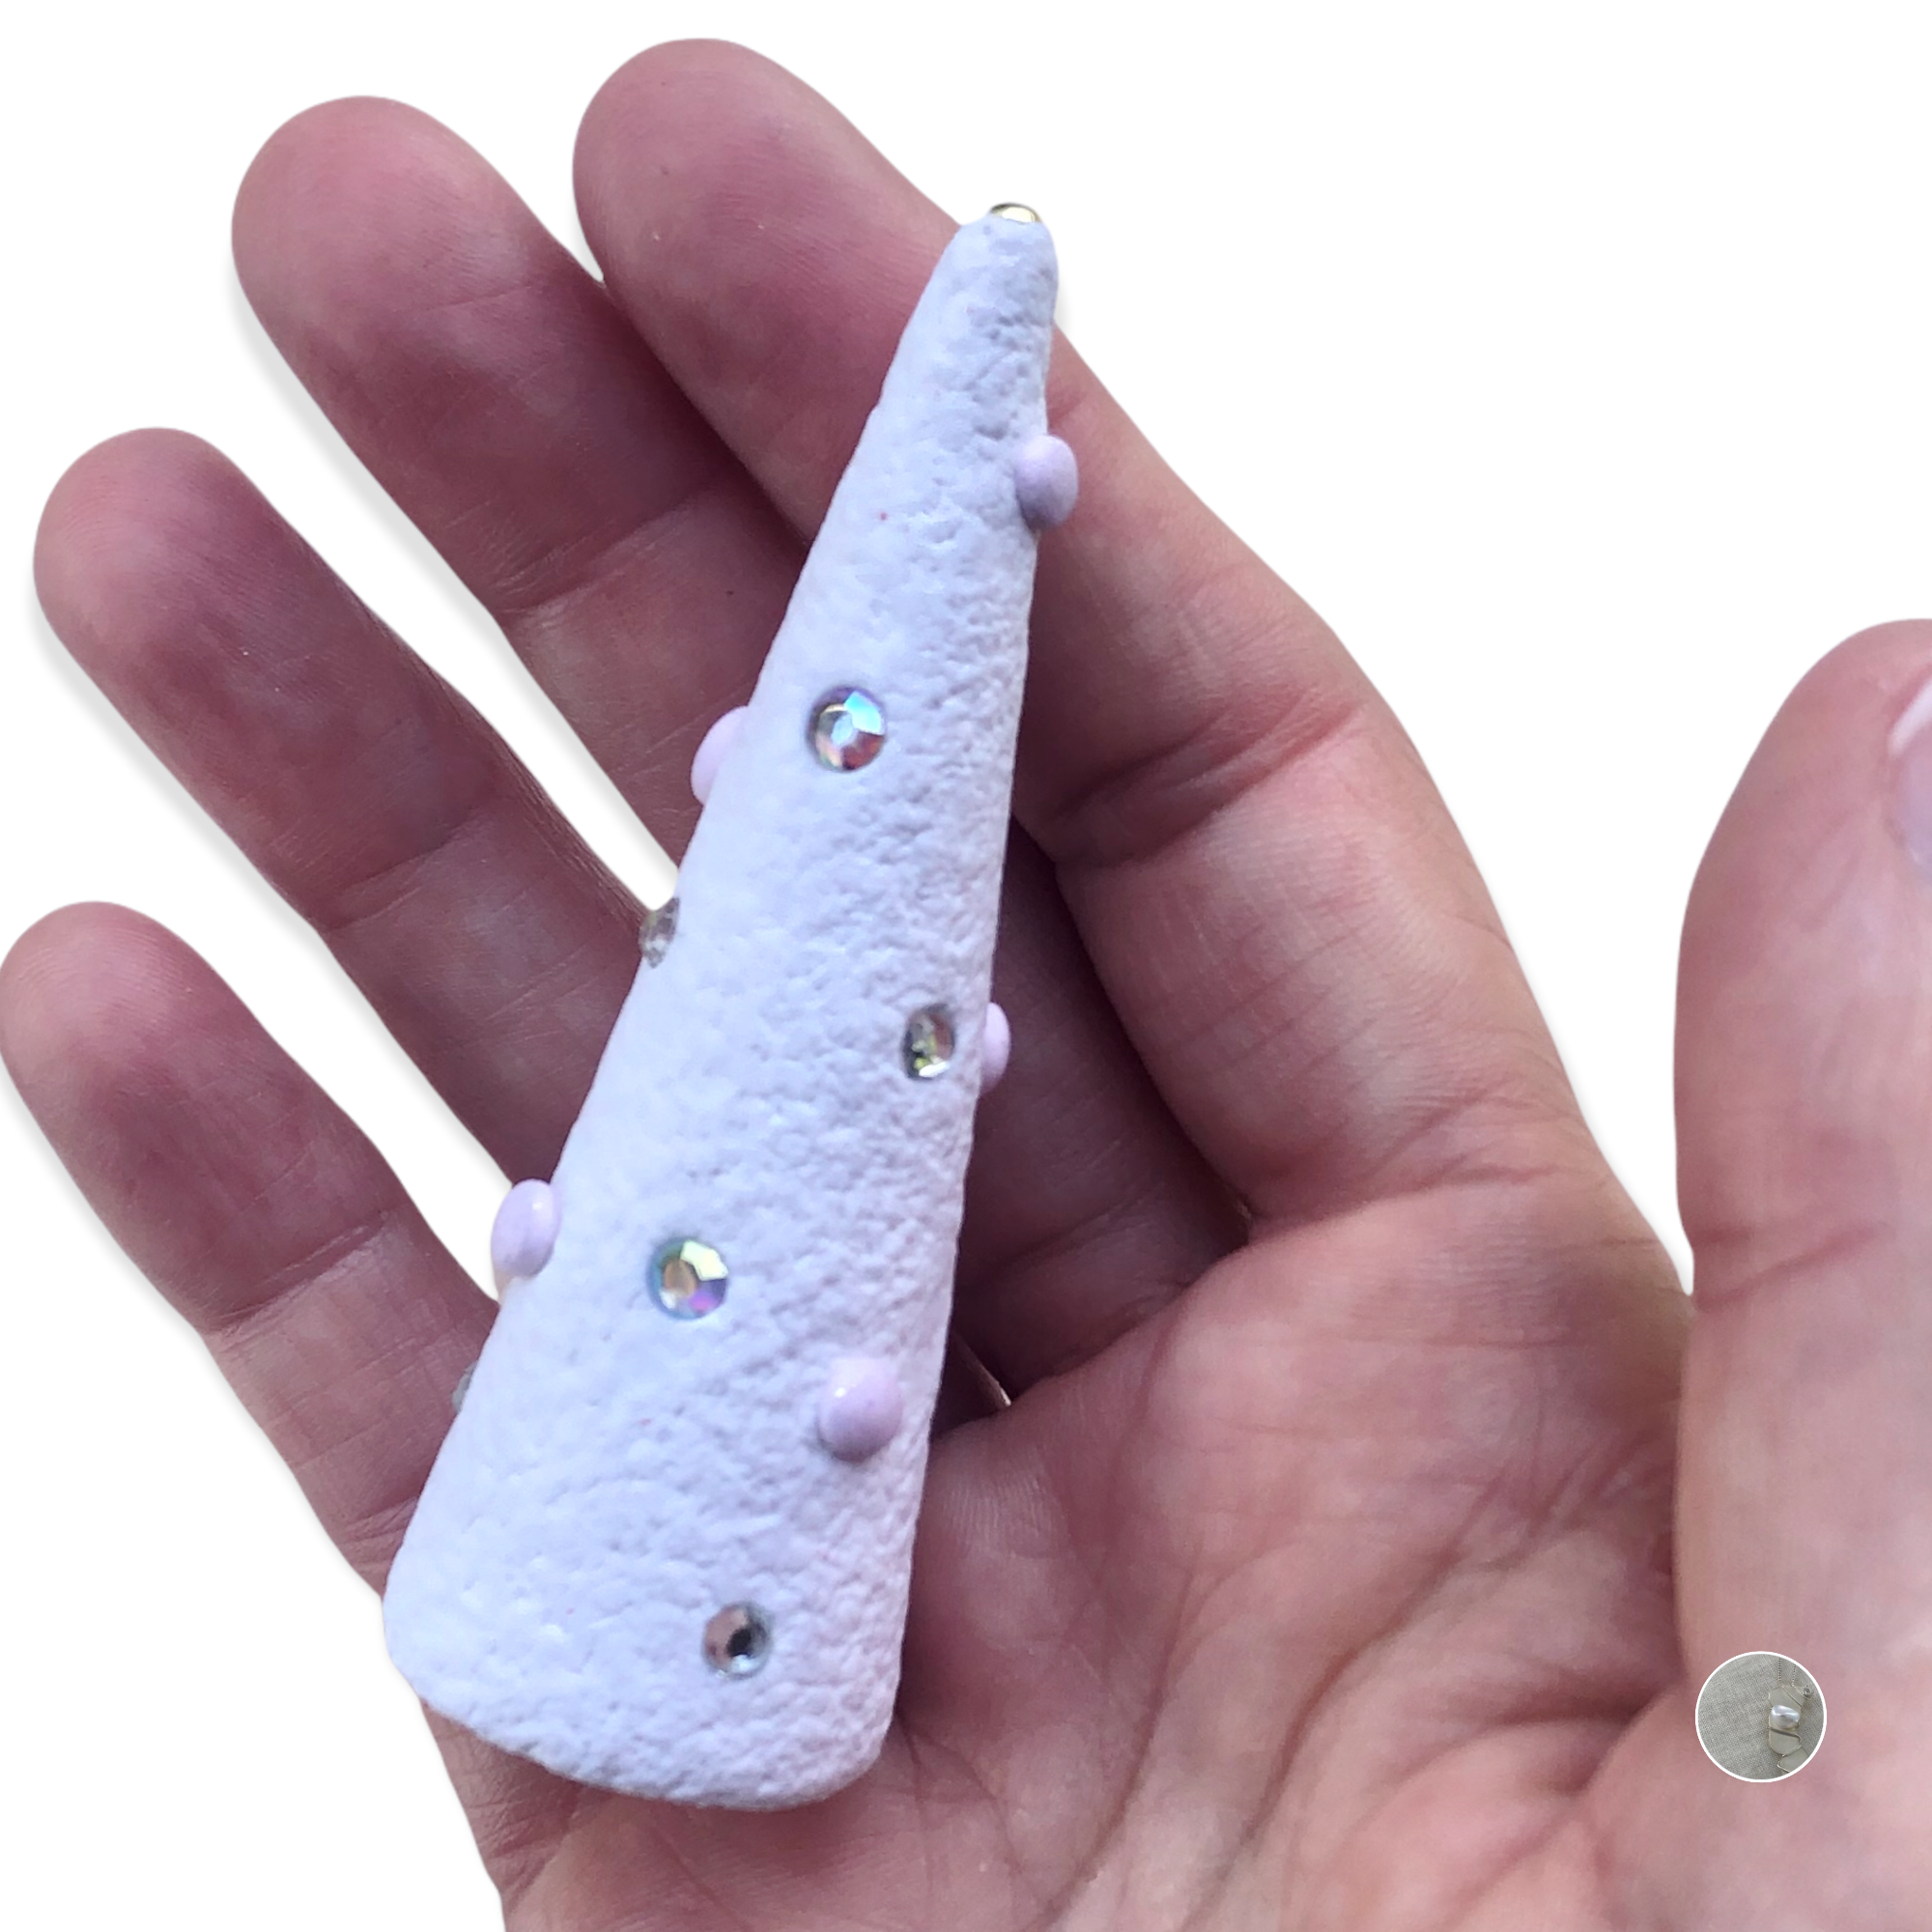
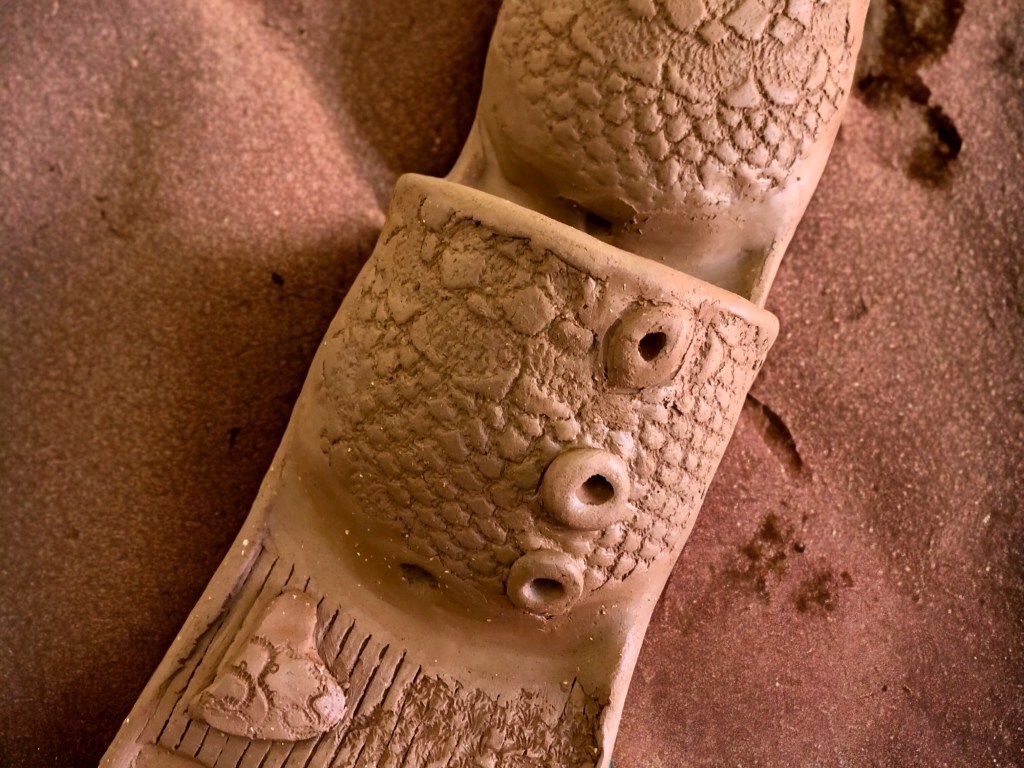
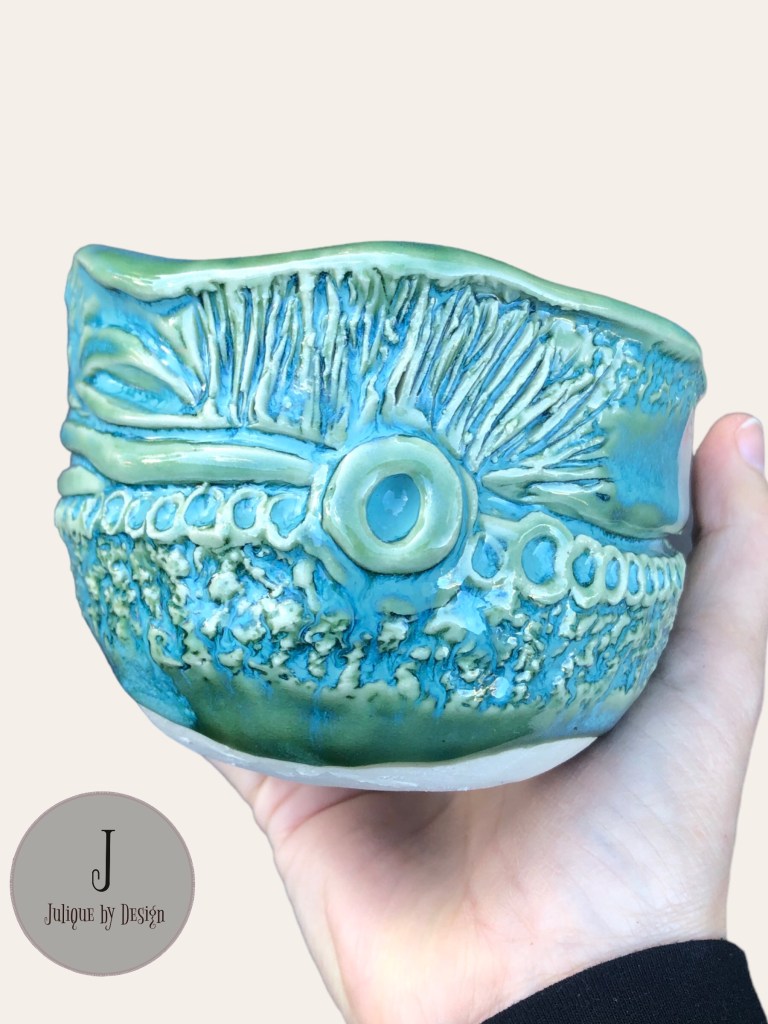
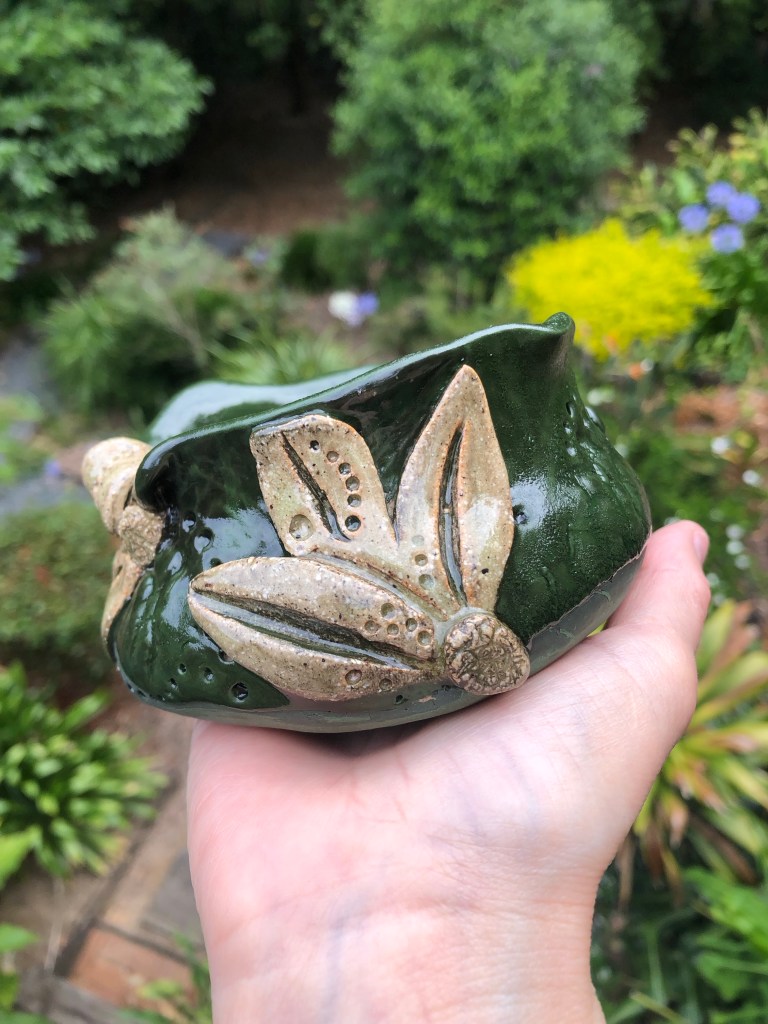
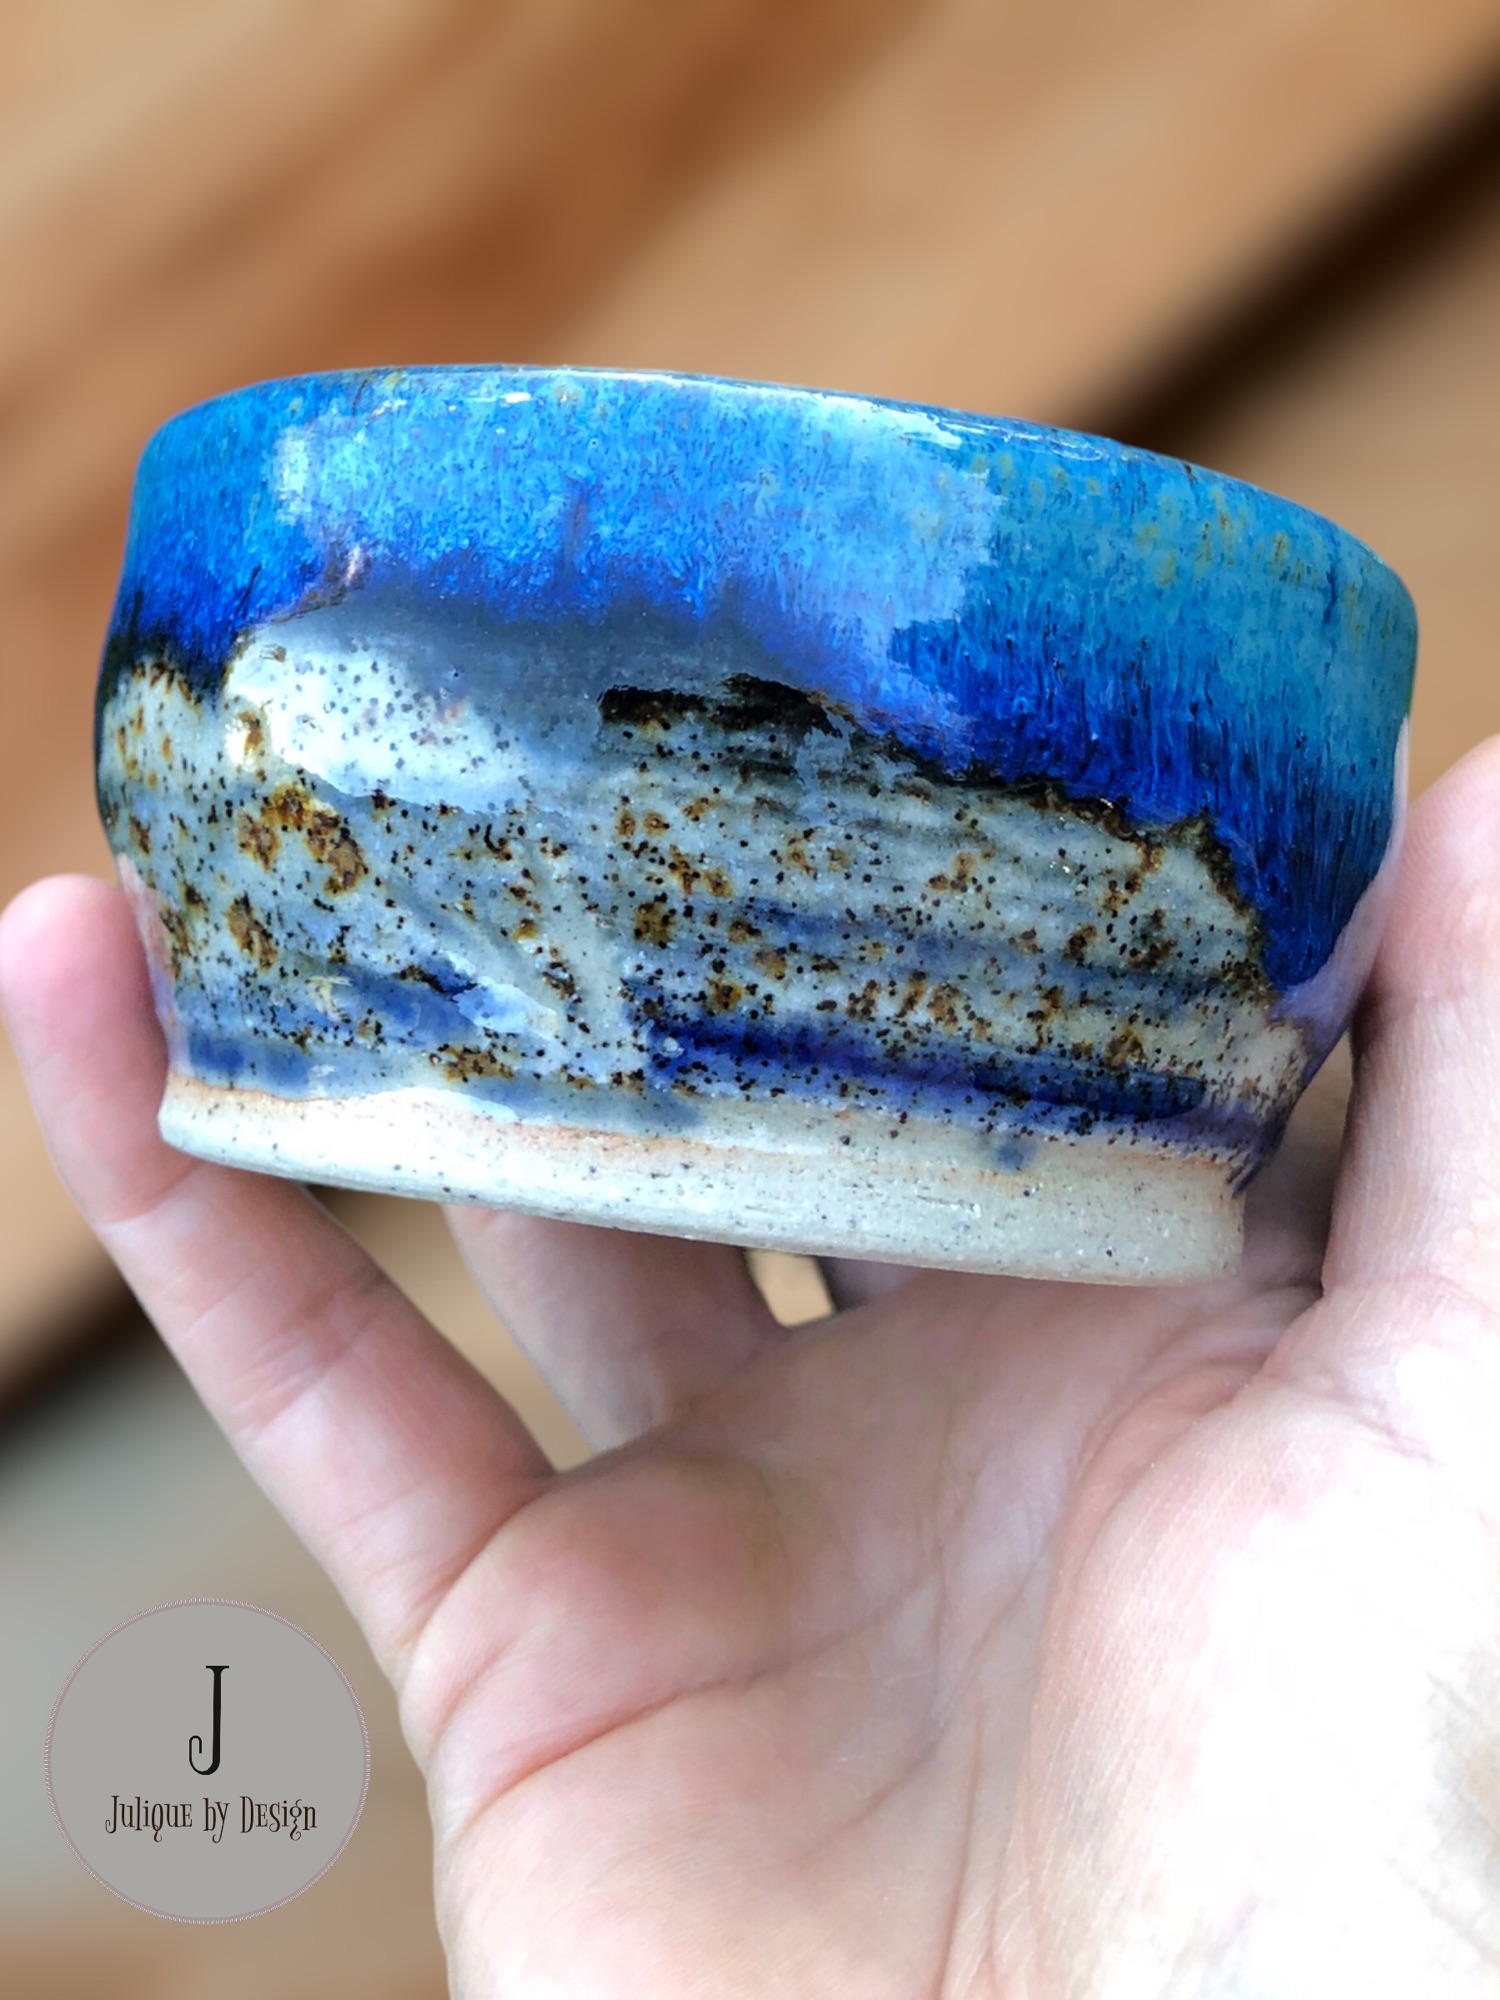
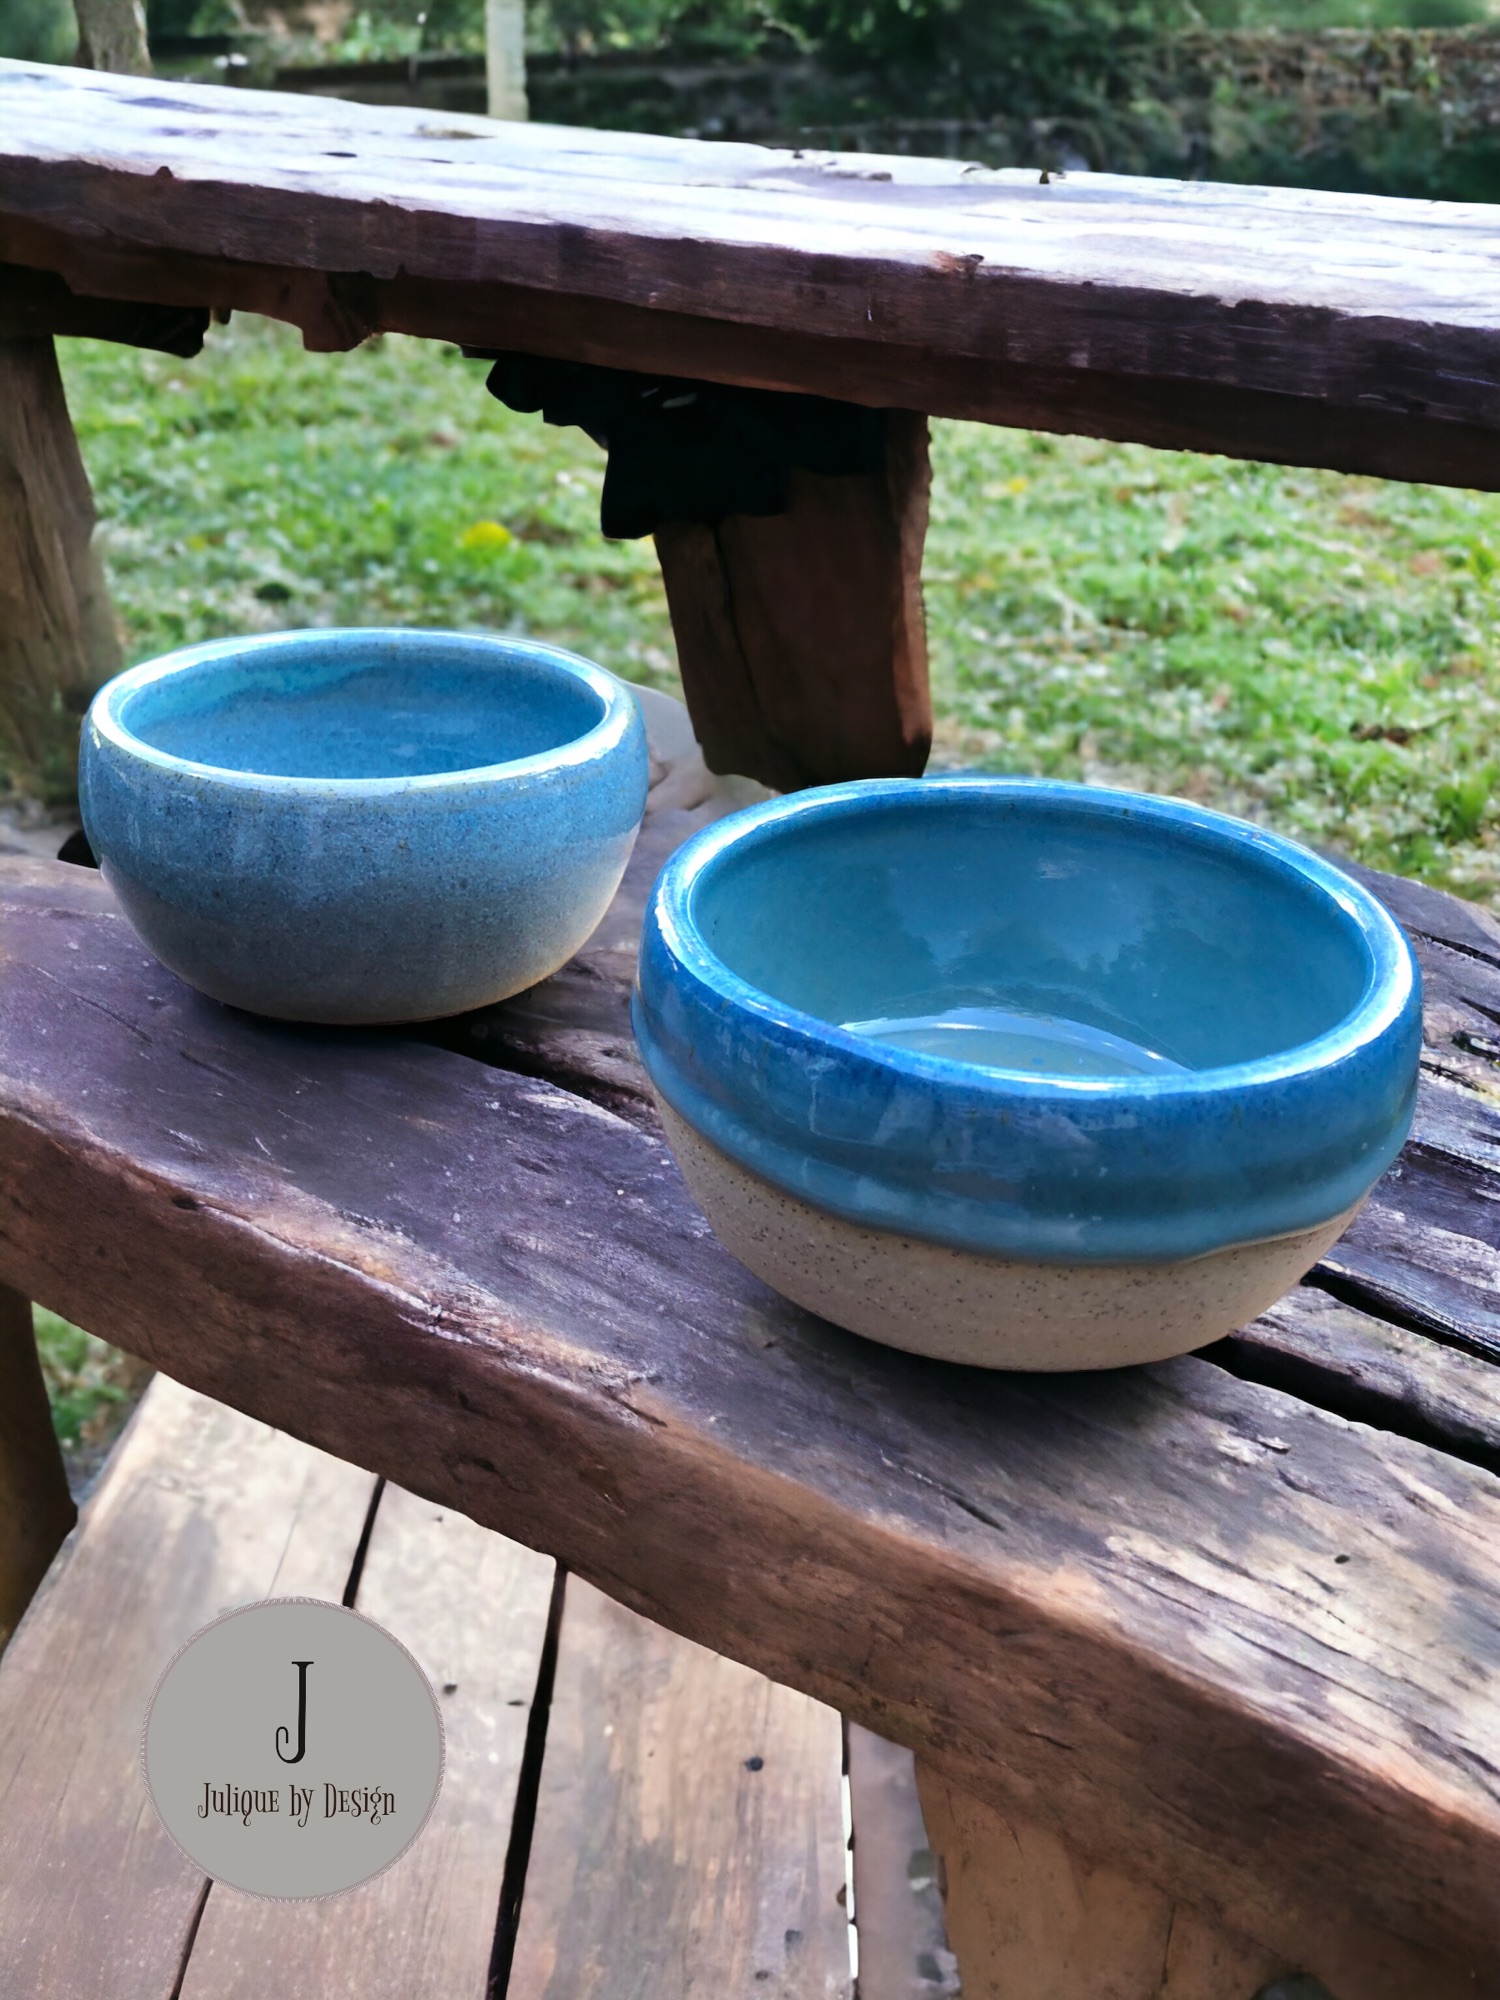
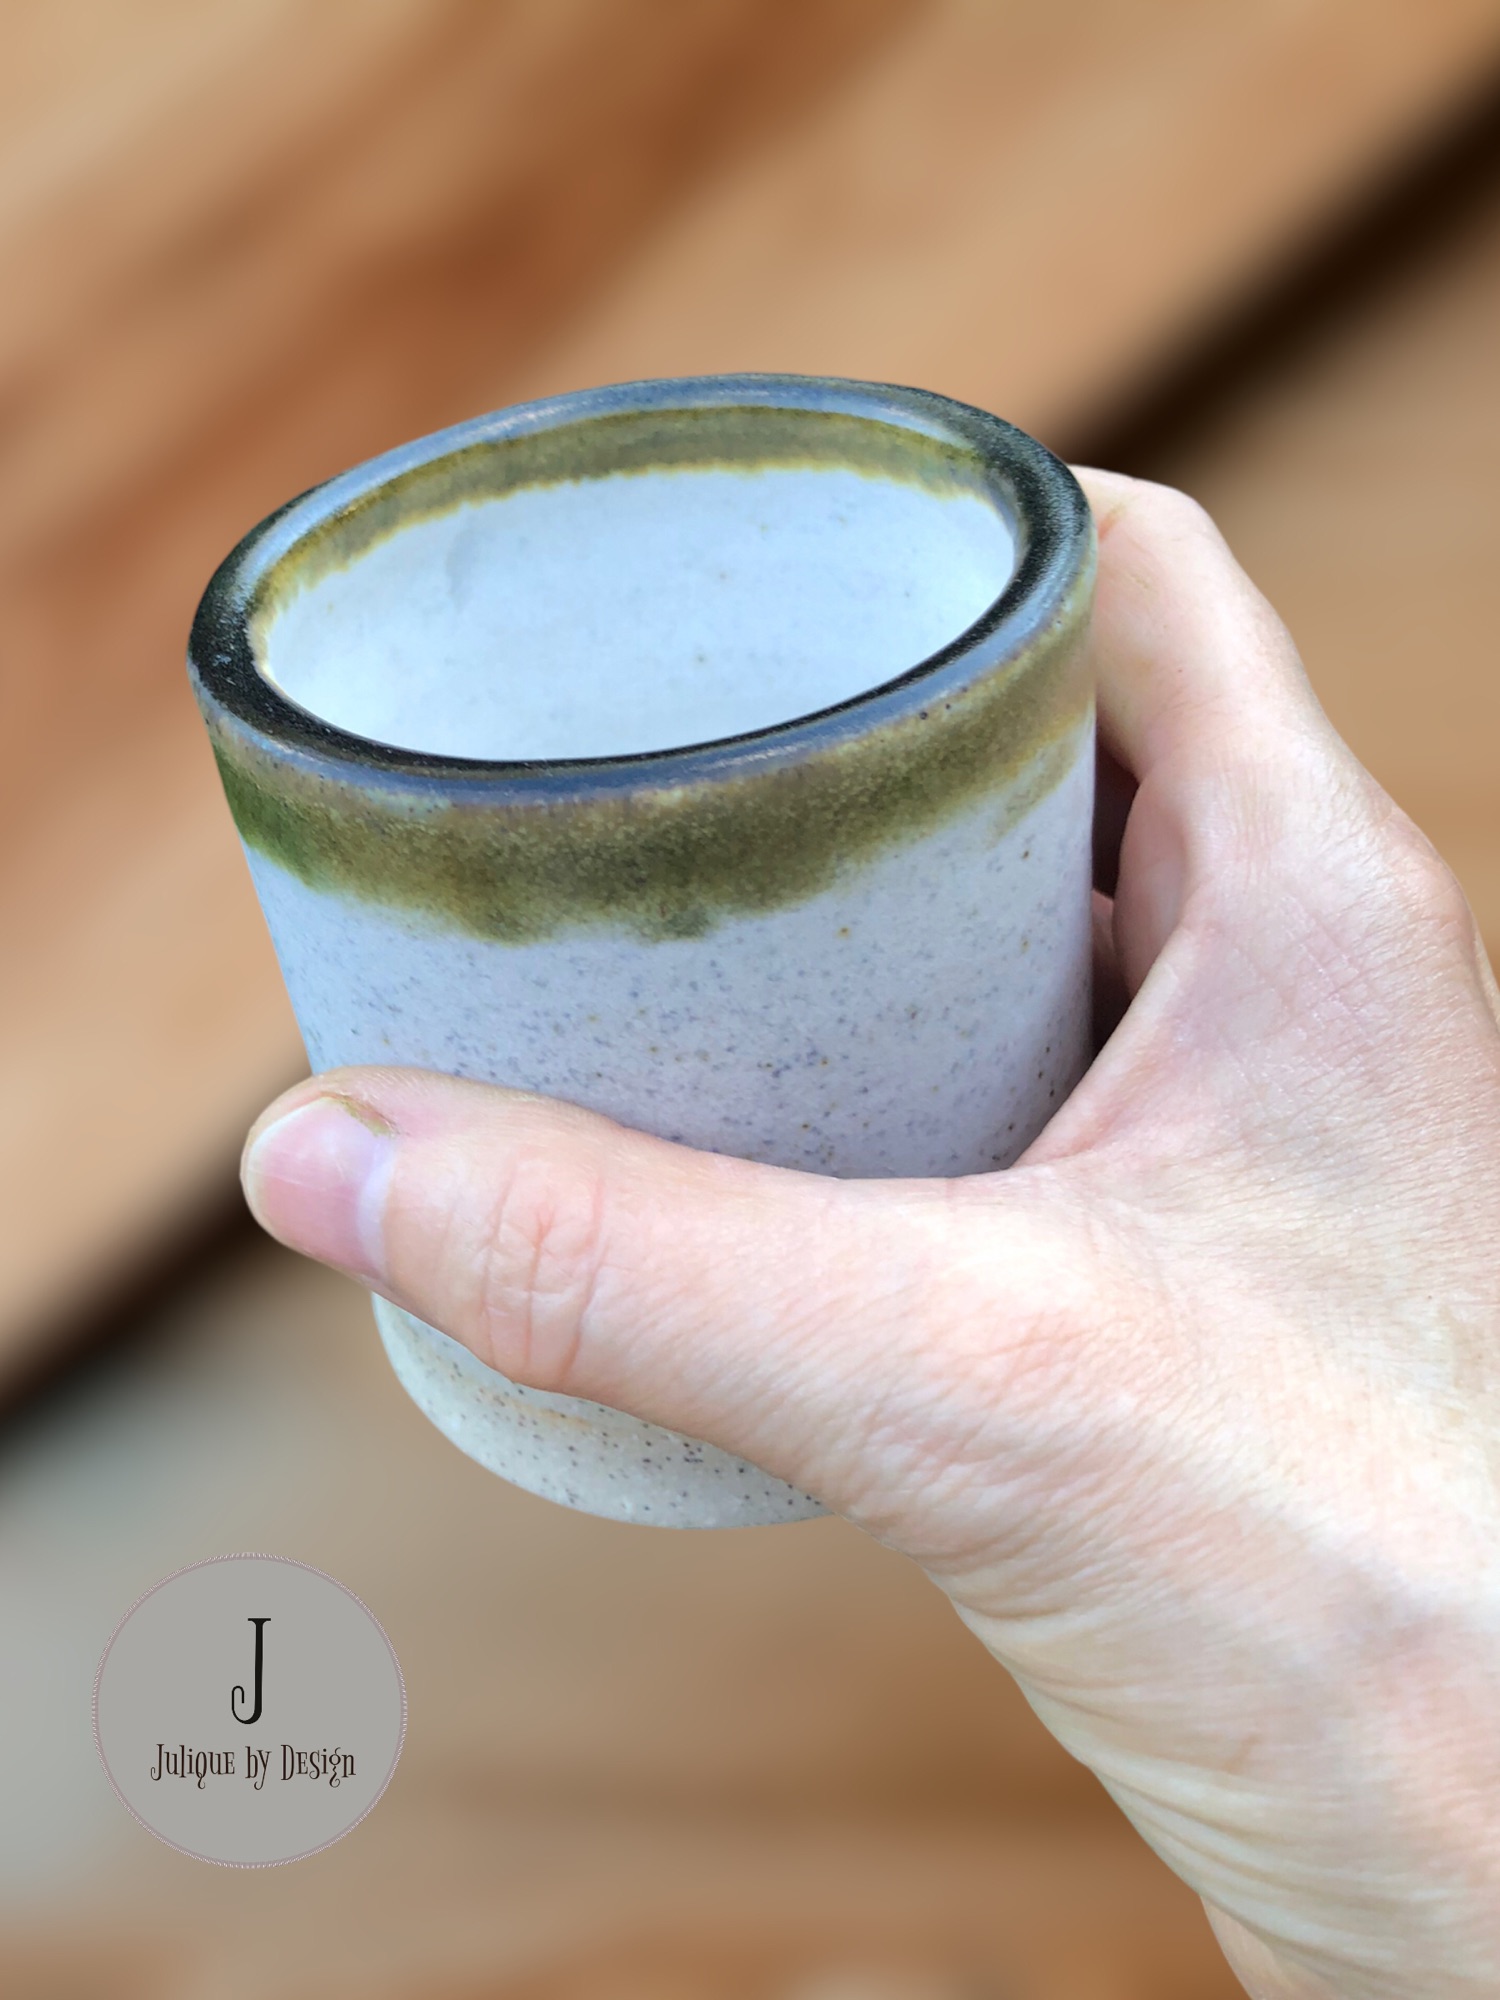
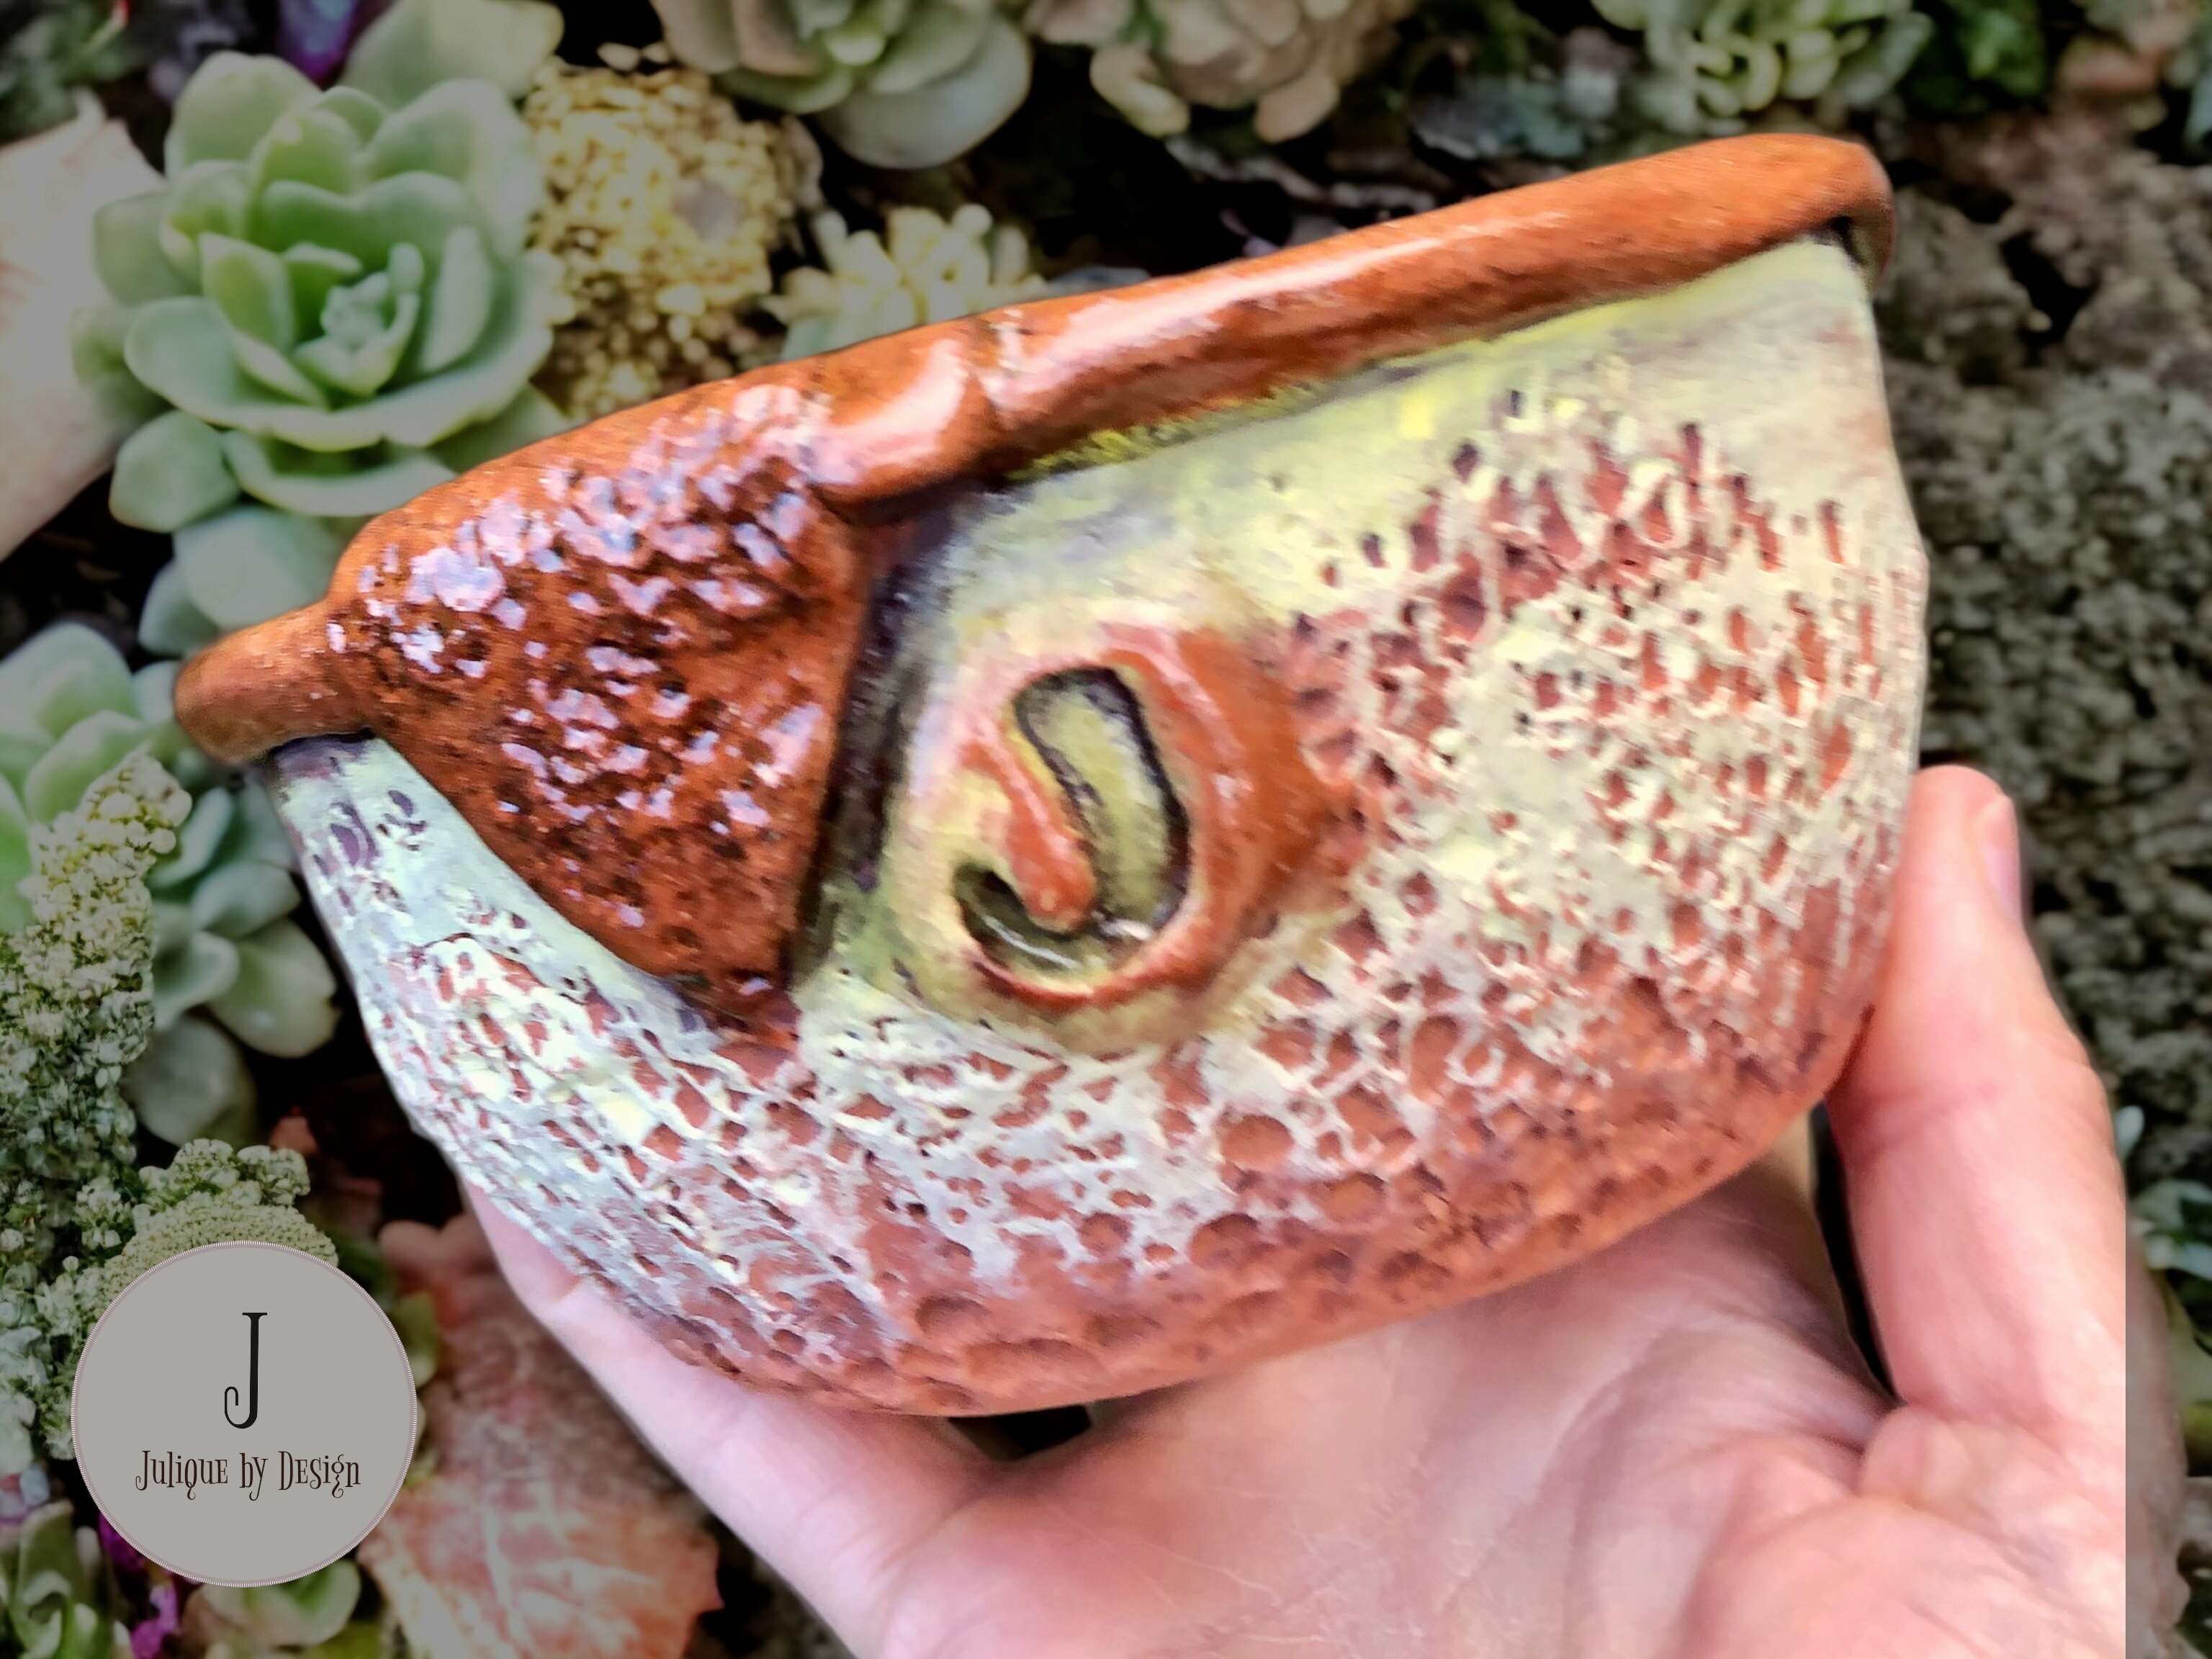
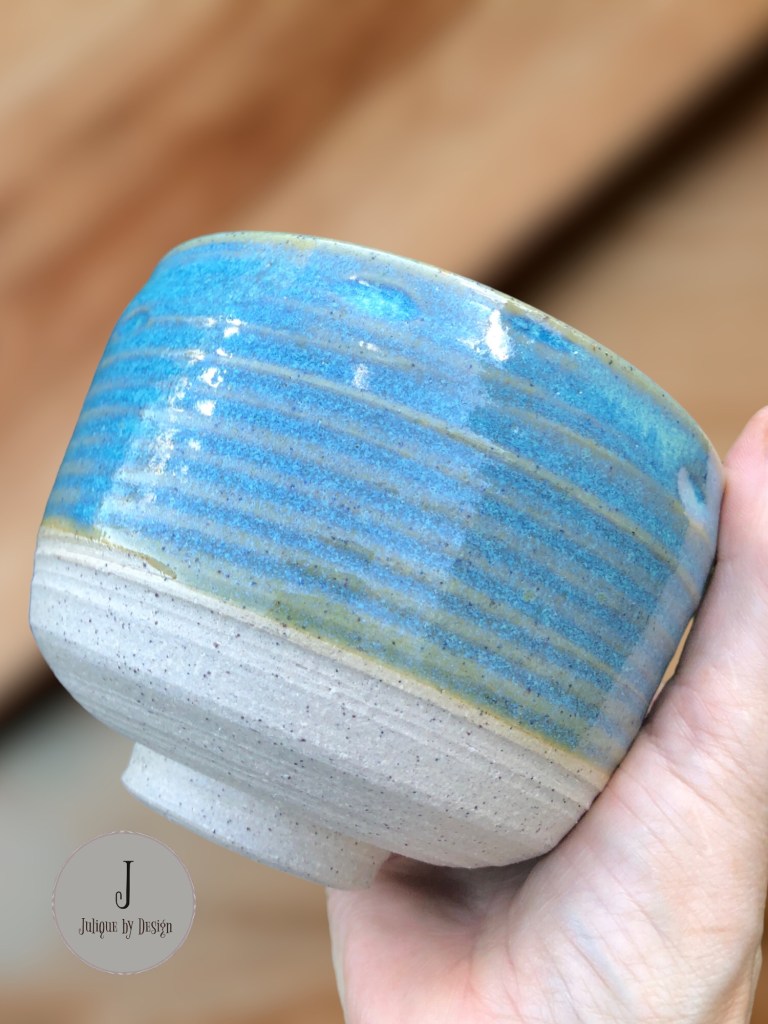
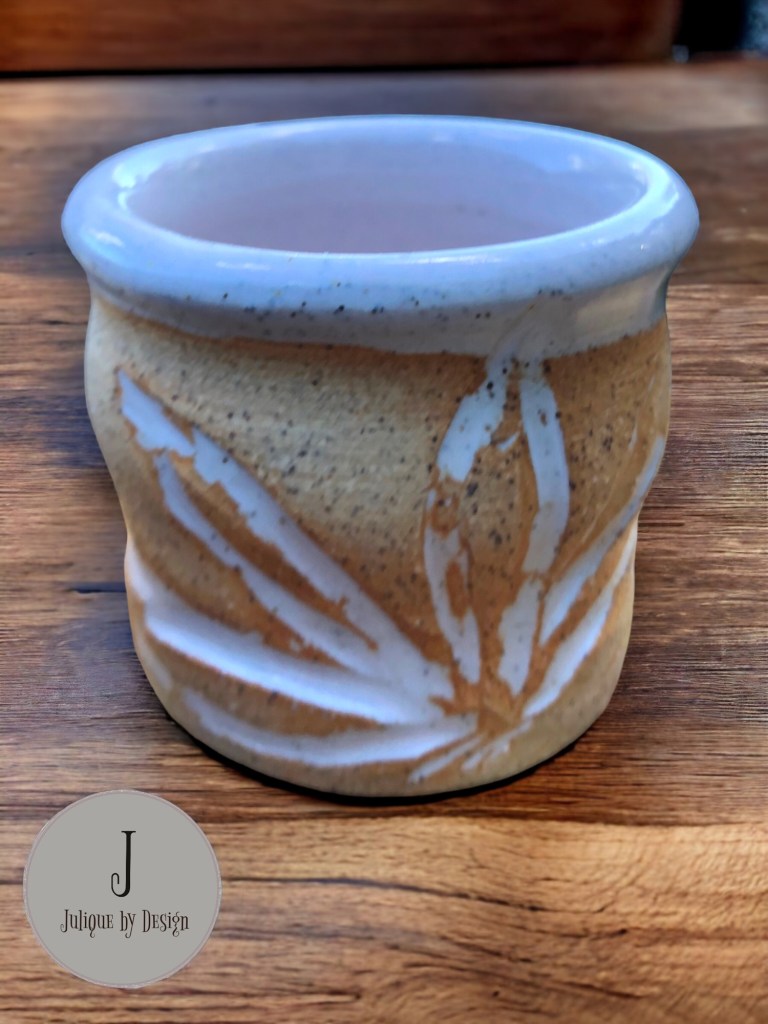
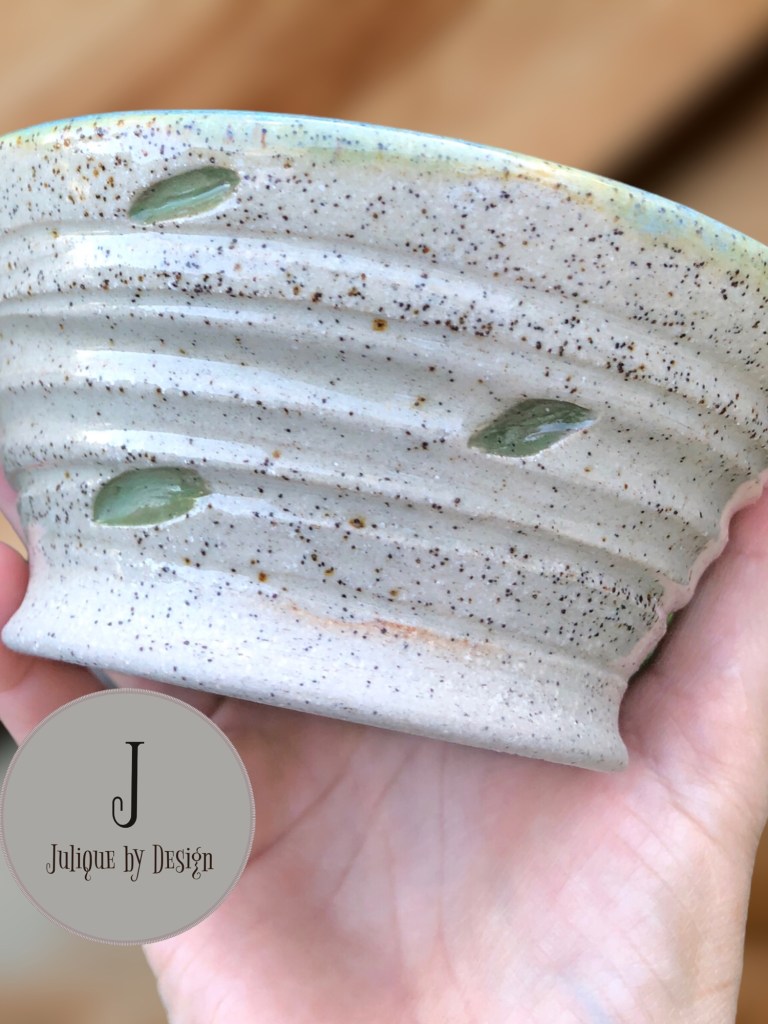
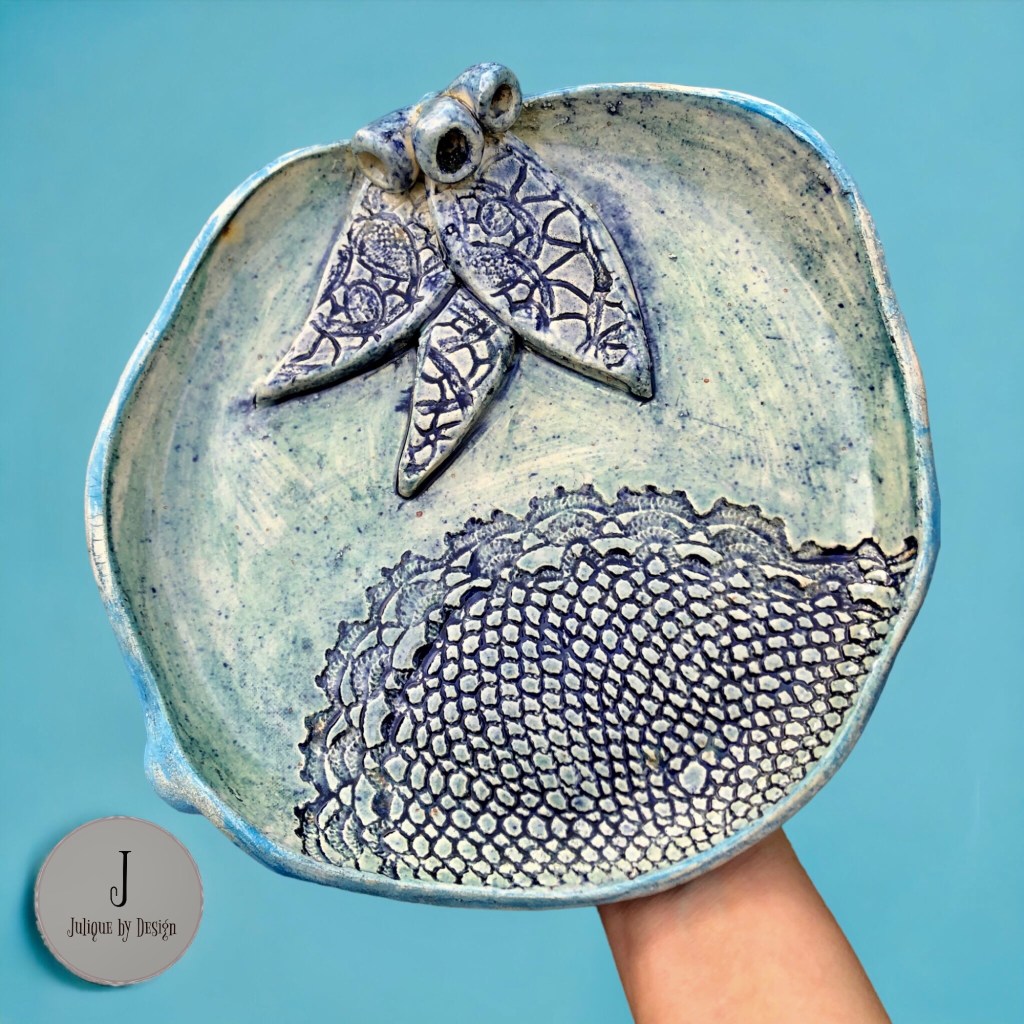
These images are a sample of pieces created using clay that has been hand formed and fired.

Some of the techniques used include:

– forming methods – pinch, slab, coil, kurinuki

– surface treatments – impressions, application of washes, oxides, sgraffito, under glazes and glazes

My gallery page will be updated with my latest work (and can be found of my socials pages).

Follow me on social media @juliquebydesign using the links below or subscribe to my blog or YouTube Channel.

Facebook

Instagram

YouTube Channel

Homewares and Crafts · Jewellery

Wine inspired brooches

The original brooch in purple

I was asked to make a few more wine inspired brooches. The brooches are a stylised bottle and a wine glass.

In my original design, I created a base design of a bottle on its side with a wine glass charm and embellished the design with wire curls. The wire curls are for attaching pens, openers and glasses. It has been β€˜road tested’ and held up successfully under stress.

I love the way the wine glass charm turned out. It was made using twisted aluminium wire that was shaped and hammered.

The Blue Set

Each item has been embellished with a charm and the surface design is dotty. The hooks are made from copper as it is a stronger gauge than the wire used on my first design.

Brooch with hook for glasses or attachment such as a waiter’s friend
Reverse side: brooch pin decorated and stamped
Wine charm
jewellery · Jewellery

Designing Clasps and Bails

I love to add feature elements to my work. Some pieces just call for that special touch to make it unique – the one-of-a-kind statement.

I plan these elements after considering the hang of a piece, the type of material (sterling silver, aluminum wire, copper or polymer clay) that fits with the design and the budget of the piece.

Sometimes the connector just appears from the medium and I have to wait for just the right piece to come along to suit. This curly whirly is exactly that type of connector waiting for its new home on just the right piece of jewellery.

Curly whirly connector made using polymer clay and highlighted with texture and white dots

Polymer clay elements – examples of some connectors and bails

Wire clasps and bails

Uncategorized

Creating a Unique Name Badge from Polymer Clay

I wanted to design a name badge for work that is attractive as well as functional.

Form + Function

I love a rustic look so needed it to look attractive but a ‘little rough’ on purpose. The role is not in a corporate setting and I wanted to reflect this in its fun style.

I needed to be able to attach a pen, penknife, and a place to put my glasses. This is the end result.

Process

  1. Designed the letters using an extruder (snakes) and shaped the letters into something with a little character (not perfectly shaped)
  2. Added a textured backing for the letters – baked in the oven
  3. Cleaned the result and added the next layer – baked in the oven
  4. Hammered aluminim wire into a shape that the ‘hooks’ would suit their different purposes
  5. In the final layer, I added a bought badge pin and textured the back – baked in the oven
  6. Metallic wax and pan pastels were applied to highlight and contrast the lettering
Homewares and Crafts

Garden Ornaments and Herb Markers

Home improvement has seen a resurgence due to Covid with people working from home, spending time at home and not traveling like they used too.

We have been doing some improvements as well. I love working on our garden and have been looking at personalising our space. This led to designing some polymer garden art.

Herb markers

These garden ornaments were inspired by @goinsideandclay.

Adding the whiskers

jewellery · Jewellery

Working with Copper

I love the warmth of copper and the look of hammered and shaped metal. I am also fascinated by the effects and colours resulting from the application of patina on metals.

I have recently been going through my bead and stone stash with the aim to create new pieces using what I already have. This was one of my aims from the #100DaysProject2022. The 100 days project 2022 has concluded for me but I have continued to see if I can apply this concept to my work.

See two examples of some recent work.

The100dayproject2021

100 Day Project 2022

Welcome to my #The100DayProject2022 journey.

I think that having a project like the #The100DayProject assists with making a practice become a habit.

My #The100DayProject2022 is less restrictive that last year’s as I (surprise surprise) was trying to fit too much into it!

My goal is to complete my half completed creative projects and utilise the materials that I have previously purchased.

Some of these materials were purchased for specific pieces in mind and others with the aim to learn to use or experiment with.

I plan to reflect on progress and results in a weekly blog.

So ultimately, this year will have a zero cost output but will have the bonus result of #decluttering, #refining and #learning in my daily practice.

My #socialmedia posts may show #WIP, #reflection or completed results. Some may simply be doodles or inspirational posts.

Homewares and Crafts

Functional Art

Aim: To minimise waste materials and create a functional piece of art

My Tree of Light

It began as a way to use leftover grout from a session of grouting mosaic pieces and completing a refresh of the grout in the bathroom.

A Work in Progress

Step 1 – Put the left over grout in a mould (in this case a yoghurt container)

Step 2 – Add some interestingly shaped sticks and wait until set

Step 3 – Paint the sticks (the colours of a gum tree)

Step 4 – Add cord to the base and paint using a complementary colour scheme

Step 5 – Make the leaves and attach to the β€˜tree’

Step 6 – Add metallic wax to blend the leaves and add some shimmer to the piece

Reflect and Consider….

While I am not β€˜in love’ with the piece yet, I am definitely warming to it. I am thinking that I need a few more elements to balance and enhance the design.

Elements yet to come

Step 5 – Add the fairy lights

Step 6 – Embellish the branches with crystals (to catch the light)

Step 7 – Complete the tree base and touch up colouring and add highlights.

Final result and images in colour in my next post.

Jewellery

Wine and Grape Inspired

I love working with textures. I created a mould using the leaves from a grape vine. These made me think of creating a few fun earrings that are wine and grape inspired using this mould.

Love the dangles ❀️ πŸ‡πŸƒ and will look to find other ways to use this mould in designs.

Created using the mould and alcohol inks
Reverse side highlighted using metallic wax
Larger dangles – frosted grape bunched (stylised)
Christmas · Jewellery · Uncategorized

December – Christmas Inspired

During the month of December, I was inspired by the season to design work using the Christmas colours of red and white.

I usually don’t use white clay by itself as it is hard to keep clean and clear. I do have a dedicated pasta machine just for white clay. This definitely helps reduce cross contamination.

The images below are the result of my creating.

My favourites are the dangles with dots and spots that came to me in a dream and the pendant as it has an experimental back made using a deep texture from Helen Breil Designs.

Enjoy 😁.