Homewares and Crafts · Jewellery

Wine inspired brooches

The original brooch in purple

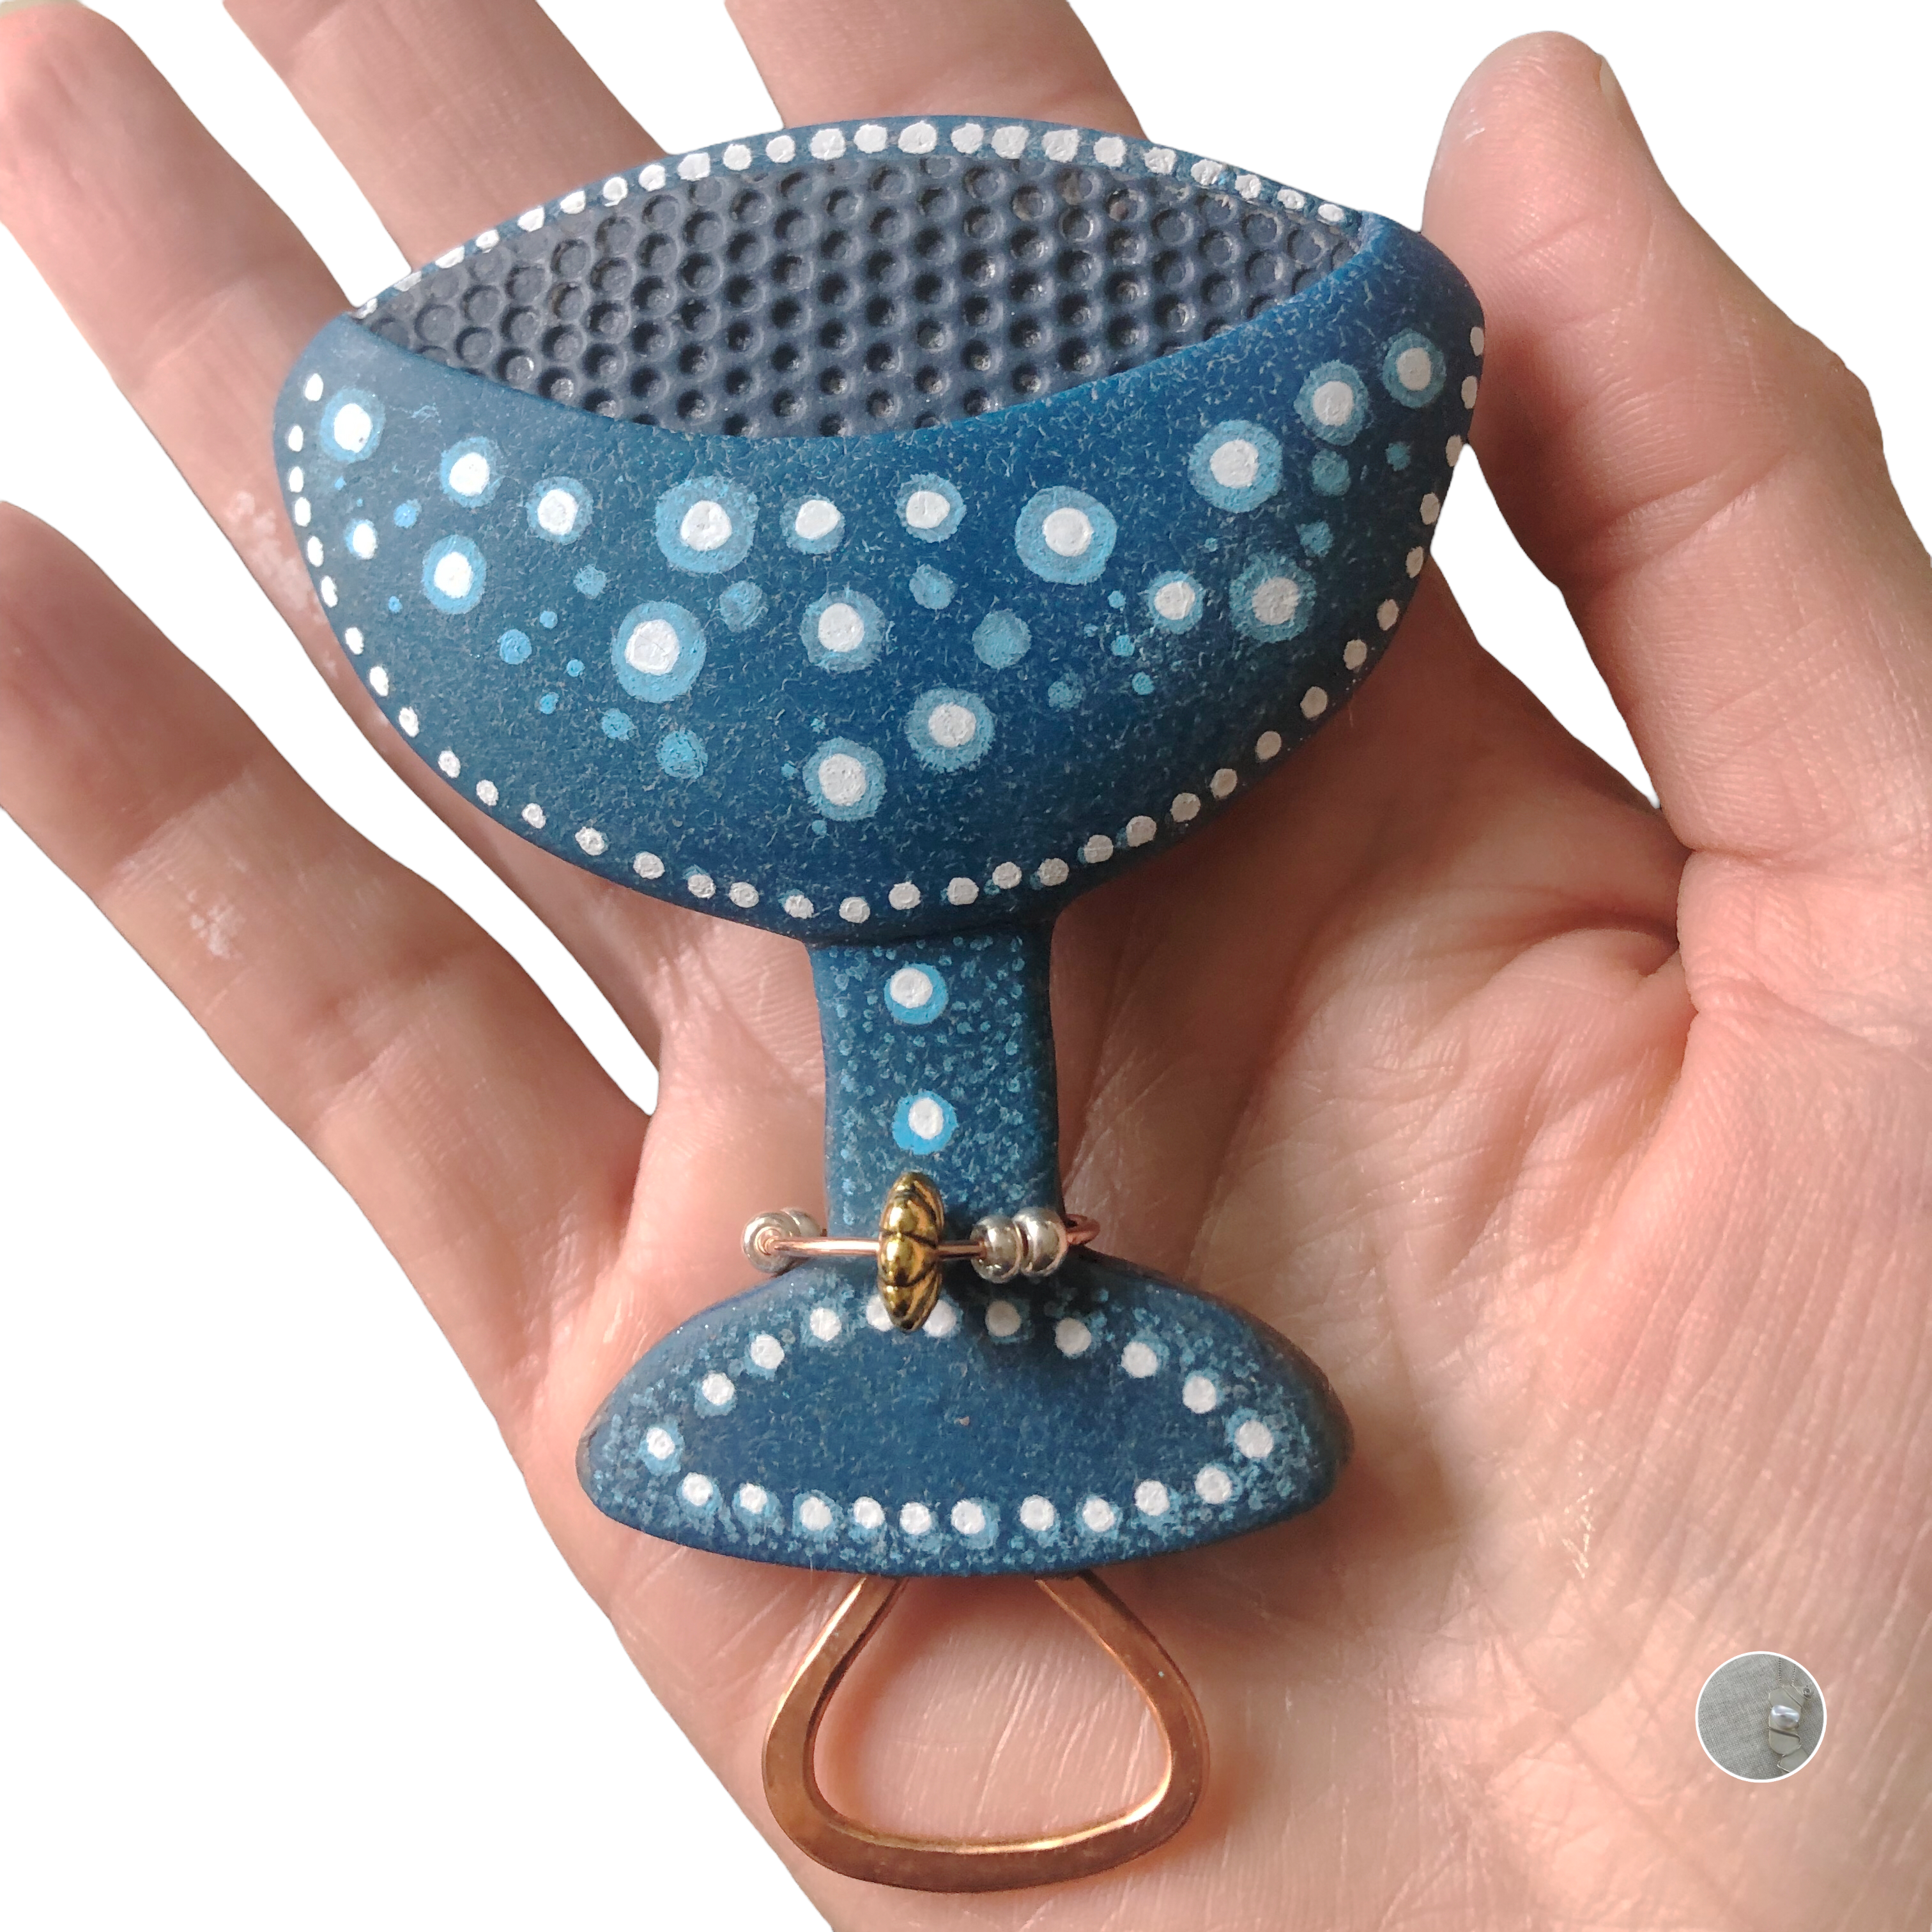
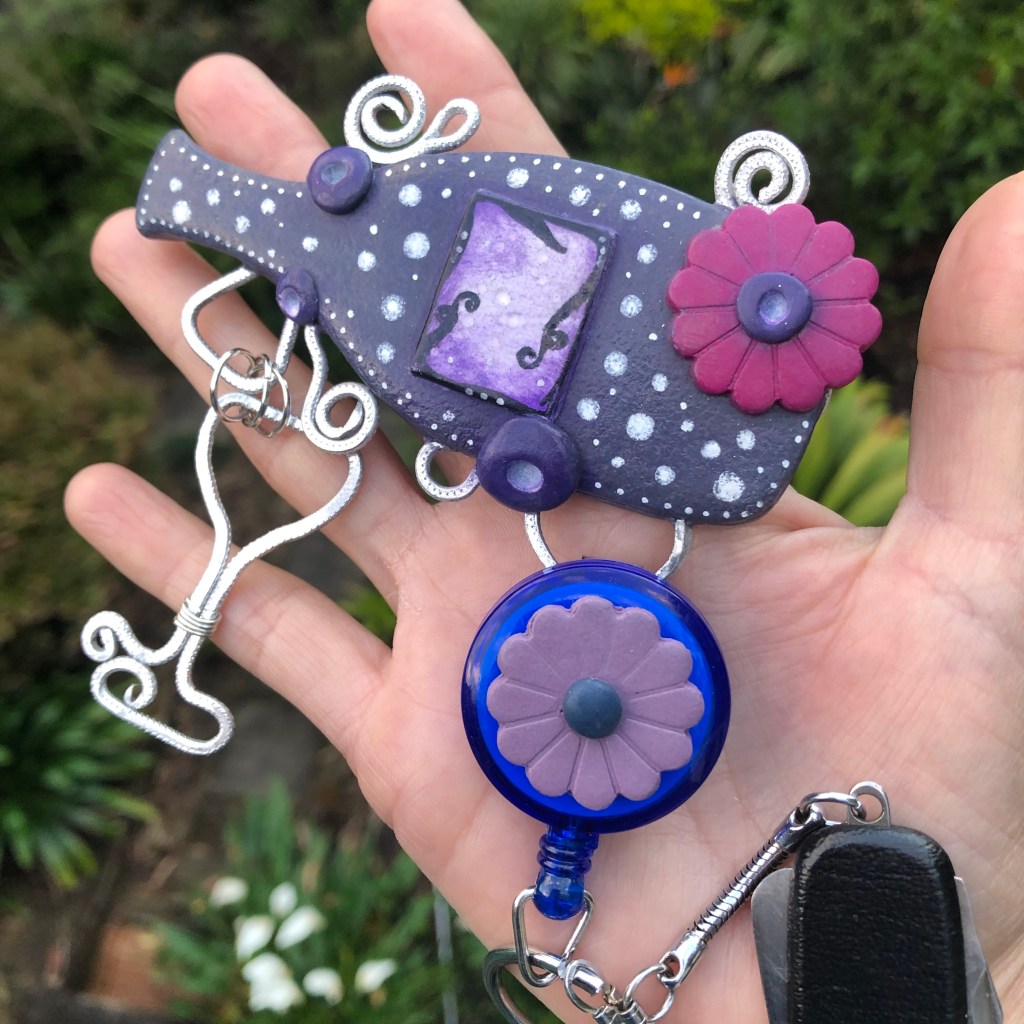
I was asked to make a few more wine inspired brooches. The brooches are a stylised bottle and a wine glass.

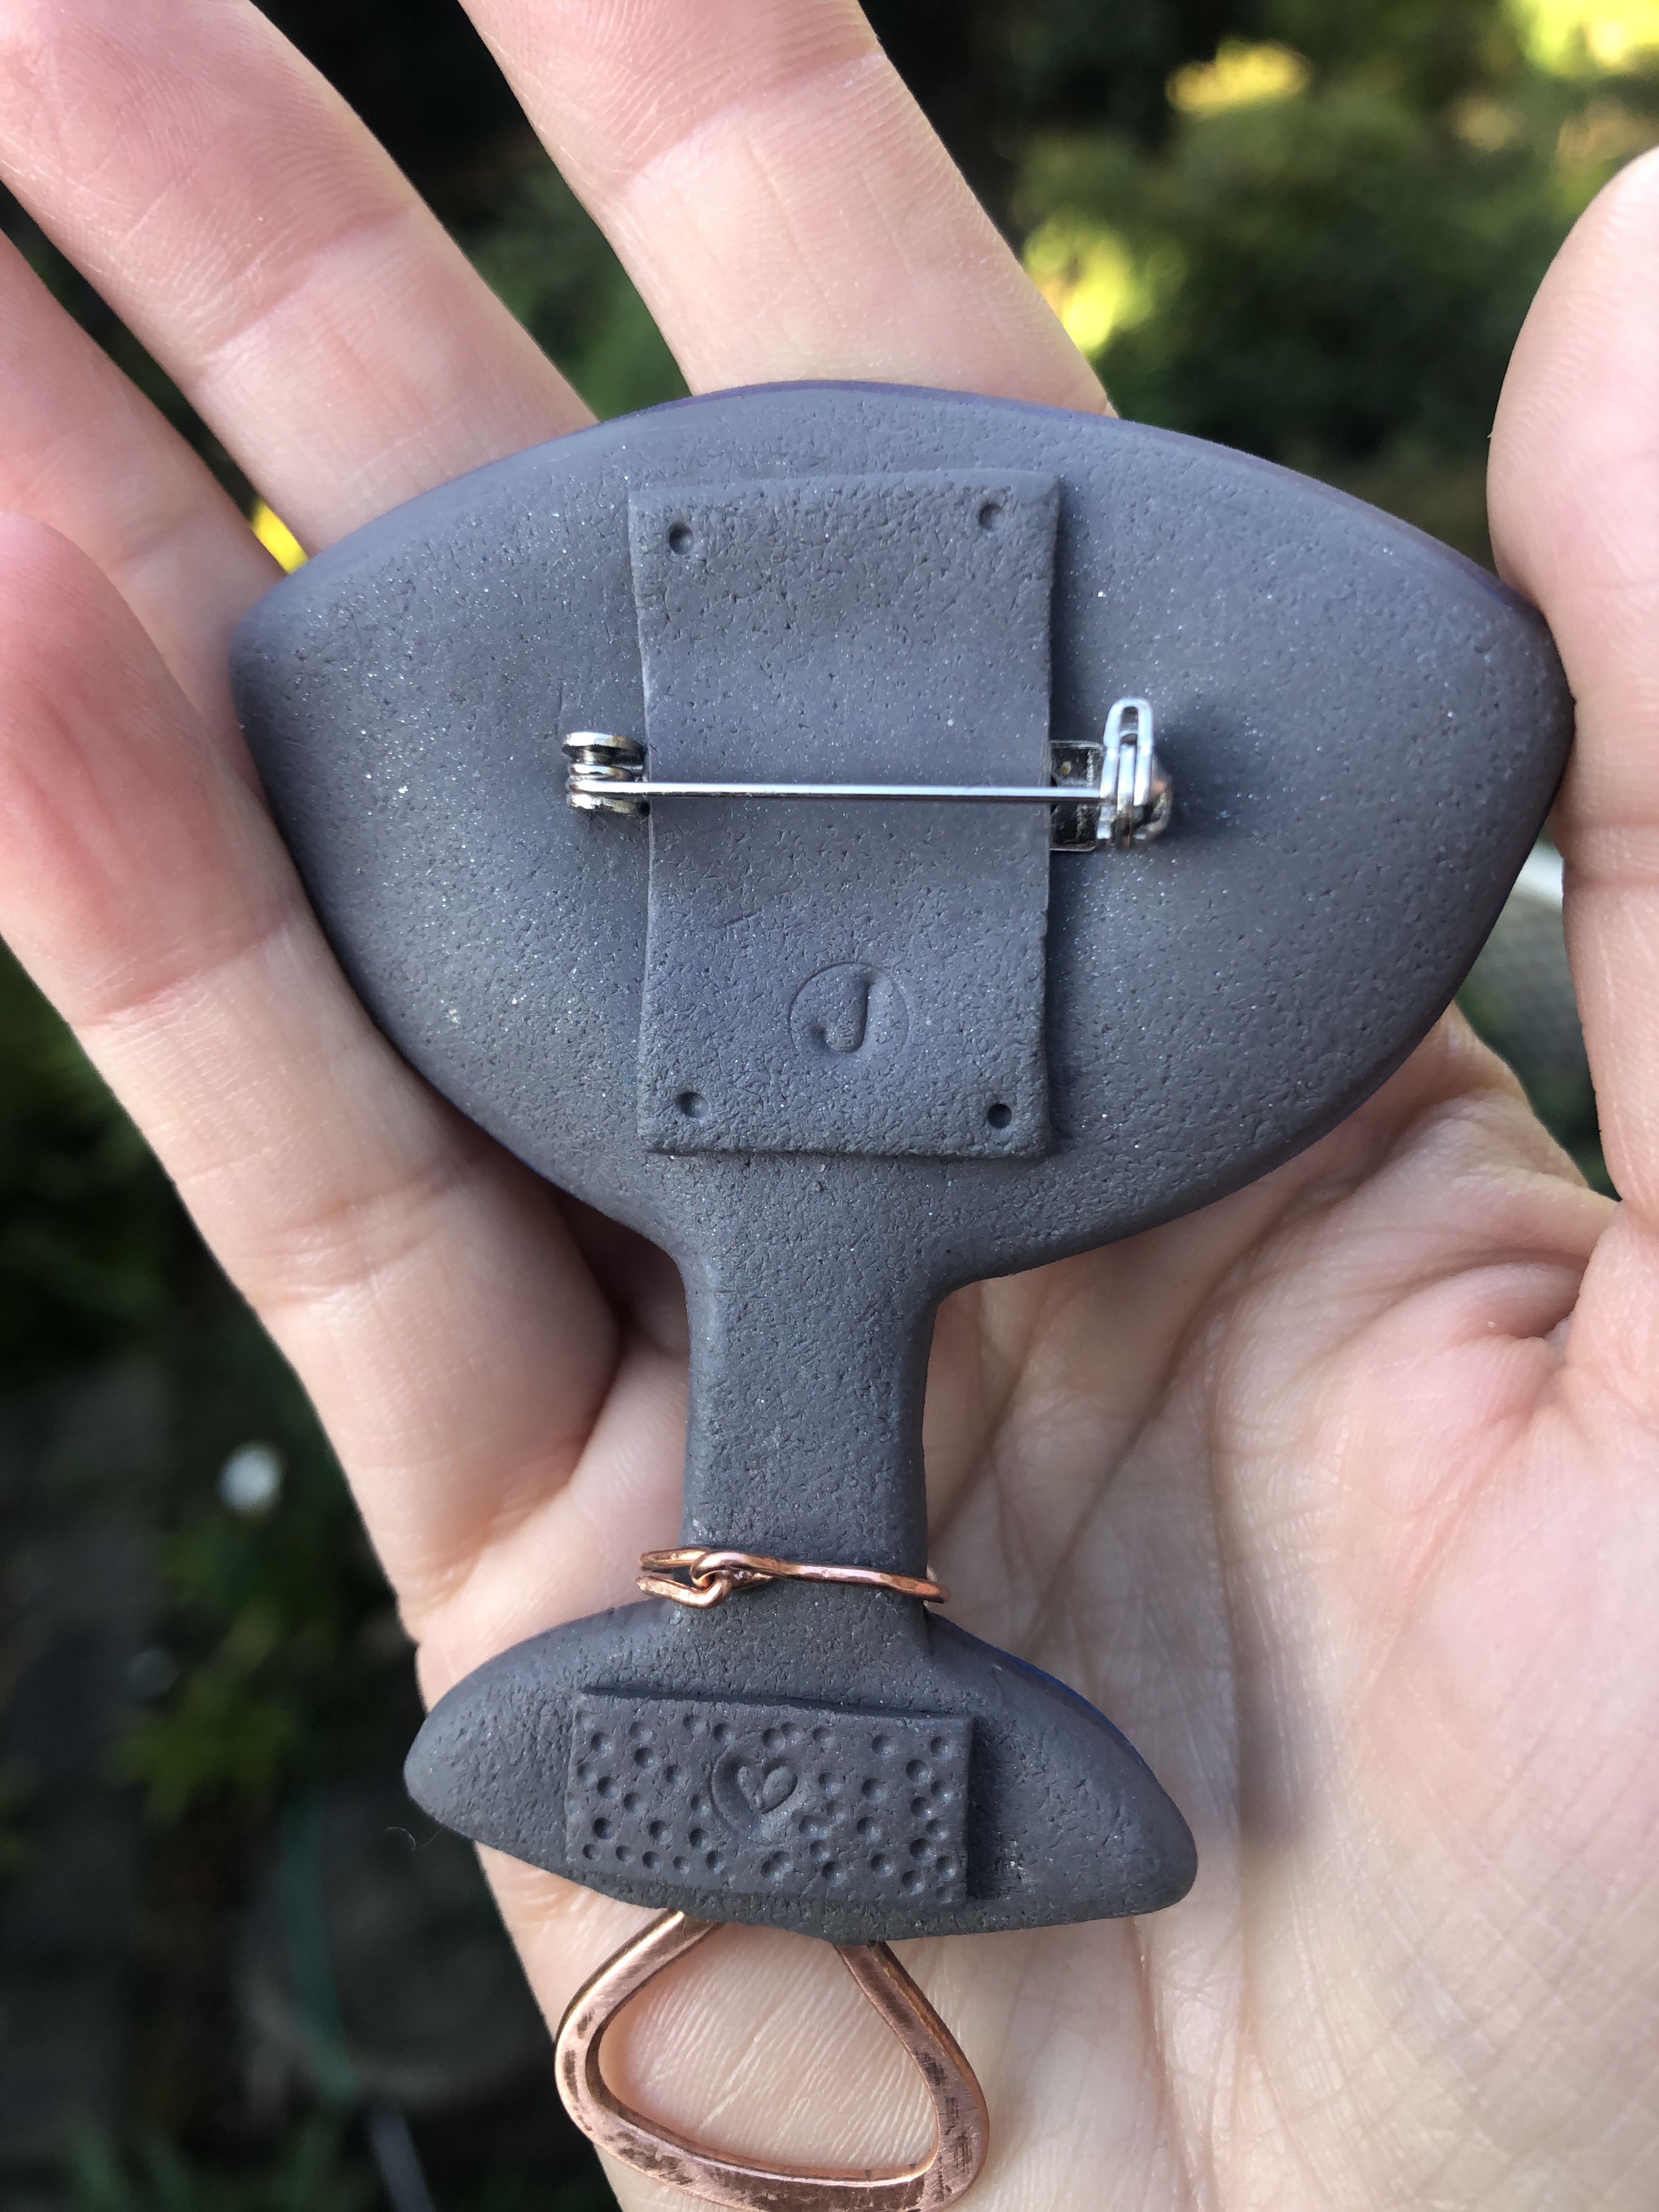
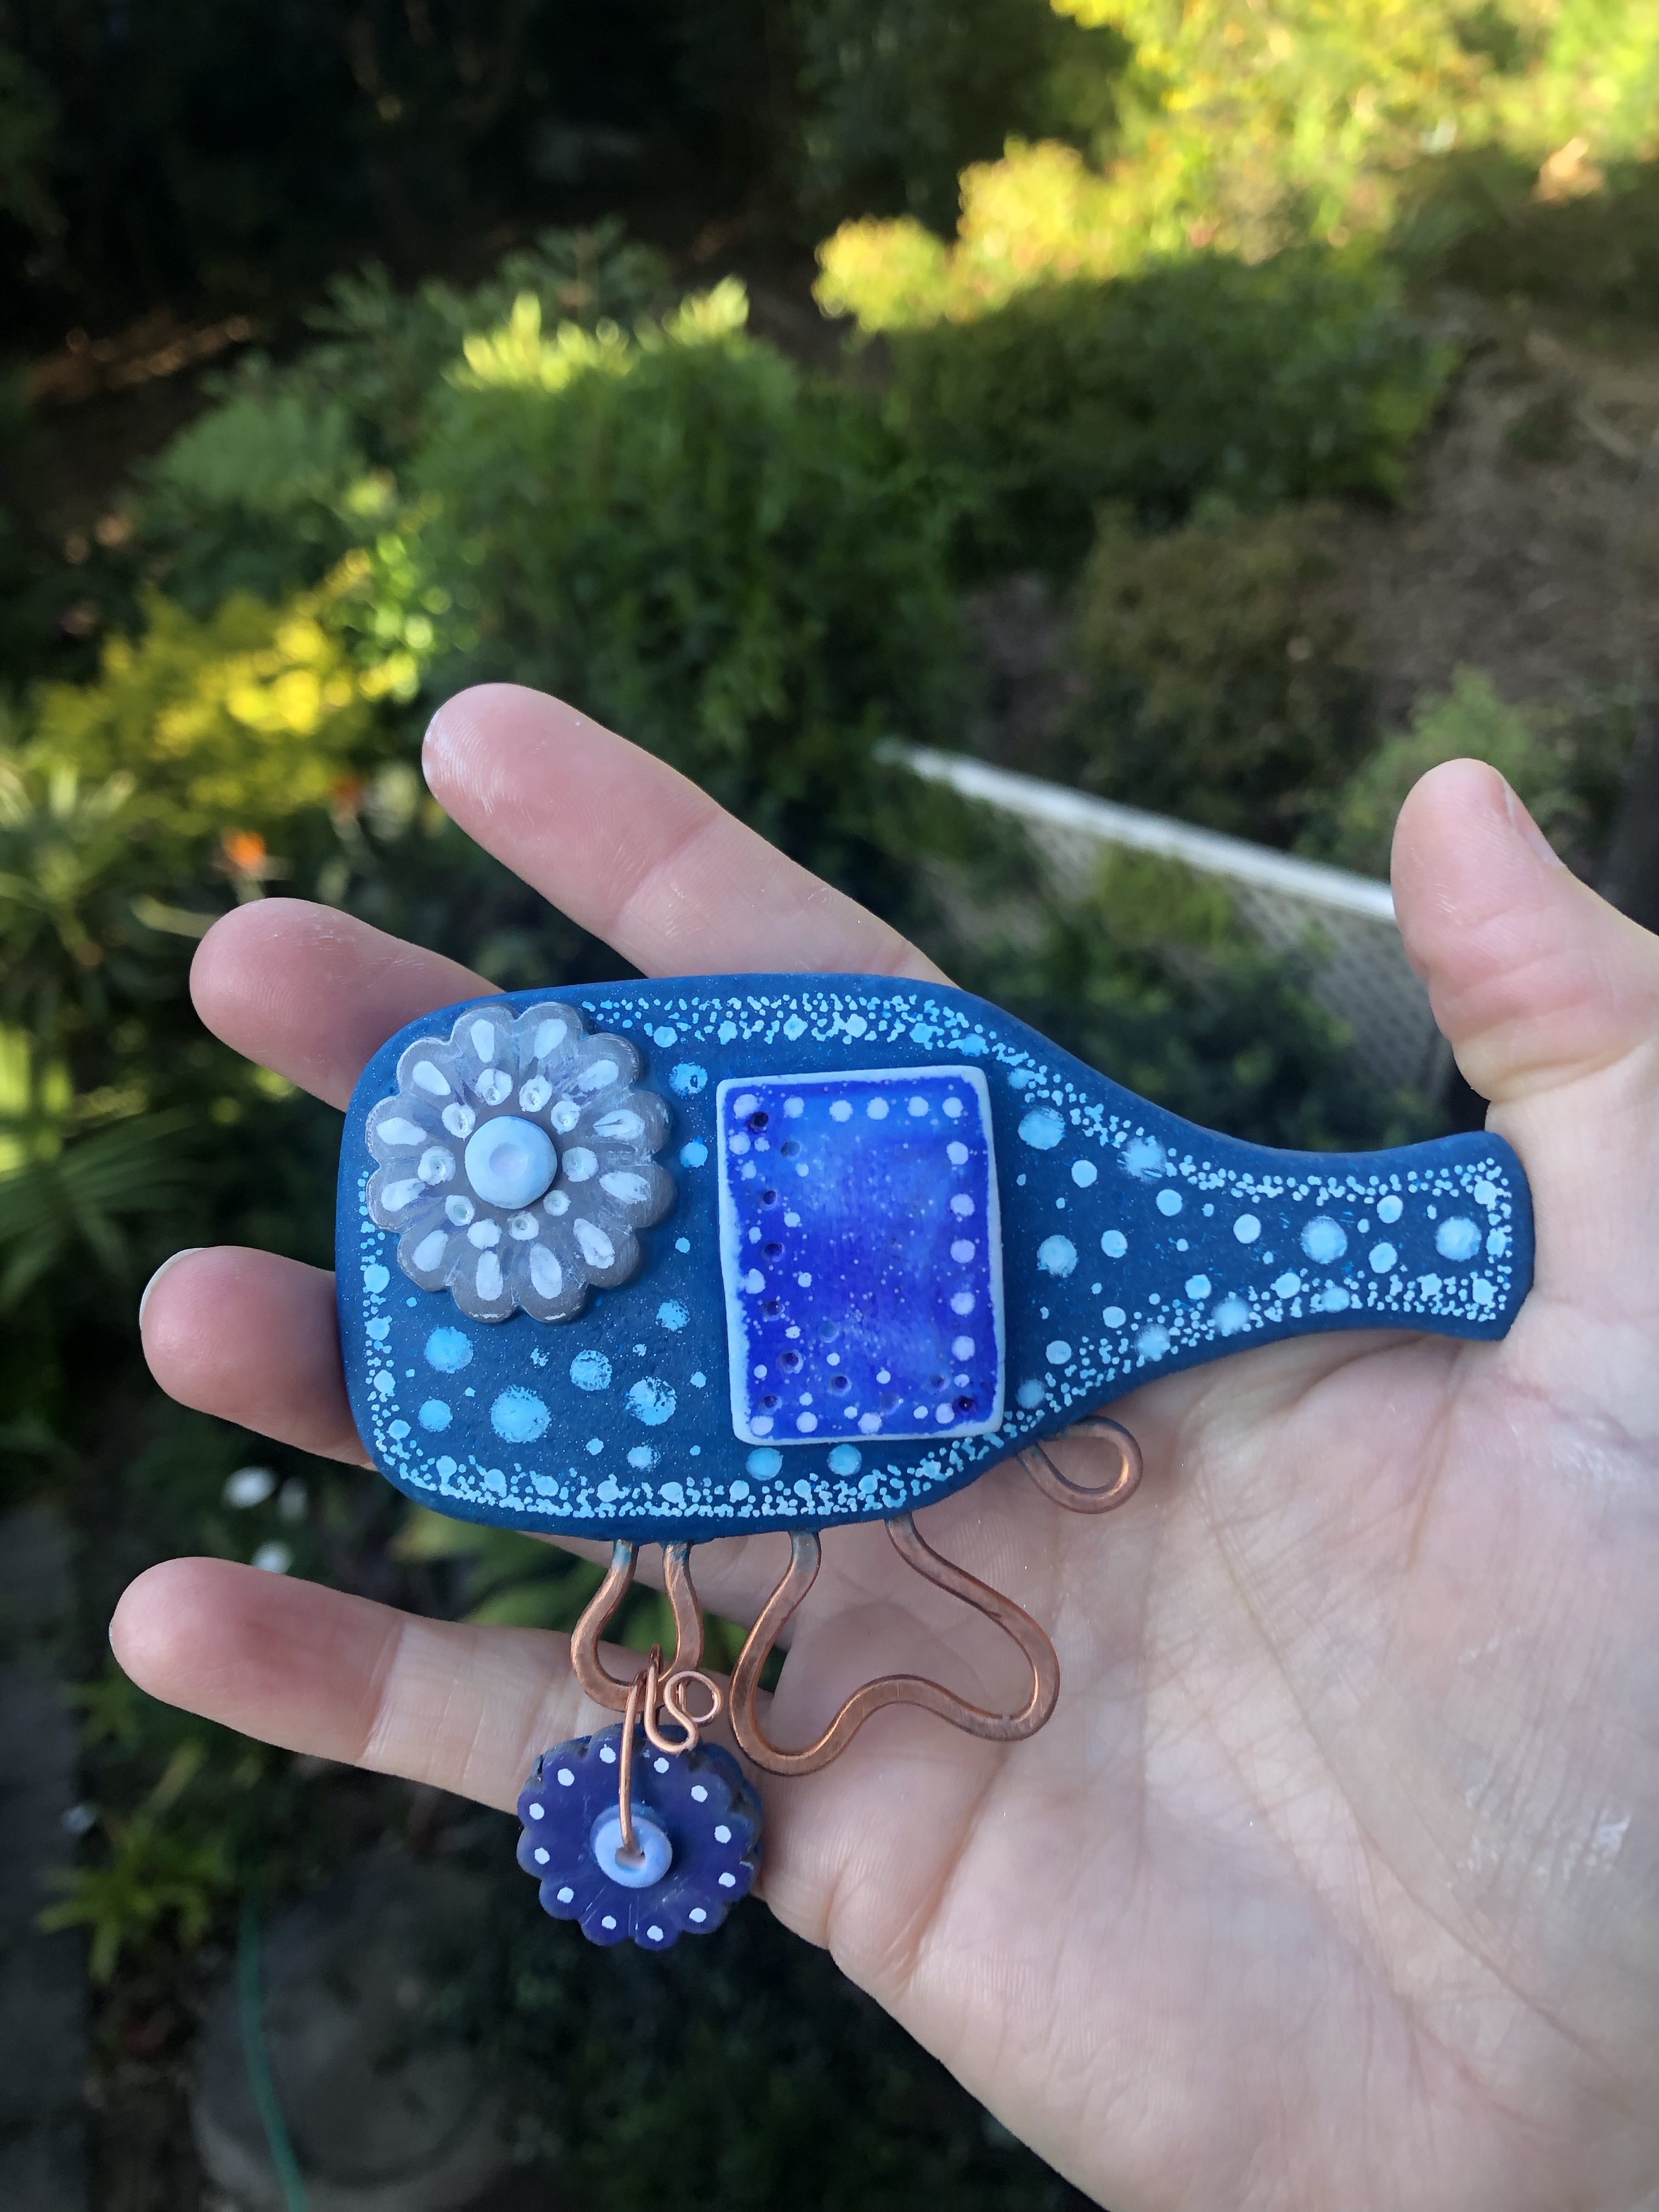
In my original design, I created a base design of a bottle on its side with a wine glass charm and embellished the design with wire curls. The wire curls are for attaching pens, openers and glasses. It has been ‘road tested’ and held up successfully under stress.

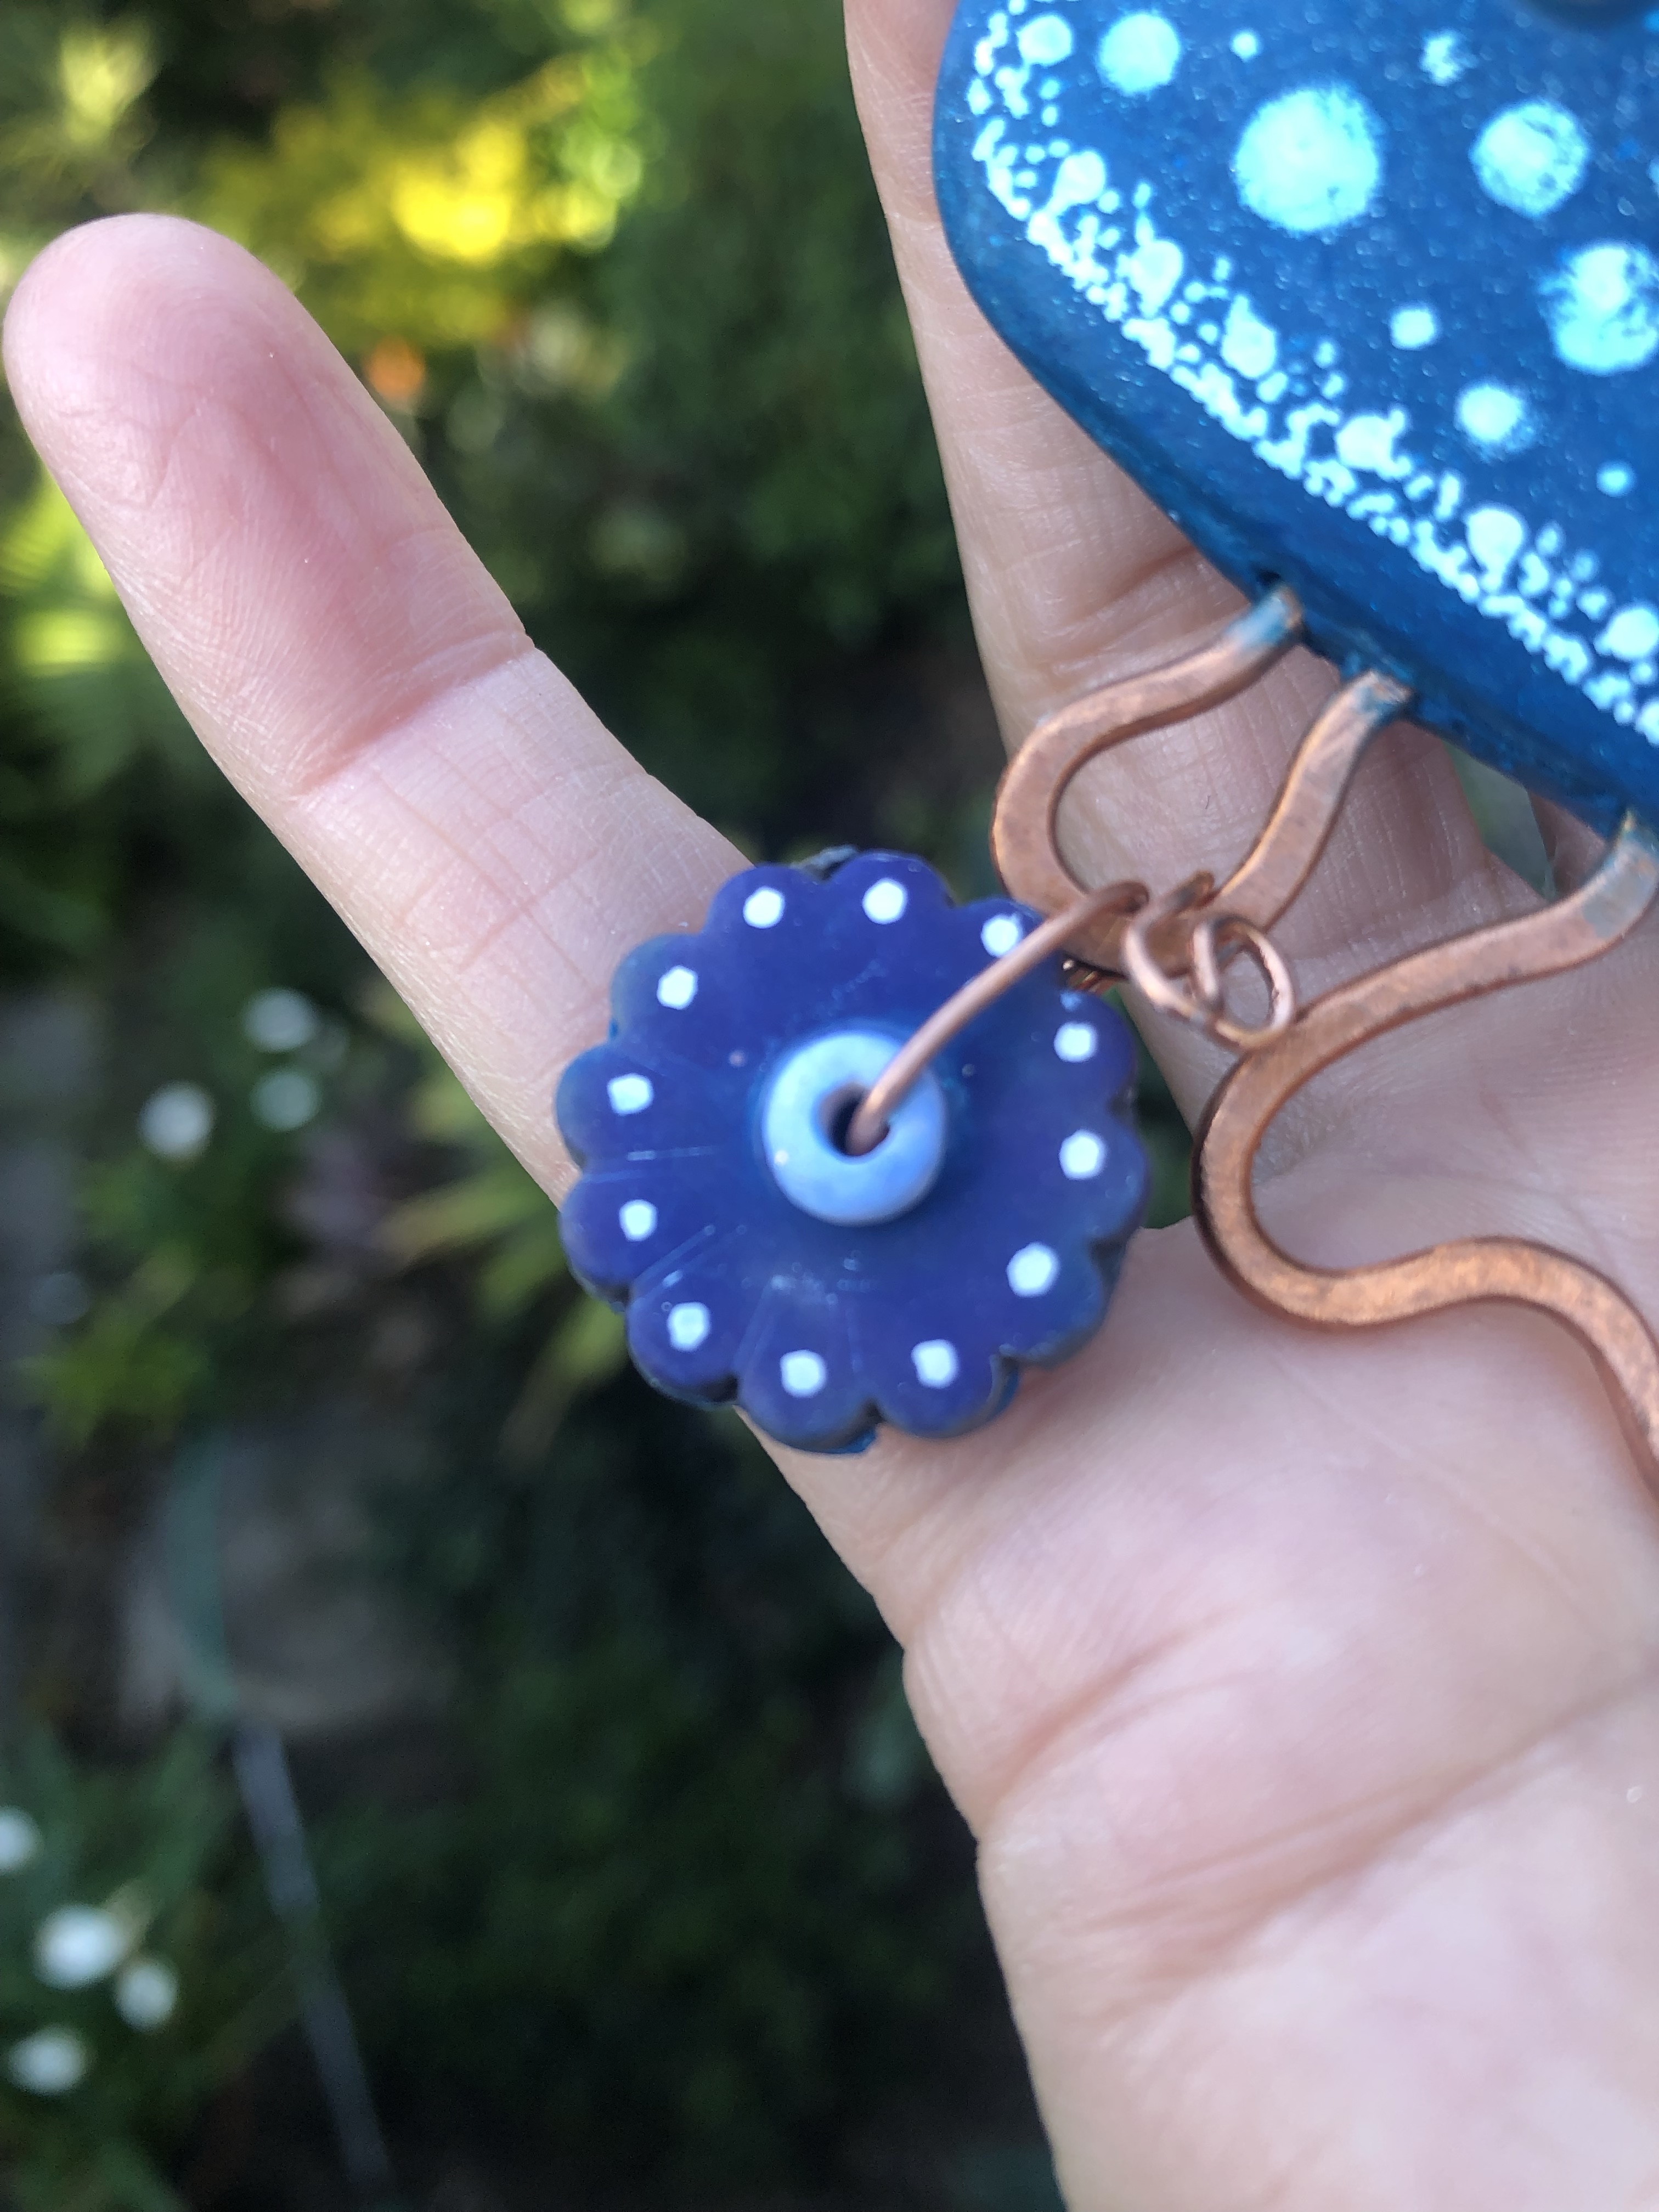
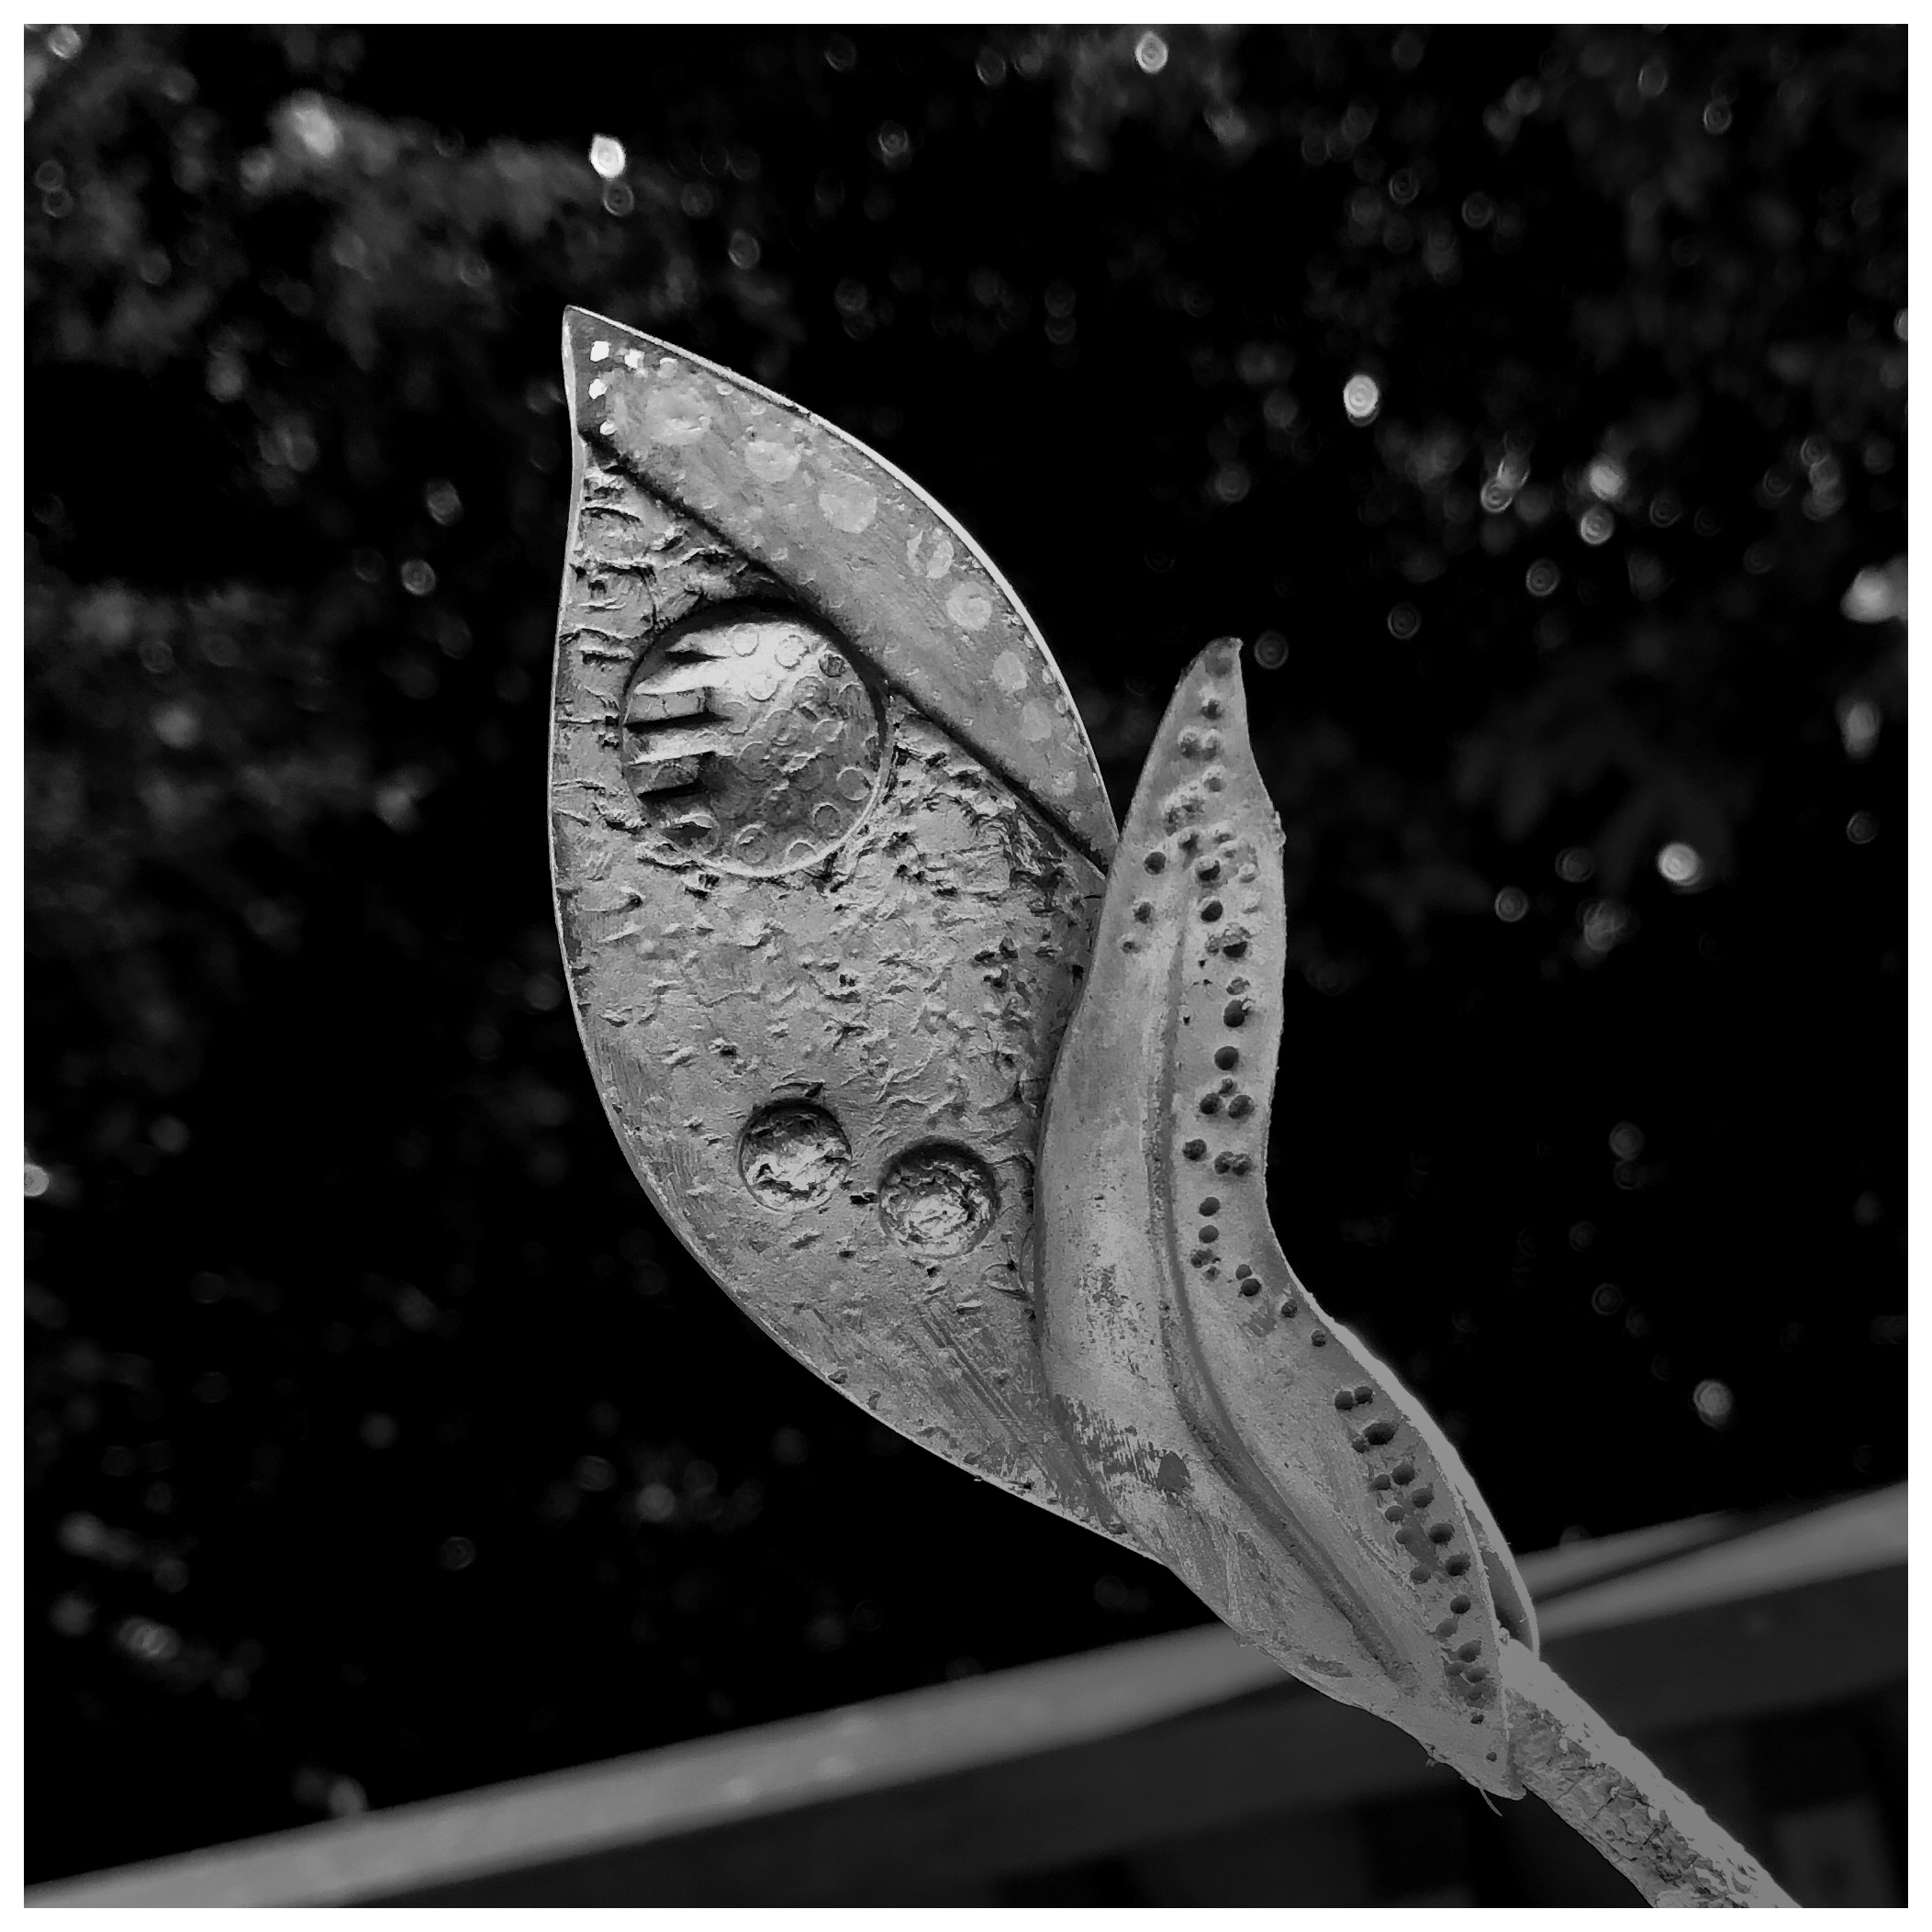
I love the way the wine glass charm turned out. It was made using twisted aluminium wire that was shaped and hammered.
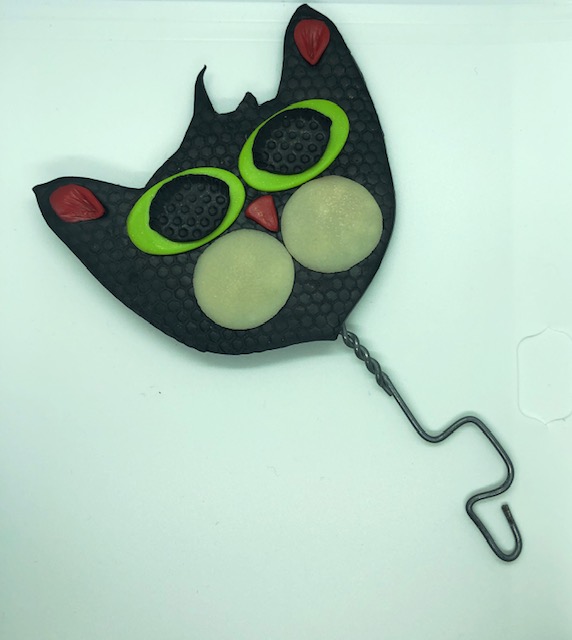
The Blue Set

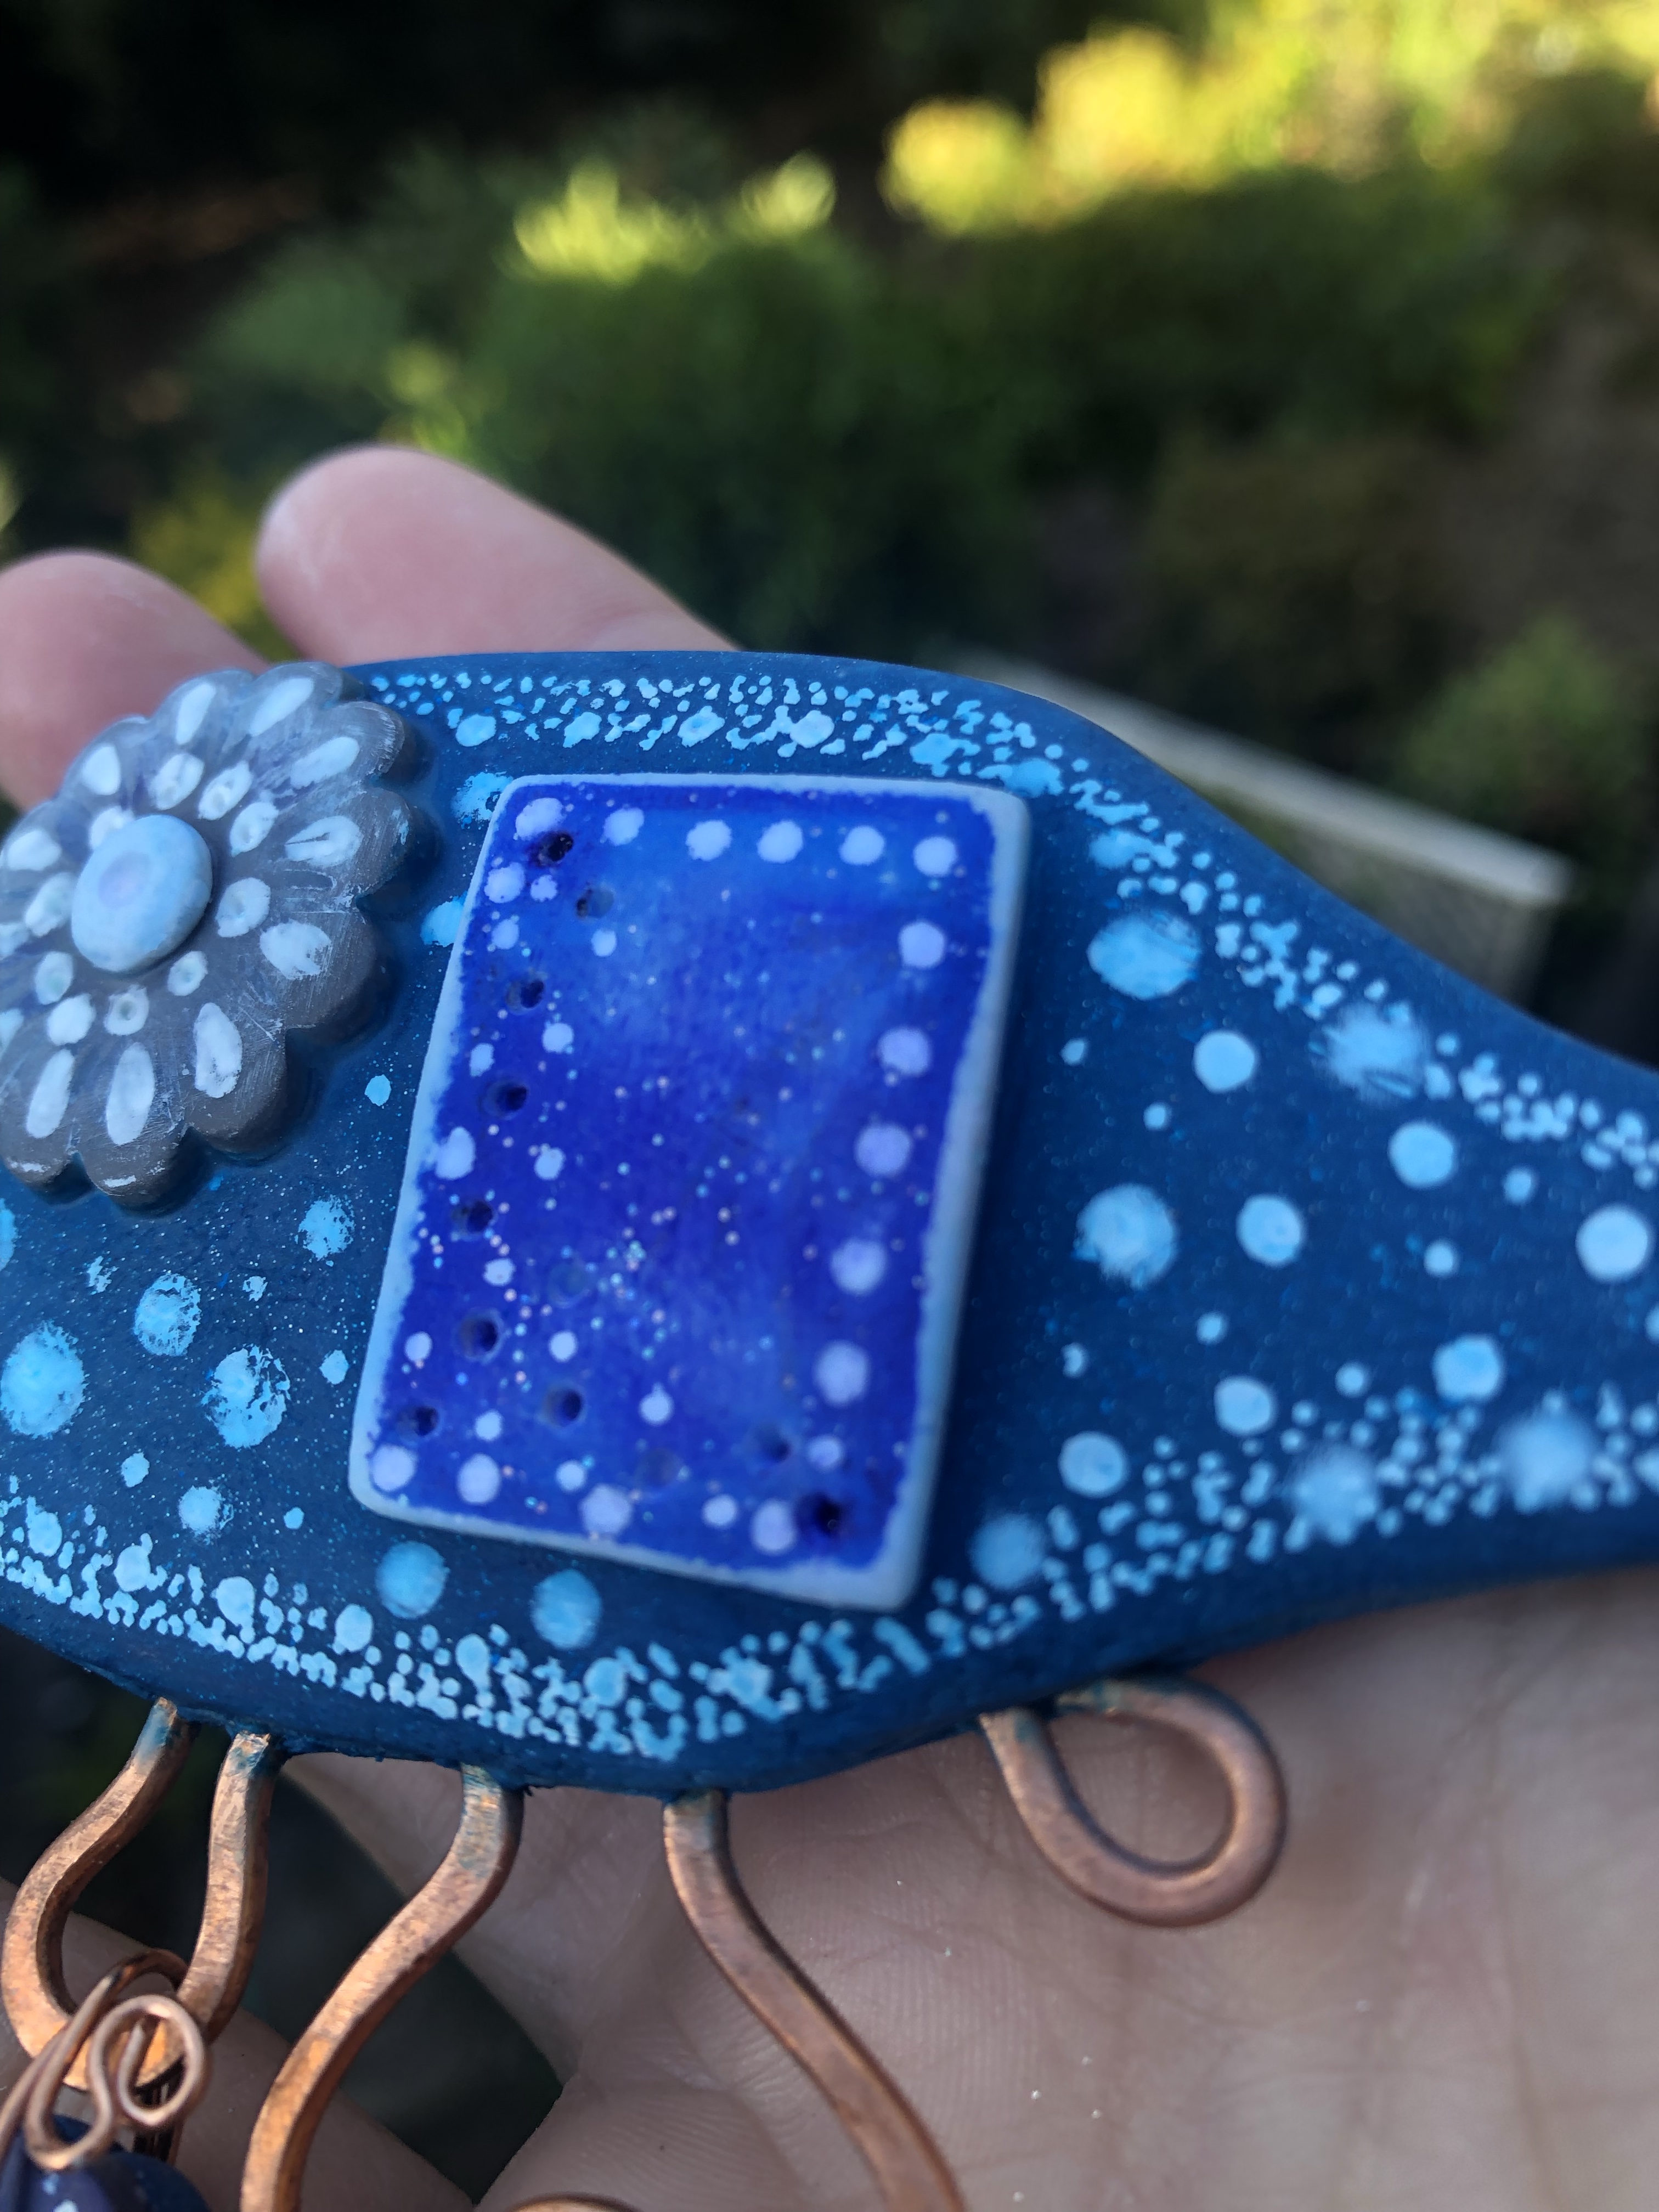
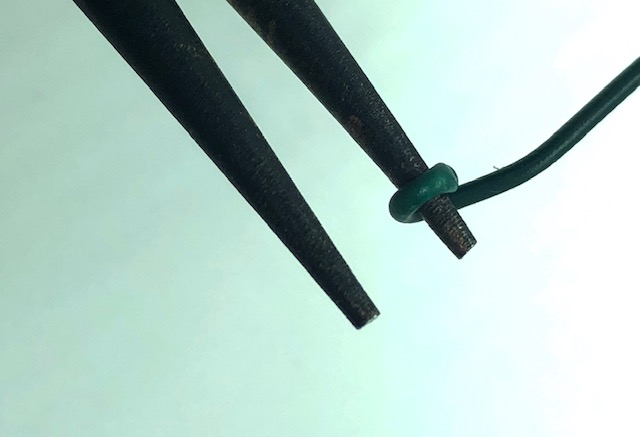
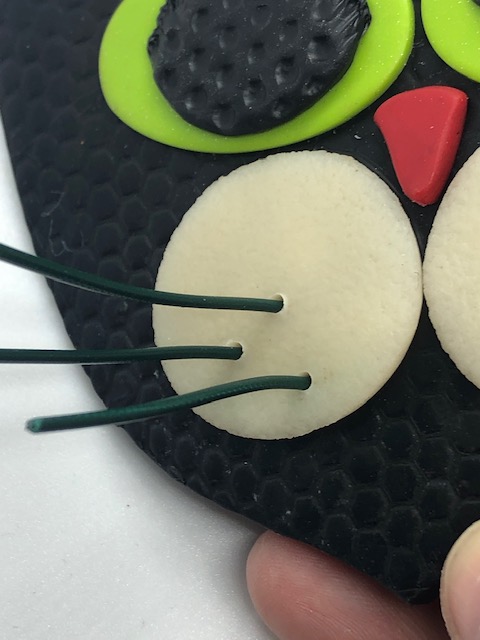
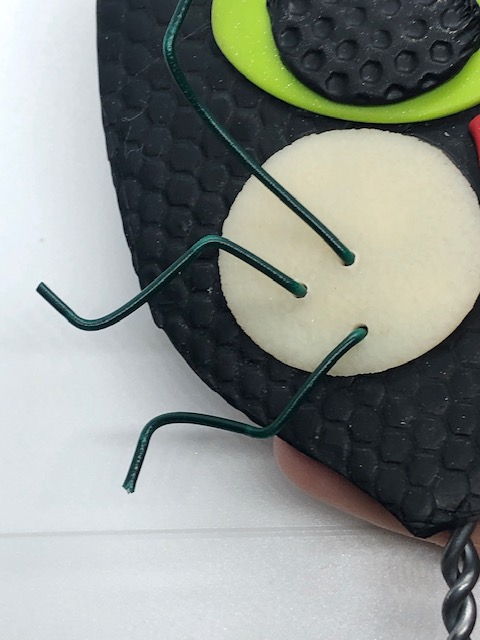
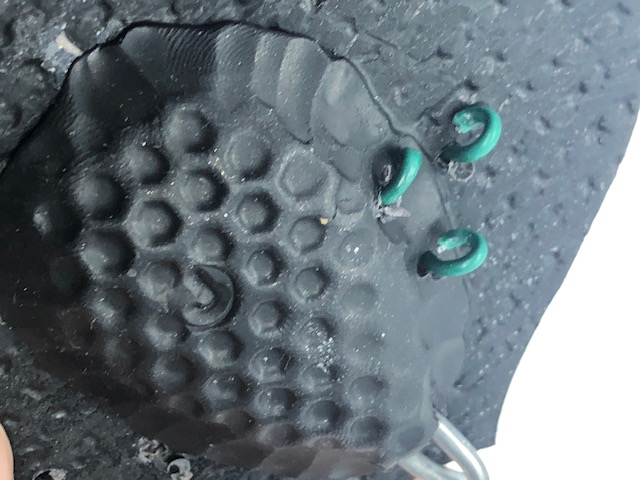
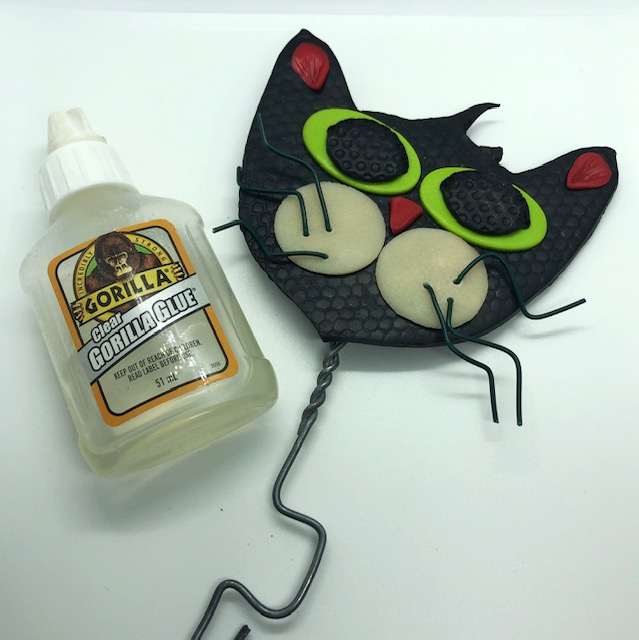
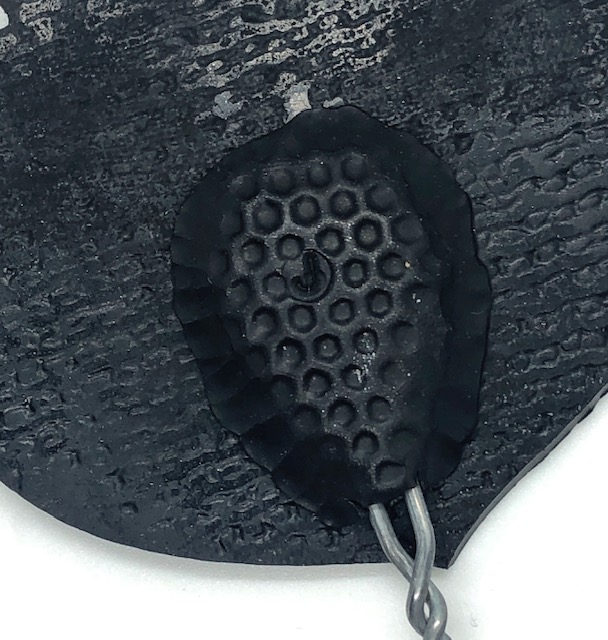
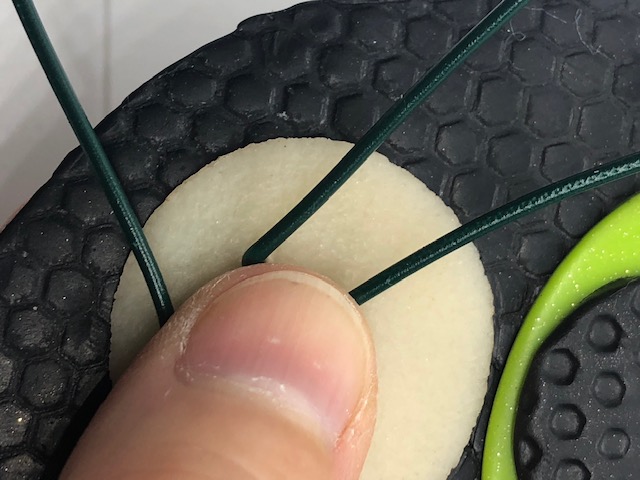
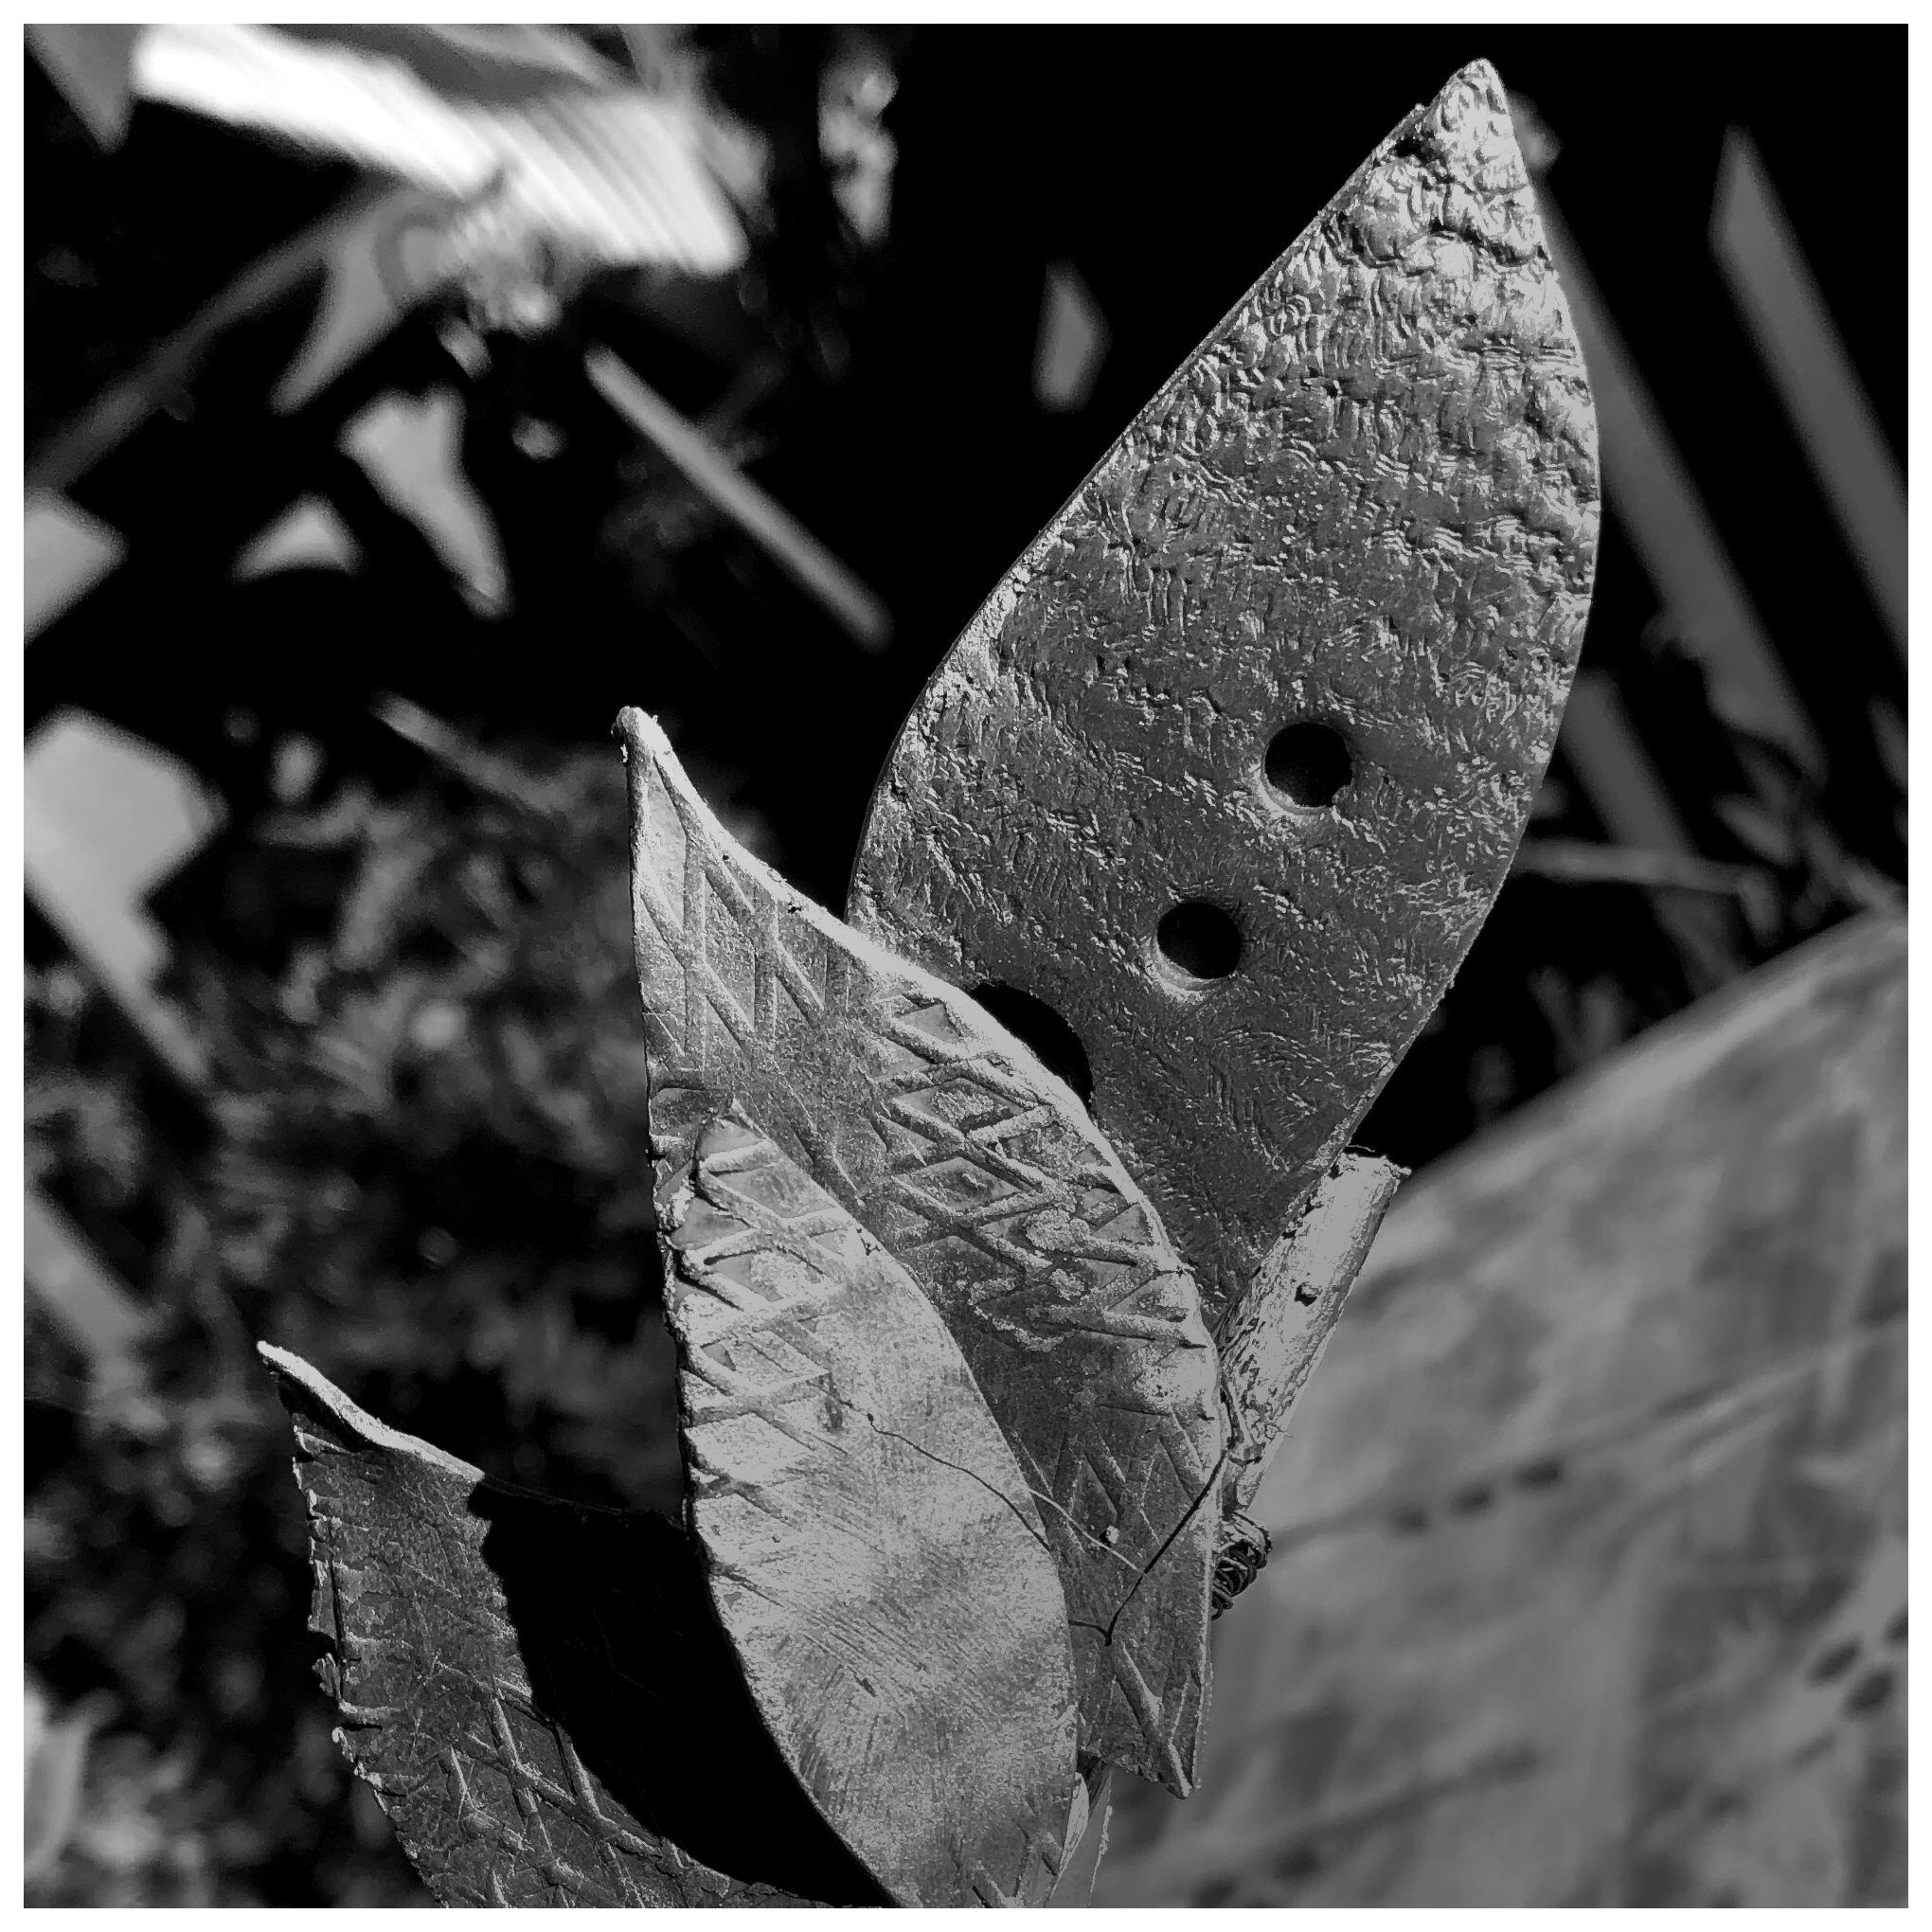
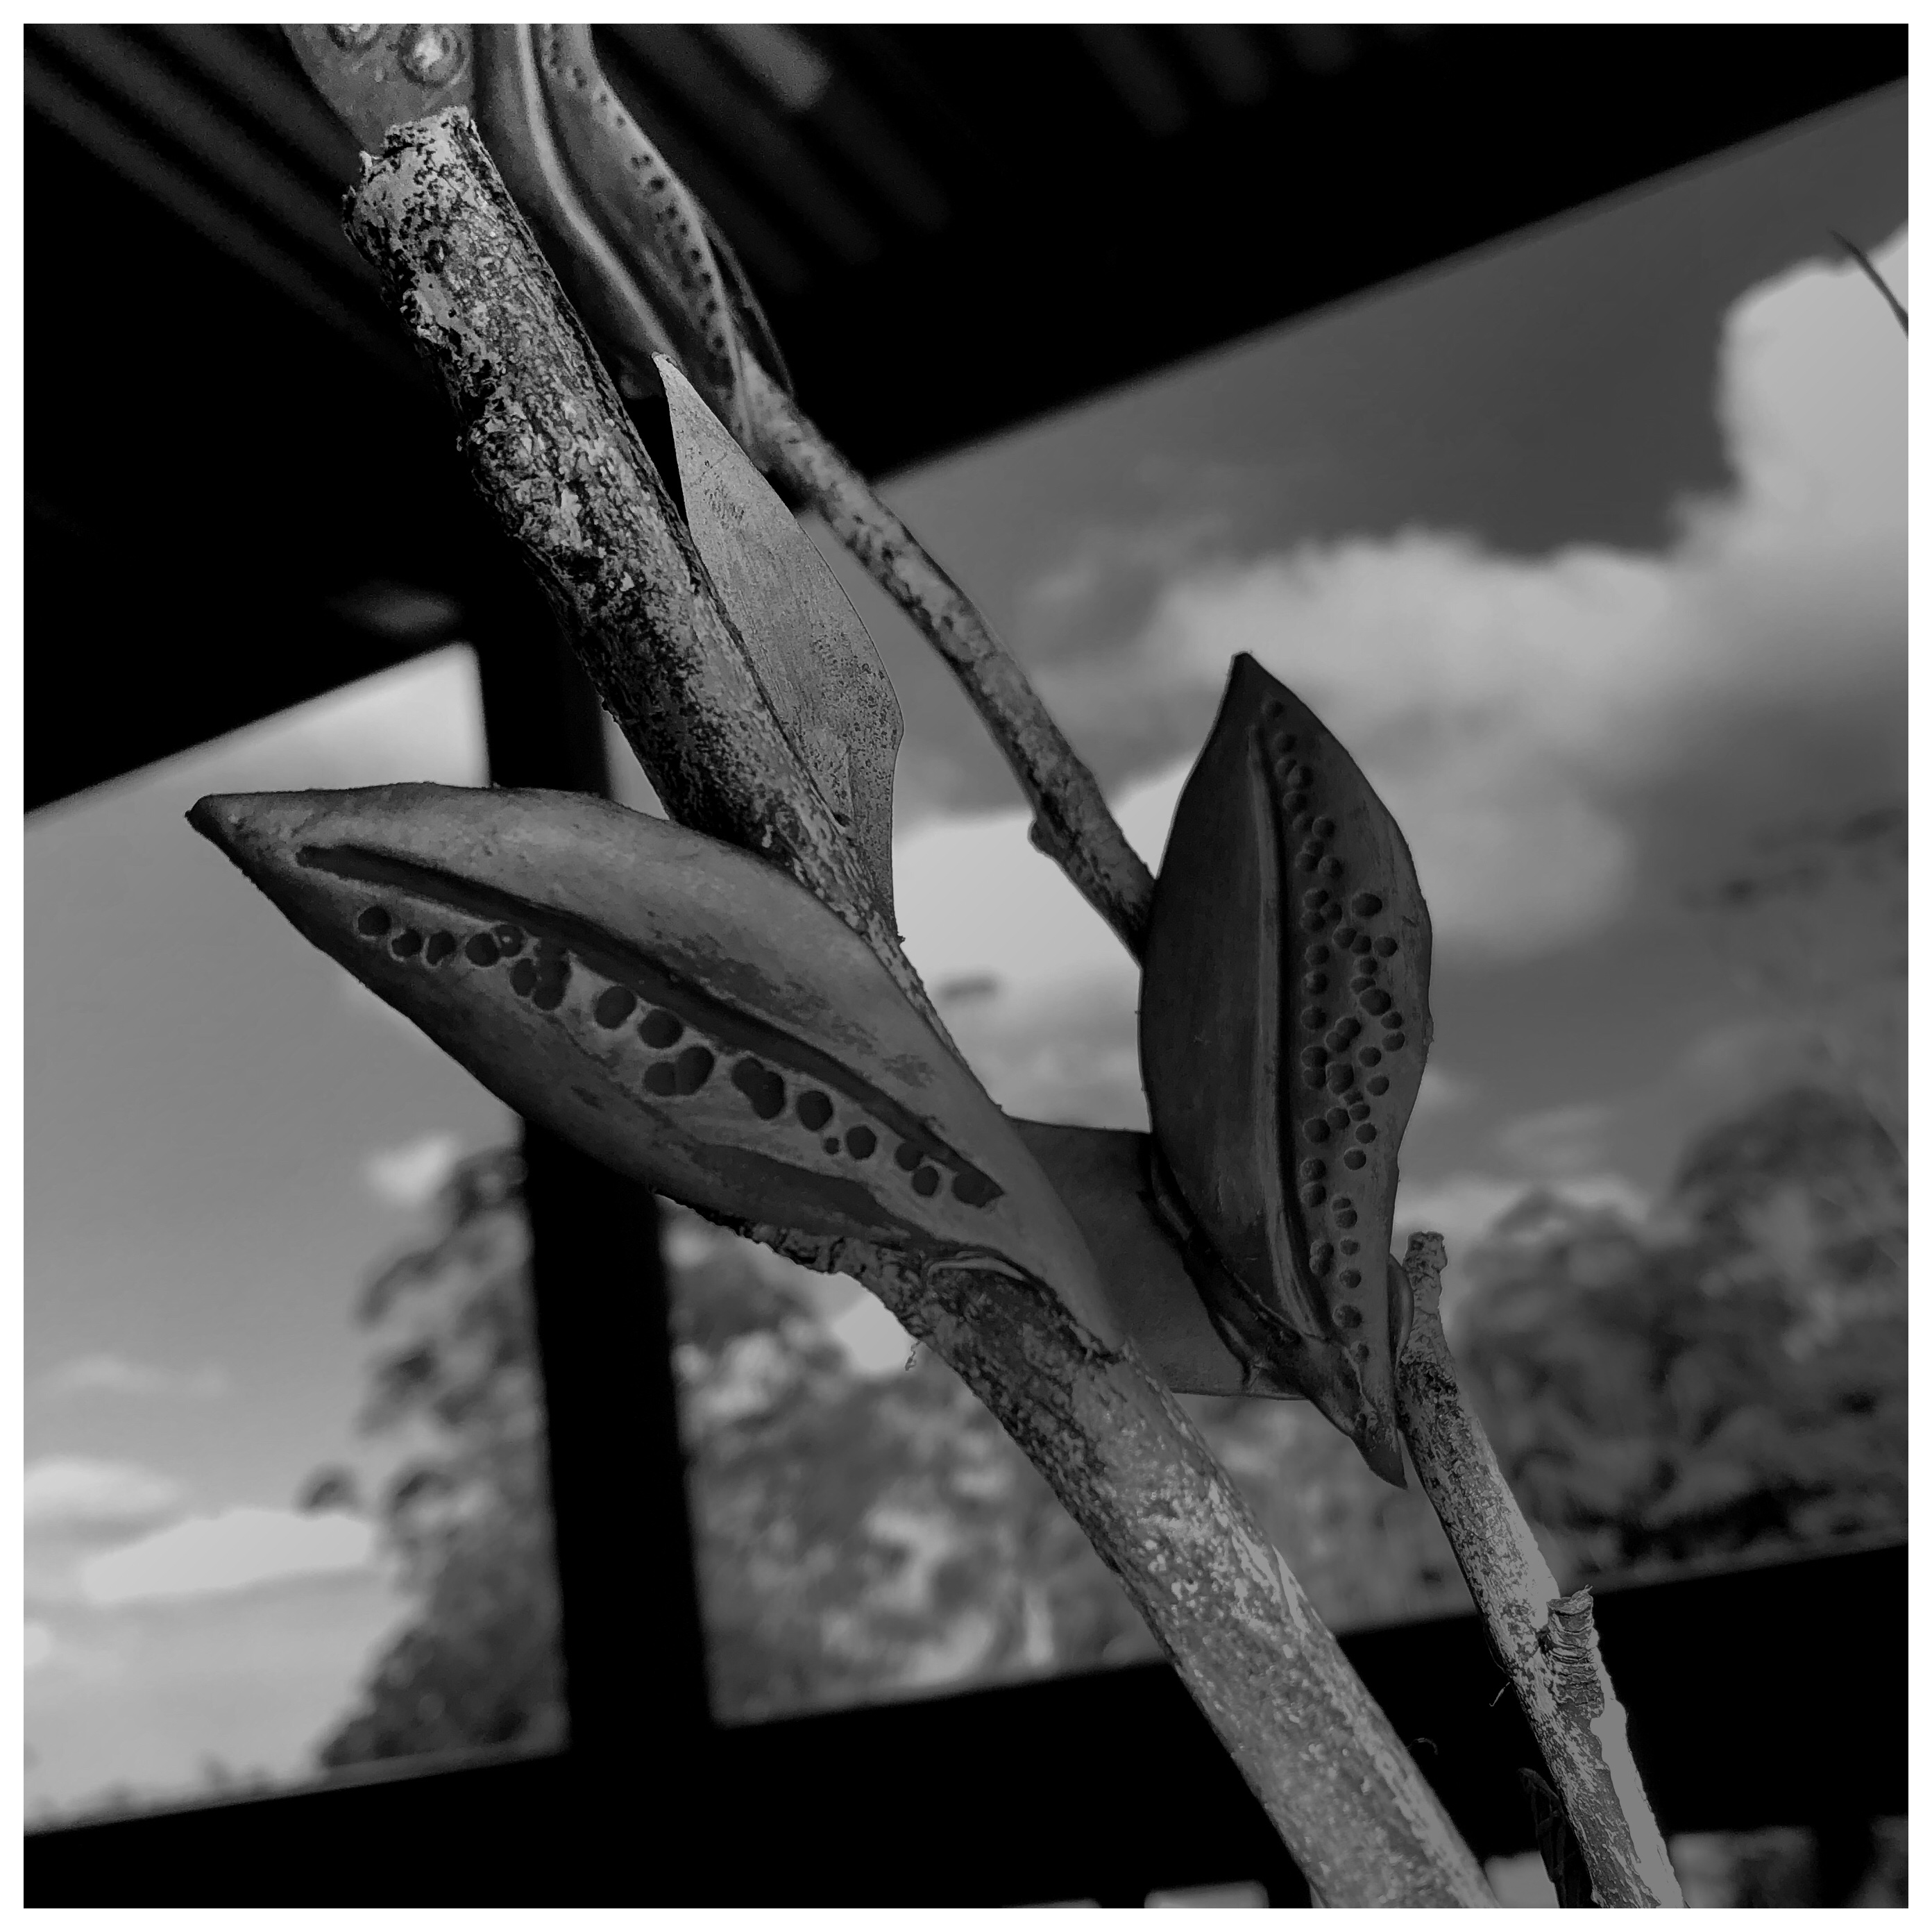
Each item has been embellished with a charm and the surface design is dotty. The hooks are made from copper as it is a stronger gauge than the wire used on my first design.

Brooch with hook for glasses or attachment such as a waiter’s friend
Reverse side: brooch pin decorated and stamped
Wine charm
Homewares and Crafts

Garden Ornaments and Herb Markers

Home improvement has seen a resurgence due to Covid with people working from home, spending time at home and not traveling like they used too.

We have been doing some improvements as well. I love working on our garden and have been looking at personalising our space. This led to designing some polymer garden art.

Herb markers

These garden ornaments were inspired by @goinsideandclay.

Adding the whiskers

Homewares and Crafts

Functional Art

Aim: To minimise waste materials and create a functional piece of art

My Tree of Light

It began as a way to use leftover grout from a session of grouting mosaic pieces and completing a refresh of the grout in the bathroom.

A Work in Progress

Step 1 – Put the left over grout in a mould (in this case a yoghurt container)

Step 2 – Add some interestingly shaped sticks and wait until set

Step 3 – Paint the sticks (the colours of a gum tree)

Step 4 – Add cord to the base and paint using a complementary colour scheme

Step 5 – Make the leaves and attach to the ‘tree’

Step 6 – Add metallic wax to blend the leaves and add some shimmer to the piece

Reflect and Consider….

While I am not ‘in love’ with the piece yet, I am definitely warming to it. I am thinking that I need a few more elements to balance and enhance the design.

Elements yet to come

Step 5 – Add the fairy lights

Step 6 – Embellish the branches with crystals (to catch the light)

Step 7 – Complete the tree base and touch up colouring and add highlights.

Final result and images in colour in my next post.

Homewares and Crafts

Little Pots of Colour

I have been having some fun designing some “Little Pots of Colour”.

These little terracotta pots have been sitting, abandoned in my cupboard for about a year… waiting patiently… for some inspiration.

[I have also completed one larger pot with a palette of green, white and pale pink.]

Preparation

The pots have been sealed with either modge podge, gesso or an ”ornament sealer” spray.

Painting

I have added metallic acrylic paints and basic hues to the pots as the fancy took me.

Details

  • Lots of spots and dots and flowers and leaves (and curly elements).
  • Highlights on some of the pots has been also added using white paint pens.
  • Finished off with an acrylic paint sealer (spray). Will see how they hold up (“a watch this space” moment).

What next?

I have decided that making these is very relaxing (but time-consuming, depending on the design and paint used). I have also been thinking that I might like to make my own little pots from ceramics and paint and fire them (…Yes, yes, I know. Jack of all trades – master of none :-).

  • Note to self: more investigations and research required!
  • P.S. It has been so long between buying the little pots and painting them that I can’t remember where I bought them from. I will be keeping an eye out for more.

I am looking forward to gifting these with little plants in them (e.g. marigolds in the orange pot).